FC2240-UM-251-9370
7-19
7. DISASSEMBLY AND ADJUSTMENT
7.11 Replacing the Y Bar
7.11.1 Preparations
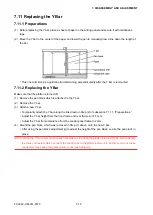
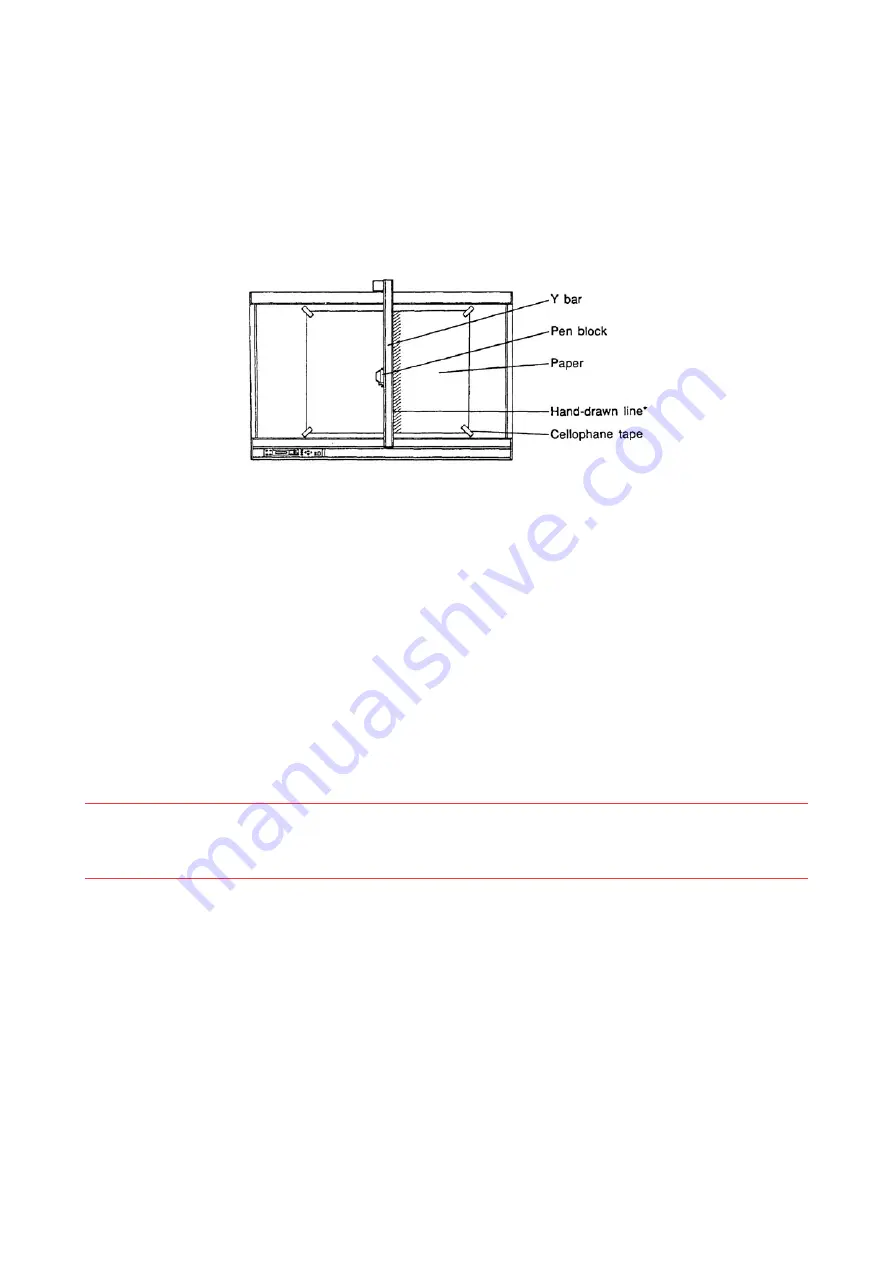
(1) Before replacing the Y bar, place a sheet of paper on the writing panel and secure it with cellophane
tape.
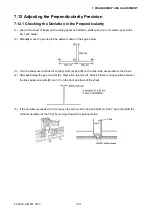
(2) Move the Y bar to the center of the paper and lower the pen to manually draw a line down the length of
the bar.
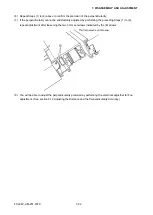
* This line will serve as a guideline for determining perpendicularity after the Y bar is remounted.
7.11.2 Replacing the Y Bar
Make sure that the plotter is turned off.
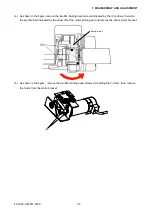
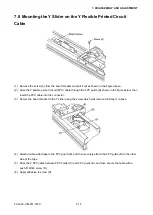
(1) Remove the pen block which is attached to the Y bar.
(2) Remove the Y bar.
(3) Attach a new Y bar.
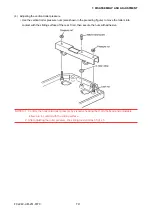
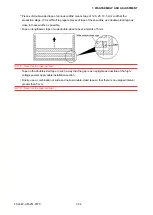
• Temporarily attach the Y bar along the line drawn in Step (2) of subsection 7.11.1, “Preparations.”
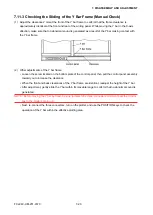
• Adjust the Y bar height from the front frame and rear frame to 31.5 mm.
• Adjust the Y bar frame clearance from the control panel frame to 2 mm.
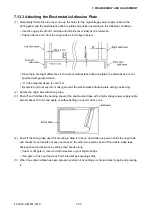
(4) Mount the pen block, which was removed in Step (1) above, onto the new Y bar.
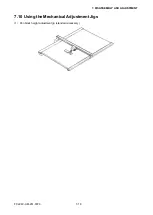
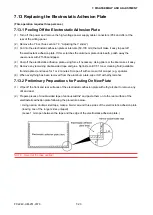
• After using the pen block adjustment jig to adjust the height of the pen block, secure the pen block in
place.
NOTE: When the Y bar is moved manually from side to side while the plotter is turned off, be sure to detach
the three connectors which connect the control box to the plotter’s main unit. Failure to remove these
connectors may cause the gears to slip or not mesh properly.
Summary of Contents for FC2240
Page 1: ...CUTTING MACHINE SERVICE MANUAL FC2240 FC2240 UM 251 04 9370...
Page 2: ......
Page 8: ...FC2240 UM 251 9370 vi...
Page 38: ...FC2240 UM 251 9730 3 15 3 OPERATIONS Sample printout by the CONDITION function...
Page 42: ...FC2240 UM 251 9730 4 2 4 DAILY MAINTENANCE AND STORAGE...
Page 70: ...FC2240 UM 251 9370 7 26 7 DISASSEMBLY AND ADJUSTMENT...

