EDIUS — User Reference Guide
135
Application Settings
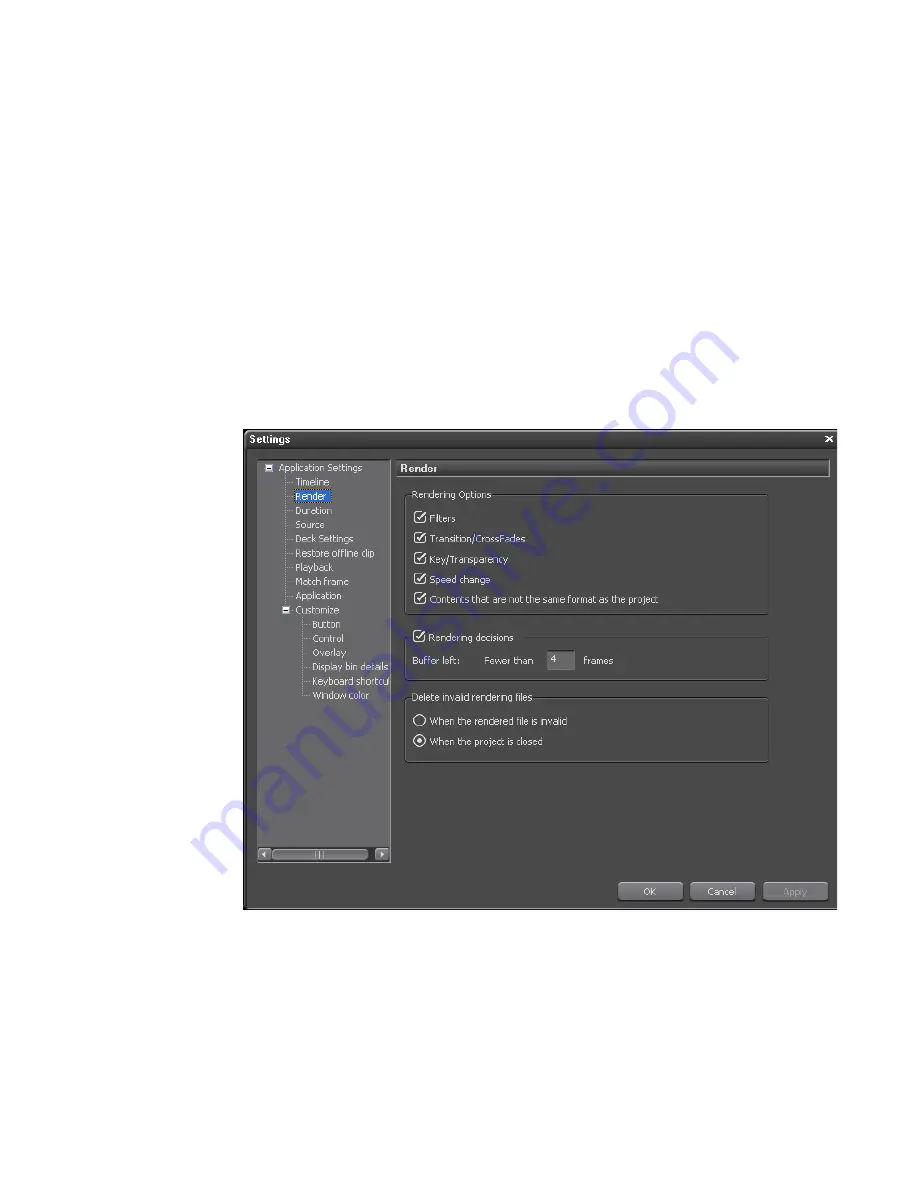
The checkboxes determine what factors are considered when labeling an
area as "loaded" (orange).
Regardless of the settings, a Render overload area command will still
render all of the effects to the temporary file.
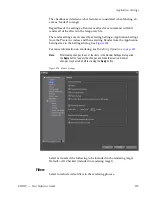
The render settings are accessed by selecting Settings>Application Settings
from the Preview window and then selecting Render from the Application
Settings tree in the Settings dialog. See
Figure 124
.
For more information on rendering, see
Rendering Operations
on page 441
.
Note
After making changes to any of the items in the Render Settings dialog, click
the
Apply
button to apply the changes and make them active. Several
changes may be made before clicking the
Apply
button.
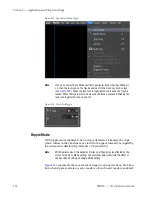
Figure 124. Render Settings
Select or de-select the following to be included in the rendering target:
Default = All Checked (included in rendering target).
Filters
Select to include video filters in the rendering process.
Summary of Contents for EDIUS
Page 22: ...22 EDIUS User Reference Guide Preface ...
Page 124: ...124 EDIUS User Reference Guide Section 1 Getting Started Figure 111 Sequence Marker Palette ...
Page 173: ...EDIUS User Reference Guide 173 Customize Settings Figure 153 Keyboard Shortcut Settings ...
Page 248: ...248 EDIUS User Reference Guide Section 3 Capturing and Importing Clips and Stills ...
Page 302: ...302 EDIUS User Reference Guide Section 4 Clip Operations and Management ...
Page 480: ...480 EDIUS User Reference Guide Section 5 Timeline Operations ...
Page 708: ...708 EDIUS User Reference Guide Section 8 Exporting Project Output ...
Page 752: ...752 EDIUS User Reference Guide Appendix A Hardware Settings ...
Page 764: ...764 EDIUS User Reference Guide Appendix B Special Procedures ...
Page 778: ...778 EDIUS User Reference Guide Appendix C Input Output Formats ...


