Zodiak Installation and Service Manual
143
Button Labeling
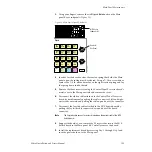
3.
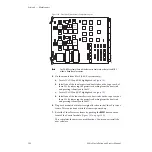
Pull the LED out of the switch using needle nose pliers.
4.
Carefully replace with a new LED. Align the pins in the switch as
shown in
5.
Re-insert the keycap so the large notches are on the front and back sides
of the switch.
6.
Turn on the Main panel power supplies.
Button Labeling
Many buttons on Zodiak system panels can be labeled by inserting film
with printed legends (lens chips) under their keycap lenses. The Zodiak
Main panel and the 24-Crosspoint Remote Aux panels are shipped with
blank source selection buttons. The remaining control panel buttons have
standard button legends. Custom legends can be printed onto transpar-
ency film using a laser printer, then cut to size.
You may want to custom label the Source selection buttons on Remote Aux
panels. Custom labeling may also be appropriate for the Remote Aux panel
delegation buttons.
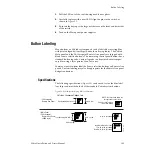
Specifications
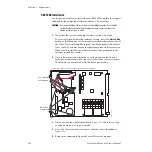
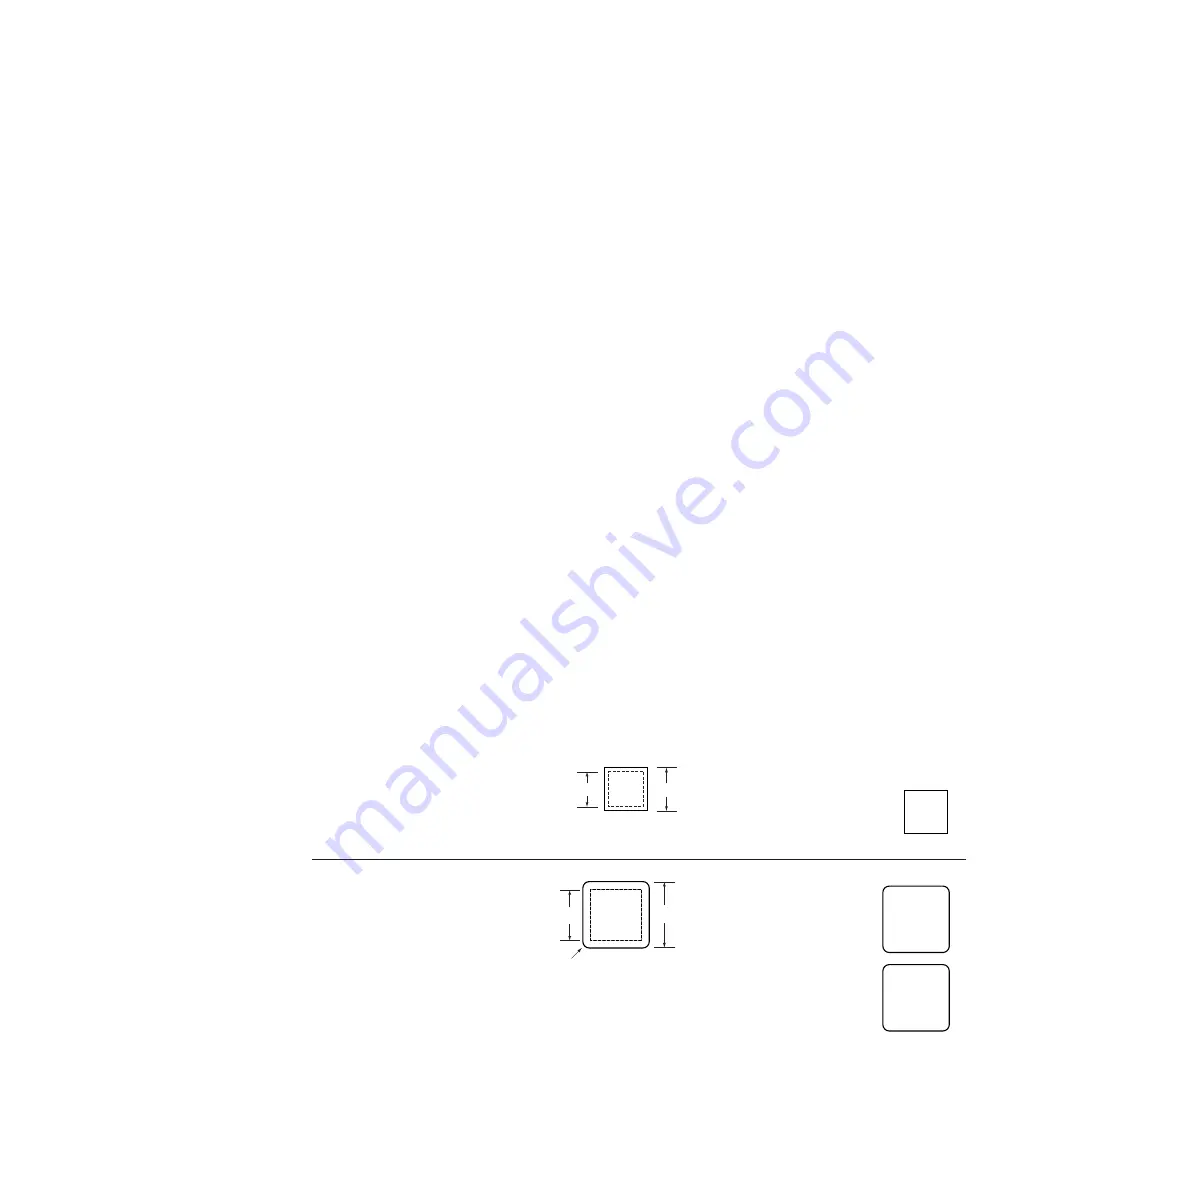
The following specifications (
) can be used to size the film label
lens chips and match the look of the standard Zodiak system buttons.
Figure 96. Zodiak System Keycap Film Specifications
M/E
2
0.40" sq. film
Small Key Cap Text Only
10 pt./10 pt. leading
Type Bounding Box 0.325" sq.
• 32-Crosspoint
Remote Aux Panel
• Main Panel
• 24-Crosspoint
Remote Aux Panel
(4000 style)
Auto
Run
NOTE: Font sizes listed below are
not applicable to other fonts.
Helvetica Condensed Oblique Font
Long Word Mixed Text Sizes
Text: 10 pt./10 pt. leading
Number: 14 pt./14 pt. leading
Type Bounding Box 0.47" sq.
14 pt./14 pt. leading
0.615" sq. film
0.6 Radius
Aux
10
Aux
10
Remote
3
8125_02_01r0

