194
Zodiak Installation and Service Manual
Section 5 — Troubleshooting and Diagnostics
Connecting to the Main Panel Diagnostics Port
You may use either the Menu panel or another PC to perform these tests.
1.
To use the Menu panel to perform these tests, leave the serial cable
already installed between Com 1 and the Menu panel in place. This will
allow you to use the Menu panel Windows HyperTerminal application.
2.
To use a different PC to perform these tests, disconnect the serial cable
between Com 1 and the Menu panel from the Menu panel serial port
and connect it to the serial port of a PC.
3.
In the PC
Start
menu, select
Programs/Accessories/HyperTerminal
. In
HyperTerminal, select
Properties
under the
File
pull-down. Set the PC
communication port you wish to use under
Connect using
, then select
Configure
to bring up the communication settings screen. Set the
communication values to those listed in
4.
Select the ASCII Setup box in
Settings
, and under
ASCII Setup
, check the
box for Echo typed characters locally (
Local Echo – ON
). This enables the
letters you type to display on the terminal screen.
5.
Select
VT100 Emulation
from the pull-down menu under
Settings
.
6.
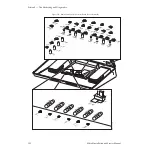
Open the Main panel lid and set the
Boot
switch on the Control Panel
Processor board to position
7
(seven) (
). Press the
RT Panel Reset
button to initialize the diagnostics routine.
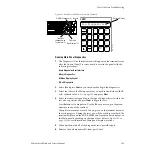
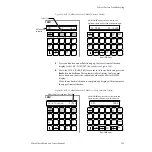
The E-MEM readout displays in each of the E-MEM subpanels on the
Main panel (
) will change to indicate that the panel is now in
a diagnostic mode. The displays will indicate the following:
•
M/E 1 – Zod Diagnostics
•
M/E 2 – Diagnostics version number
•
M/E 3 (PGM/PST) – Com port used by diagnostics
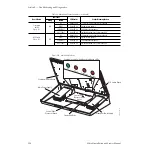
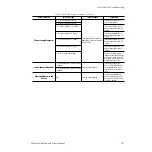
Table 20. Panel Diagnostic Port Settings
Baud Rate
38.4 kbps
Data Bits
8
Parity
None
Stop Bits
1
Flow Control
None


