Zodiak Installation and Service Manual
269
DPM CPL Interface
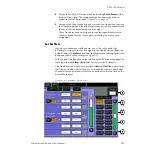
5.
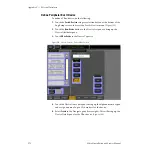
Return to the Ports & Devices menu by touching
Ports & Devices
at the
bottom of the screen. The configured Aux bus names should now
appear in the Aux Buses pane (
).
6.
Assign each GVeous channel in your system to an Aux bus by selecting
the Channel number in the middle pane then an Aux bus number from
the list in the Aux Buses data pad on the right.
These Aux buses are now assigned to feed the input of the selected
channels. Make sure the correct physical cabling is done for each
assignment.
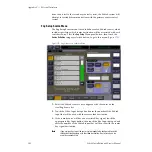
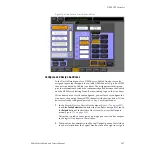
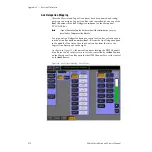
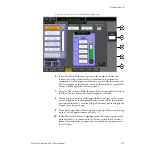
Aux Bus Menu
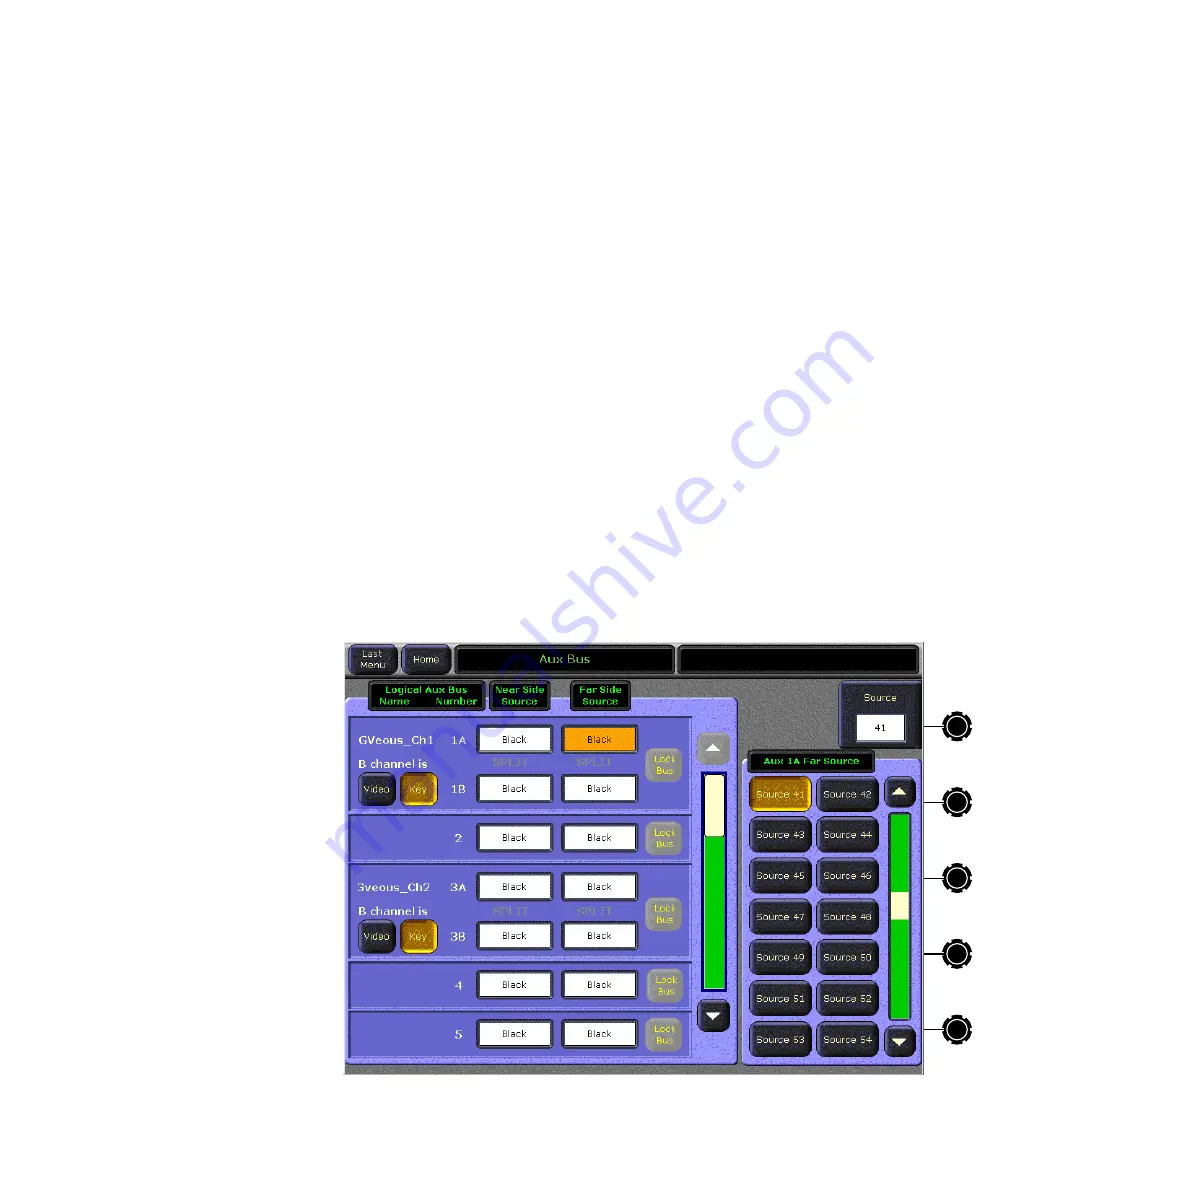
If you have defined any Aux Bus pairs, you will need to define the
B Channel as either a video or key signal in the Aux Bus menu (
Key
is the
default). Select the
Aux Bus
button from the Home menu to bring up the Aux
Bus menu shown in the example in
.
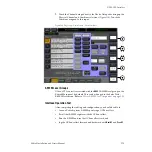
In the Logical Aux Bus pane on the left, define the B Channel key signal by
touching either the
Video
or
Key
button for the associated channel.
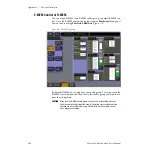
This Aux Bus menu also allows selection of
Near
and
Far Side
sources from
the selected Aux Bus. This allows you to change the sources of both sides
of an effect from this menu as their are no buttons for this function on the
Zodiak Main panel.
Figure 180. Aux Bus Menu – GVeous Device

