Zodiak Installation and Service Manual
65
Video Processor Frame Options
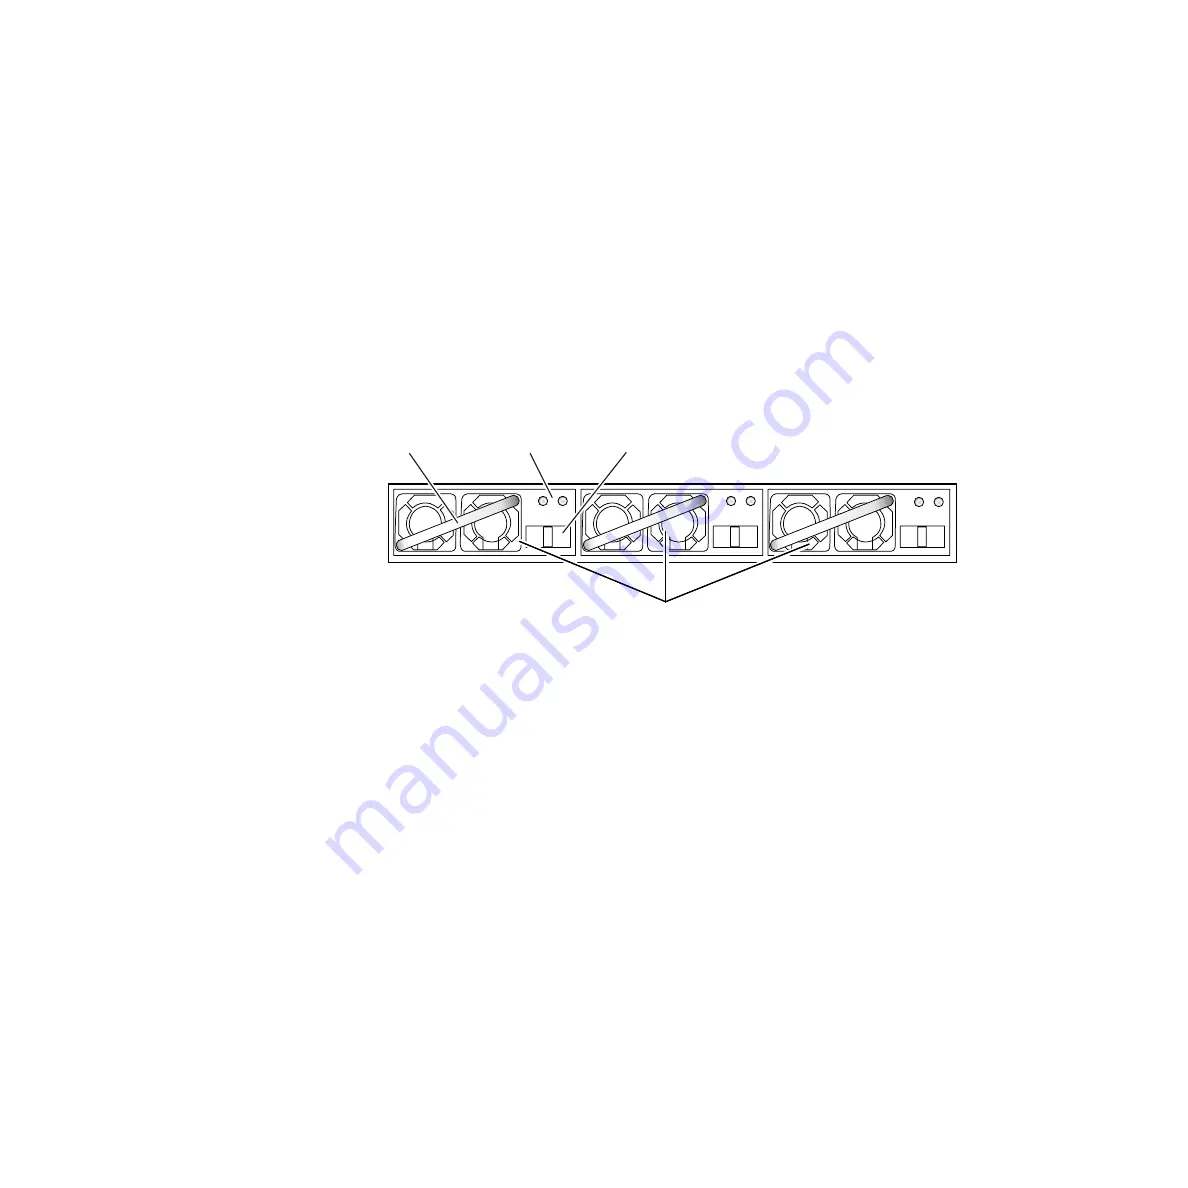
Power Supply Installation
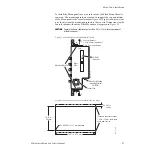
To install a power supply, slide the power supply gently into its slot
(ensuring that it is properly seated), connect the AC line cord (see
). Do not slam the supply into the slot. Green LED AC and DC
power indicators show that the supply is working properly.
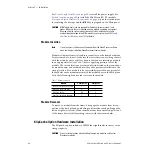
Note
Earlier version power supplies have only one LED which indicates AC power
status.
Power Supply Removal
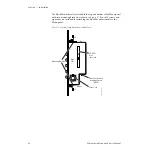
Refer to
. To remove a power supply, push and hold the power
supply latch to the left while pulling firmly on the pull handle.
Figure 44. Video Processor Frame Power Supplies Front View
Video Processor Frame Options
Video Processor frame options include a 2.5-M/E to 3-M/E upgrade kit, a
redundant power supply, and a KlipCache.
2.5-M/E to 3-M/E Upgrade Kit
Upgrading a 2.5-M/E to 3-M/E involves the addition of a Mix Effects (M/E
3) module and power supply to the Video Processor frame and changing
keycaps on the Main panel. No retrofitting or recabling is necessary. An
upgrade kit may be purchased and customer-installed as an add-on
anytime after system purchase.
Verify that the upgrade kit includes:
•
One Mix Effects (M/E 3) module,
•
36 replacement keycaps, one keycap legend titled
M/E 3
, and
•
One Video Processor frame power supply.
8125_00_04_r1
Power Supply Modules (3)
P/S Latch
Pull Handle
DC and AC
Power Indicators
V DC AC
V DC AC
V DC AC

