152
Zodiak Installation and Service Manual
Section 4 — Maintenance
SBC1000 Installation
Use the procedure below to install the new SBC1000 or replace the original
submodule (for using older software versions, v2.0 or earlier).
CAUTION
Removing the Video Processor Frame Control Module causes loss of Zodiak
system control, and reinserting the module causes a reset that takes the
Zodiak system outputs to black.
1.
Verify that the system is running software version 2.2 or later.
To view the currently installed software version, select the
Status & Diag
button on the Menu panel. The currently installed software versions of
the Video Processor frame, Main panel and Menu panel will be shown.
If not, contact Customer Service to acquire the current software version.
Make sure to install the new software kernel when prompted in the
software installation routine.
2.
Once software version is installed or verified, remove the Control
Processor module from slot 1 (top slot) of the Video Processor frame.
The module can be removed with the frame powered up.
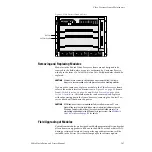
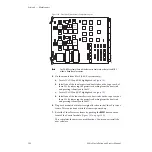
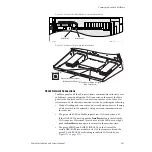
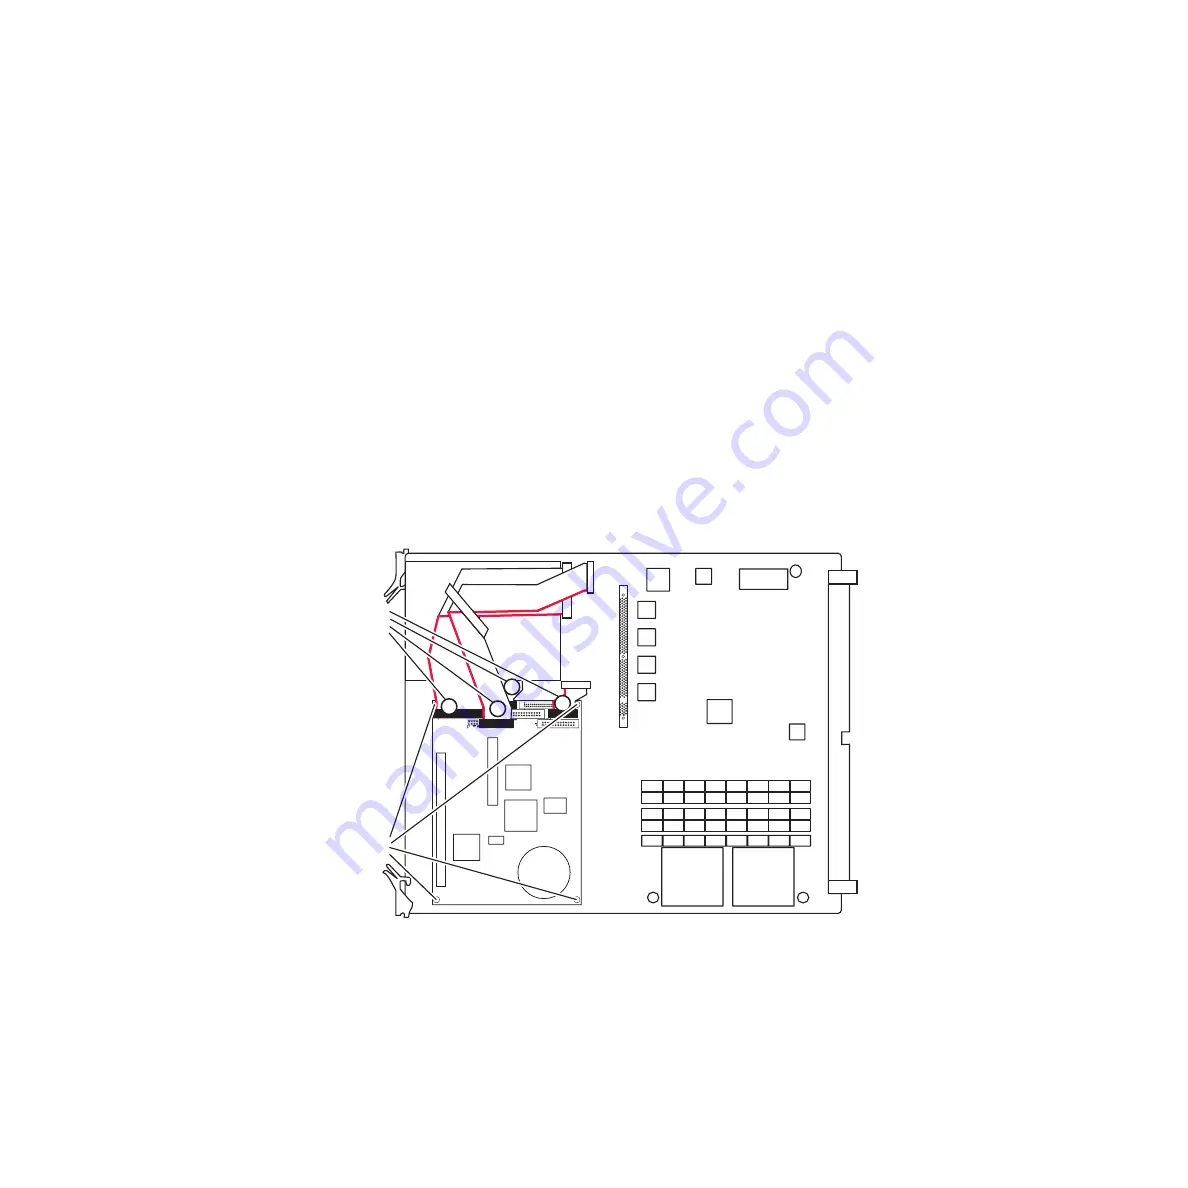
Figure 103. Video Processor Frame Control Processor Module
3.
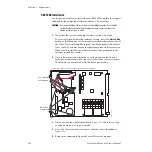
Disconnect the four cables identified in
of cable #2 which is on top of cable #3.
4.
Use a #10 Torx screwdriver to remove the four screws identified in
.
5.
Remove the submodule from the Control Processor module.
0689_00_01_r0
Four Connectors
on Submodule
#4
#3
#1
#2
Four Screws
on Submodule


