45
m c - 1 8 E M O D E L 1
9 . 6 V P C M
ENTER
5
6
ENTER
↓↓
s e l e c t M O D E L
K E Y 1 - 7 O R + / -
1
↓↓
s e l e c t M O D E L
N O N A M E : 1
CLEAR
↓↓
E N T E R = R E S E T A L L
N O N A M E : 1
ENTER
↓↓
m c - 1 8 E M O D E L 1
9 . 6 V P C M
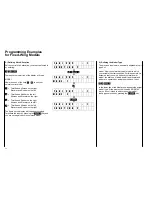
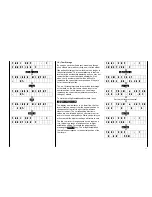
3.) Selection of Model Memory
In order to file the following adjustments under model
No, 1, input the following
ENTER
5
6
ENTER
1
ENTER
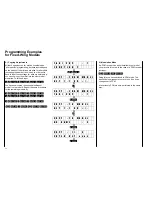
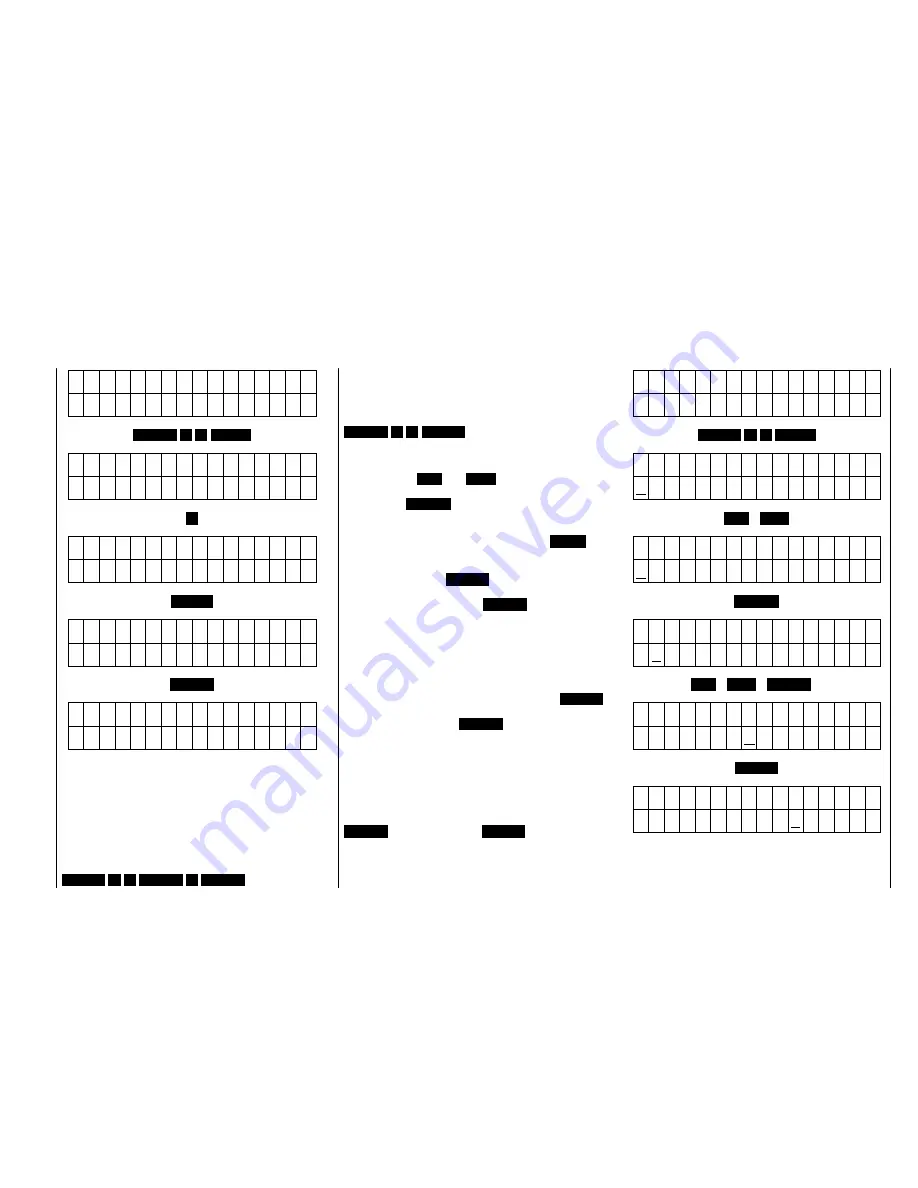
4.) Entering Model Name
So you’ll be able to locate it correctly later on, input
the name of your model, by inputting:
ENTER
3
2
ENTER
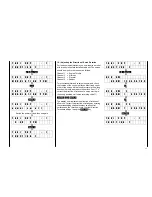
The transmitter now asks for the name, with the
cursor being located in the first position of the lower
line. Using the
INC
and
DEC
keys you select the
first letter of the name of the model. This is stored by
pressing the
STORE
key, whereupon the cursor
moves to the 2nd position. In this manner, store the
complete name of the model (the length of the name
must no exceed 11 characters). Using the
TURN
key changes between uppercase and lowercase
letters. If you have entered an incorrect letter, you can
backspace using the
CLEAR
key and the correct it.
Having entered the complete name, input is
terminated by a press of the
ENTER
key.
NOTE:
The transmitter is now back in the command mode,
indicated on the lower line of the display by
“FUNCTION ?”, which is to say it is waiting for a code
number to be input. During adjustment it will remain in
this mode, which can be left by pressing the
ENTER
key. From normal mode you can switch to the
command mode by the
ENTER
key.
For the ensuing inputs, it is assumed that the
transmitter is in the command mode, that is
“FUNCTION ?” will be showing on the lower line of
the display.
In case you had switched off your transmitter or had
accidentally switched to normal mode via the
ENTER
key, just press the
ENTER
key again to get
back to command mode.
m c - 1 8 E M O D E L 1
9 . 6 V P C M
ENTER
3
2
ENTER
↓↓
N A M E :
INC
…
DEC
↓↓
N A M E :
T
STORE
↓↓
N A M E :
T
INC
…
DEC
…
STORE
…
↓↓
N A M E :
T A X I C U P
ENTER
↓↓
T A X I C U P : 1
F U N C T I O N ?
Summary of Contents for mc-18
Page 1: ...1...
Page 10: ...Block Diagram NORMAL 10...
Page 11: ...Block Diagram NORMAL DIFF 11...
Page 12: ...Block Diagram DELTA DIFF 12...
Page 13: ...Block Diagram UNIFLY DIFF 13...
Page 14: ...Block Diagram Quadro Flap 14...
Page 15: ...Block Diagram F3B 3 wing servos 15...


