58
Detailed description of programming
Reserving a new memory
If you have already read through to this point in the manual, you will undoubtedly have made your fi rst attempt
at programming the system already. Even so, it is important to describe each menu here in detail, to ensure that
you have comprehensive instructions for each application you are likely to encounter. In this section we start
with the procedure for setting up a “free” model memory prior to “programming” a new model:
Program description
Carry out the essential steps of
selecting a langua-
ge
and
selecting a channel
– the latter is necessary
each time you switch the transmitter on – as descri-
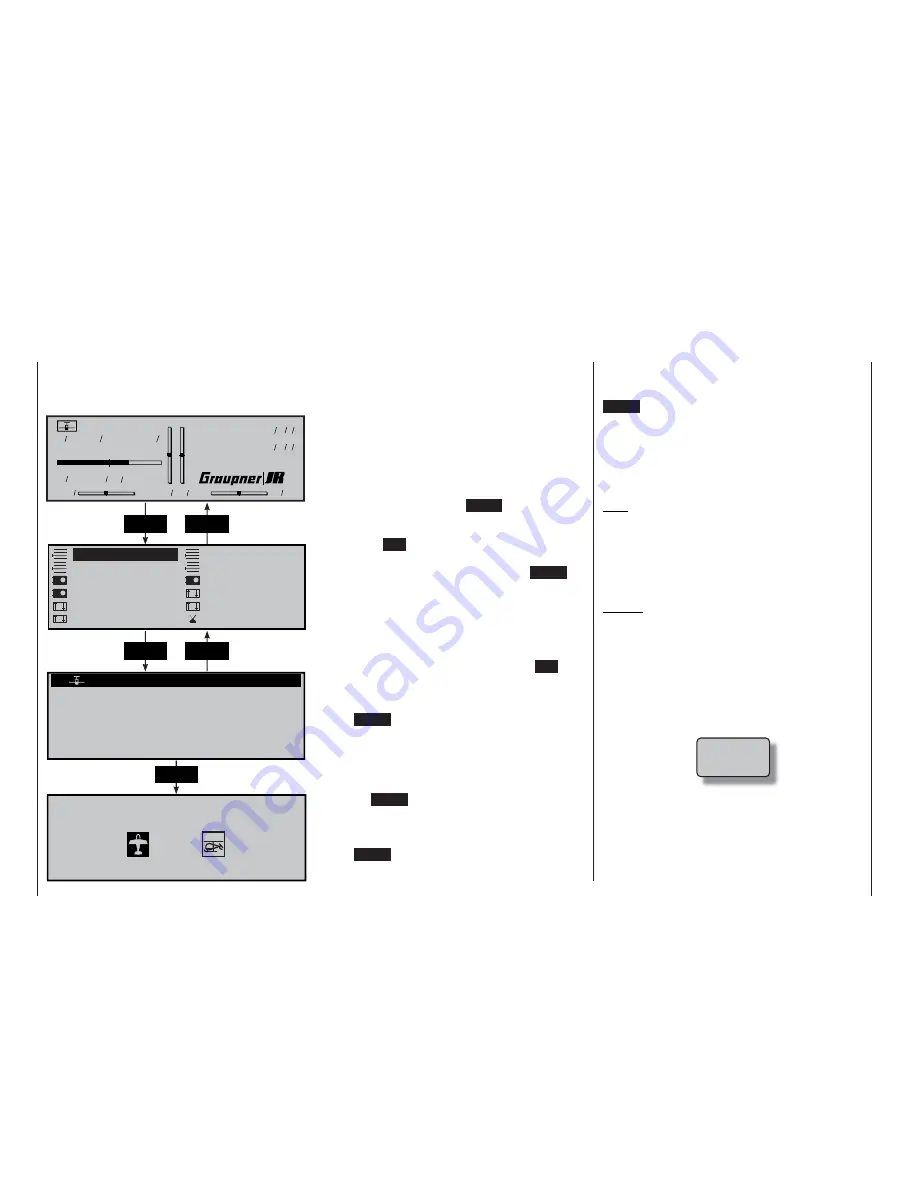
bed on pages 23 and 25. The basic display now ap-
pears on the screen. Adjust the screen contrast if ne-
cessary by pressing and turning the rotary control.
From the basic display press
ENTER
, or press the
rotary control briefl y, to shift to the “Multi-function
menu”. You can return to the basic screen at any time
by pressing
ESC
.
If necessary select the »
Model select
« menu from
the list using the rotary control. Now press
ENTER
or
the rotary control to move on to the »
Model select
«
menu.
As delivered, the transmitter’s fi rst model memo-
ry is initialised with the model type “Fixed-wing mo-
del”, whereas the remaining memories – entitled
“
free
” – are not yet in use. If you wish to
program a fi xed-wing model, you can press
ESC
to
leave the »
Model select
« menu and immediately
start programming the model parameters … or alter-
natively select one of the vacant model memories and
press
ENTER
or the rotary control.
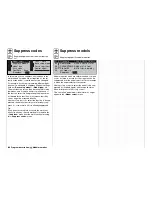
If you opt for the second alternative, you will be re-
quested to determine the basic model type, i. e. either
“fi xed wing model” or “model helicopter” – see pictu-
res at bottom left. Use the rotary control to select the
desired model type icon, then press the rotary cont-
rol or the
ENTER
button. The screen switches back to
the basic display.
If you wish to start with a
helicopter
, select one of
the model memories named “
free
” and
press
ENTER
or the rotary control briefl y. You will now
be requested to determine the basic model type, i. e.
either “fi xed wing model” or “model helicopter” – see
pictures at bottom left. Use the rotary control to select
the helicopter icon, and press the rotary control or the
ENTER
button. This initialises the selected model me-
mory with the “helicopter” model type, and you can
start programming the data for your helicopter in this
model memory.
Changing to another model type for this model me-
mory is now only possible if you fi rst erase the model
memory (»
Copy / Erase
« menu, page 60).
Note:
If some of the transmitter’s model memories are al-
ready occupied, the model name entered in the
»
Base setup model«
menu (see pages 64 / 66) ap-
pears against the corresponding model memory, to-
gether with the model’s operating time and brief infor-
mation about it (if you have already entered this).
Caution:
•
All the transmitter’s functions are barred, and the
transmitter does not broadcast a signal, until you
confi rm the model type you have selected. If you
switch off the transmitter before you set the mo-
del type, the screen automatically switches to the
screen display shown at the bottom when turned
on again. You must always defi ne a model type!
• If the following warning display appears on the
screen …
… then you have programmed a power-on war-
ning for a fi xed-wing model aircraft in the “Base
setup model” menu.
ENTER
ESC
Model name
#01
H-J.Sandbrunner
10.2V
0:30h C62
0
0
0
0
Stop watch
Flight tim
0 00
0 00
:
:
0:30h SPCM20
Model select
Copy / Erase
Suppress codes
Servo adjustment
Control adjust
Suppress models
Model type
Base setup model
Stick mode
Dual Rate / Expo
Channel 1 curve
Switch display
02
03
04
05
01
06
free
0:00
free
free
free
free
Select model type (free model memory)
ENTER
ESC
ENTER
!Warning!
Summary of Contents for mx-24s
Page 1: ...1...
Page 19: ...19 For your notes...
Page 35: ...35 For your notes...
Page 41: ...41 41 For your notes...
Page 57: ...57 For your notes...
Page 63: ...63 63 For your notes...
Page 69: ...69 69 For your notes...
Page 85: ...85 85 For your notes...
Page 99: ...99 For your notes...
Page 143: ...143 For your notes...
Page 191: ...191 For your notes...
Page 212: ...212 212 For your notes...
Page 213: ...213 213 For your notes...
Page 214: ...214 For your notes...
Page 216: ...216...

