


37 / 48
S1024.mz32_V1.7_sh_en
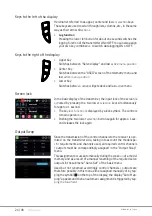
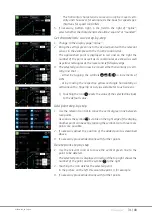
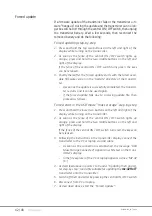
ͻ
upper and low
ĞƌƐĞůĞĐƟŽŶ
keys
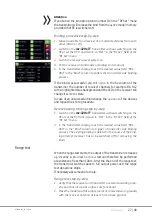
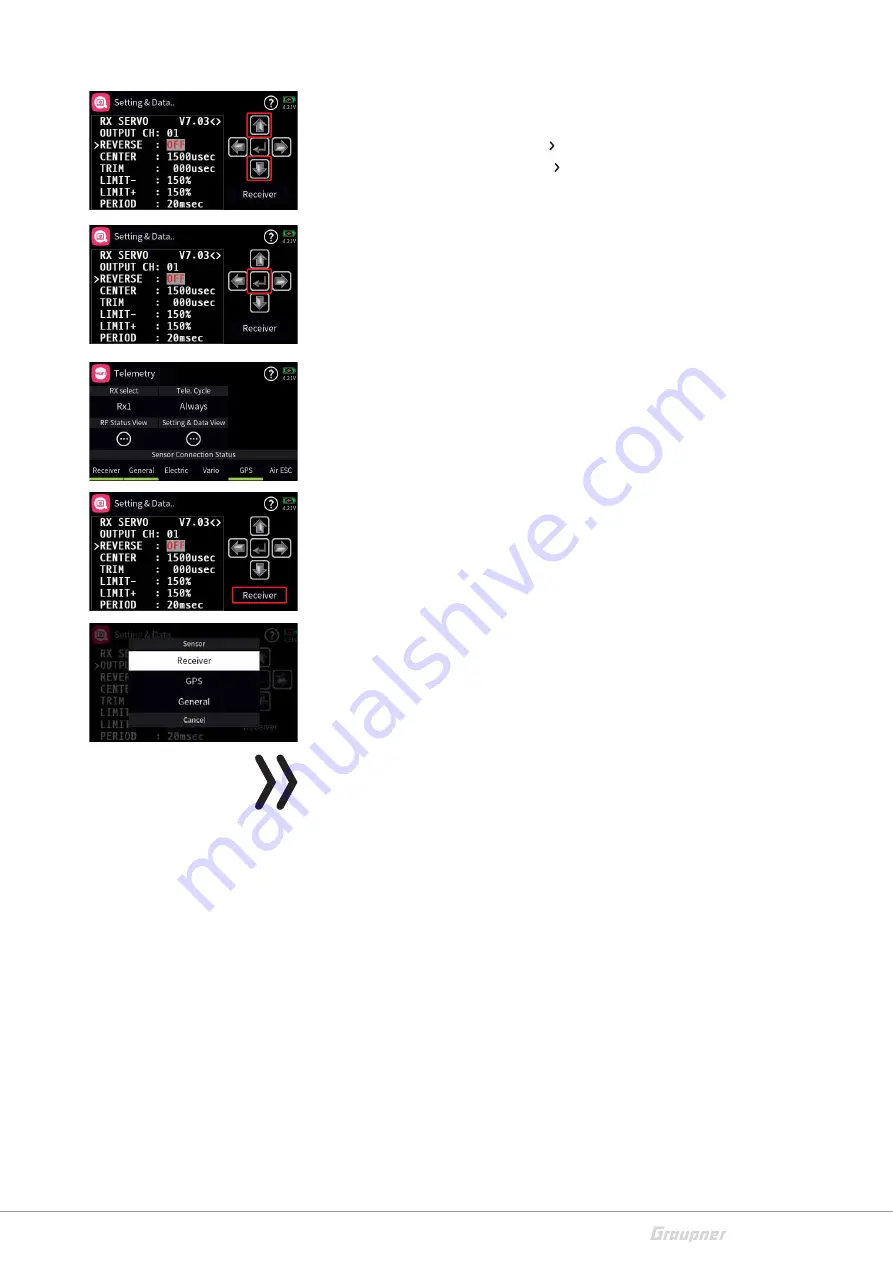
Menu lines in which parameters can be changed are indicated by
a preceding angle bracket ( ). Tapping on the lower or upper
ƐĞůĞĐƟŽŶďƵƩ
on moves this " " pointer one line down or up.
Lines which cannot be navigated to cannot be changed.
ͻ
middle "ENTER" bu
Ʃ
on
Tapping the central bu
Ʃ
on
ĂĐƟ
vates or
ĚĞĂĐƟ
vates the value
ĮĞůĚŽĨĂŵŽĚŝĮĂďůĞƉĂ
rameter.
As long as a parameter is displayed inversely, the selected value
can be changed with the upper or lower key within the possible
se
ƫŶŐ
range.
ͻ
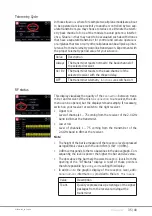
"RECEIVER"
bu
Ʃ
on
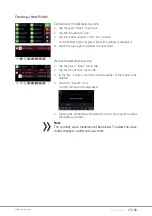
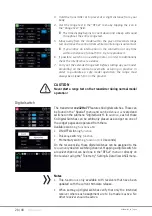
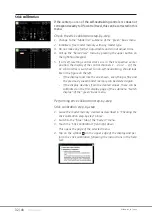
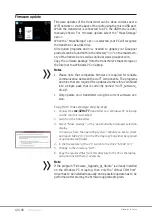
If a sensor was connected before switching on the relevant
receiver power supply, or if several sensors were connected to
the receiver, this is indicated by a green bar at the bo
Ʃ
om of the
display of the "telemetry" menu, as shown on the le
Ō͘
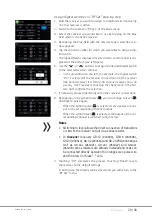
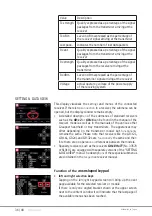
To access the telemetry displays of these devices, open the "SET-
TING & DATAVIEW" display, then tap the value
ĮĞůĚ
labelled
"Receiver" in the lower right corner and select the desired device
ŝŶƚŚĞƐĞůĞĐƟŽŶǁŝŶĚ
ow that appears.
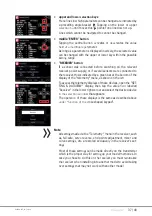
The opera
ƟŽŶ
of these displays is the same as described above
ƵŶĚĞƌΗĨƵŶĐƟŽŶŽĨƚŚĞĐ
ross-shaped keypad".
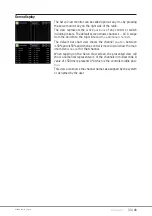
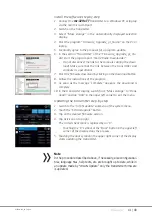
Note
All se
ƫŶŐƐ
made via the “Telemetry” menu in the receiver, such
as, fail-safe, servo reverse, end points adjustment, mixer and
curve se
ƫŶŐƐ͕
etc. are stored exclusively in the receiver’s set-
ƟŶŐƐ͘
Most of these se
ƫŶŐƐ
can be made directly on the transmi
Ʃ
er
which is the proper way for se
ƫŶŐ
up your model memories. In
case you chose to do this on the receiver you must r
ĞŝŶŝƟĂůŝ
ze
the receiver when installing into another model to avoid taking
over se
ƫŶŐƐƚŚ
at may not work with another model
Summary of Contents for mz-32 HoTT
Page 2: ...2 48 S1024 mz32_V1 7_sh_en ...
Page 39: ...39 48 S1024 mz32_V1 7_sh_en ...
Page 43: ...43 48 S1024 mz32_V1 7_sh_en ...
Page 44: ...44 48 S1024 mz32_V1 7_sh_en ...
Page 45: ...45 48 S1024 mz32_V1 7_sh_en ...
Page 48: ......


