EN - 27
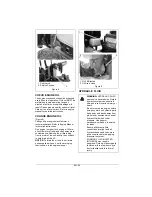
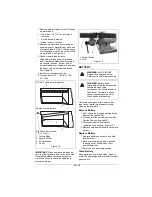
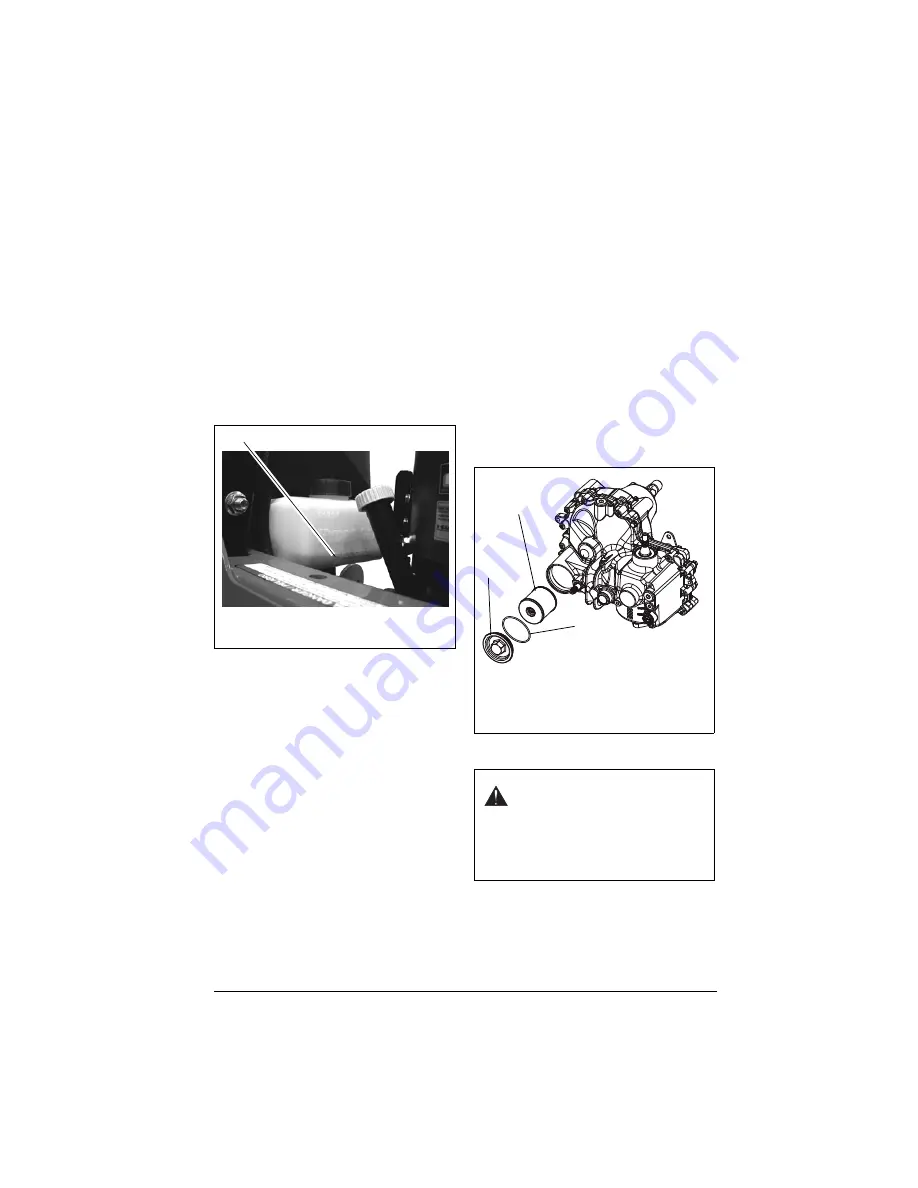
Check Hydraulic Fluid Level
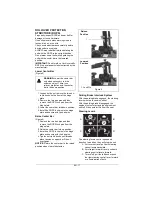
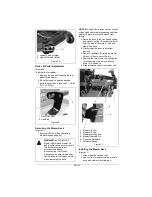
(Figure 10)
Check the system with the unit cold and
parked on a flat, level surface.
Then run the unit for about one minute and
recheck the levels.
Add Hydraulic Fluid
1. Remove the cap from the expansion
tank.
2. Fill the expansion tank with 15W-50
synthetic motor oil (Gravely p/n
00057100) or equivalent until oil level
reaches the cold fill line on the tank.
3. Install the expansion tank cap and then
purge the system. See
Change Hydraulic Fluid and Filter
NOTICE:
Change hydraulic fluid and filter
after the first 75 hours of operation and then
every 400 hours. Use 15W-50 synthetic
motor oil (Gravely p/n 00057100) or
equivalent.
1. Run the unit for a few minutes to warm
the hydraulic fluid, and then shut off the
engine, remove ignition key, and wait for
all moving parts to stop before servicing
unit.
2. Place container under oil filter to catch
oil.
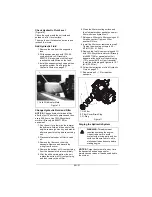
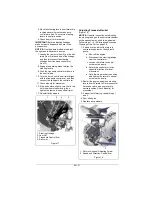
3. Remove the filter cover from the
transaxle. Remove and discard the
o-ring from the cover.
4. Remove the bottom oil fill vent port plug
from the transaxle to drain completely.
5. After the oil has drained from the unit,
replace the bottom oil fill vent port plug
and then remove the oil filter.
6. Clean the filter mounting surface and
then lubricate rubber gasket on new oil
filter with clean hydraulic oil.
7. Spin new oil filter onto filter housing until
it makes contact. Tighten oil filter
another 3/4 turn.
8. Install the filter cover removed in step 3.
Tighten the mounting screws to 40 –
45 lbf-ft (54 – 61 N•m).
9. Remove the top fill vent port plug and fill
with 15W-50 synthetic motor oil (Gravely
p/n 00057100) or equivalent until oil
appears at the bottom of the drain plug
(151 ounces (4475 mL) per transaxle).
Install the drain plug and tighten to 16.7
lbf-ft (22.5 N•m).
10. Follow the instructions in
11. Repeat steps 2 – 10 for the other
transaxle.
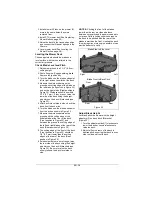
Purging the Hydraulic System
NOTICE:
Purge the system of air any time
the transaxle has been opened for
maintenance or when oil has been added to
the system.
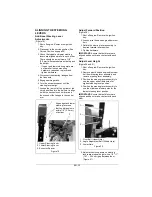
Figure 10
1. Cold Fill Indicator Mark
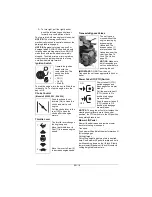
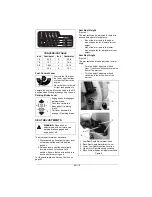
WARNING:
This adjustment
requires operating the engine.
Use extreme care to avoid
contact with moving parts and hot
surfaces. Be sure rear of unit is
well supported and secure before
starting engine.
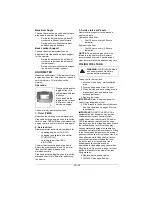
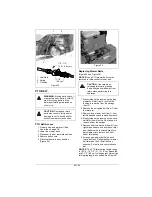
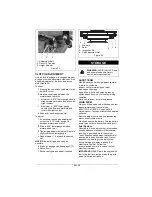
Figure 11
1. Oil Filter
2. Filter Cover/Drain Plug
3. O-Ring


