2019-06-12
401-705M
YP3025A
Operating Instructions
58
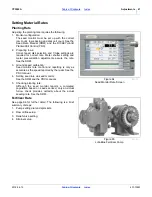
Planting
When all checklist items are complete, a planting pass
normally consists of a few simple steps)
1. Lower Planter mainframe
2. Extend a marker
3. Drive forward
4. Scan monitors and controls. Check for errors, alerts
and out-of-limits events. Check planting rate reports.
5. Raise marker
6. Raise Planter mainframe
7. Turn
8. Extend marker as needed for next pass
9. Subsequent Passes resume at step 1.
When reloading seed and fertilizer, check consumption
against anticipated use to that point.
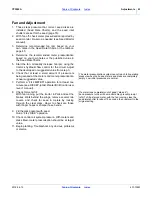
Checking Planting Rate
Although your seed monitor will report useful full pass
results, cautious practice includes manually checking the
seed rate early in the first pass.
The Seed Rate Chart book for this Planter (manual part
number 401-627B) contains sampling instructions.
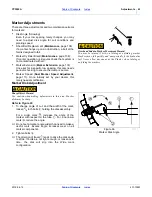
Short-Term Parking
1. Fold markers. See “
2. Choose a location with level firm ground. Do not
unhitch on a slope.
3. Raise the Planter.See “
4. Fold the Planter (optional). See “
5. Block tires.
6. Re-install the parking stand (“
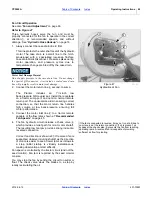
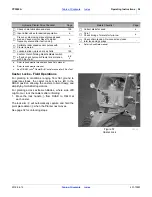
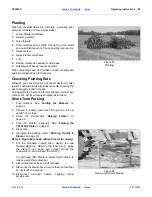
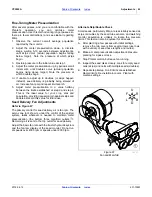
Refer to Figure 62 (shown without tractor for clarity)
7. For the standard 3-point hitch, deploy the two
forward stands
. Remove the inner pin
, swing
the stand
out, down and vertical around the
bottom pin
, and re-insert the pin at
.
For hydraulic hitch Planters, adjust hitch cylinder to
relieve weight from draw-bar.
8. Insert transport locks on all lift cylinders.
9. Disconnect hydraulic lines. Secure them so that they
do not touch the ground.
10. Disconnect electrical cables, capping where
provisioned.
Figure 61
Planting
29264
Figure 62
Deploying 3-Point Stands
26034
7
4
6
5

