❏
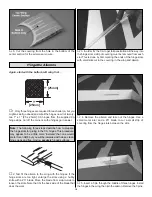
18. Mix up another thick batch of epoxy and
microballoons. Apply a small fillet all the way around the
front of the cowl ring and the cowl. Reinstall the cowl, tighten
the screws and stand the model up on end again. Allow the
epoxy to harden.
❏
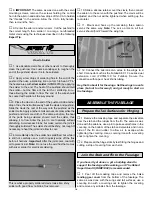
19. Remove the cowl after the epoxy has hardened. Use
coarse sandpaper to roughen the epoxy fillet. Cut the 12"
[300mm] fiberglass strip into 1-1/2" [40mm] strips, then use
30-minute epoxy to glue the strips, evenly spaced, inside the
cowl and cowl ring to reinforce the joint. While you’ve got the
epoxy out, lightly coat any other areas of bare wood on the
cowl ring. Allow the epoxy to fully harden.
❏
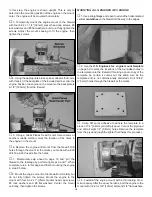
20. Mount the cowl and see how it all fits. The easiest way
is to insert the screws into the cowl ring, then position the
cowl and tighten the screws. When removing the cowl, the
screws should stay in the cowl ring.
❏
21. Should you prefer an extended wrench with a handle
rather than the one supplied with an “L” bend on the end,
one could be made by splicing together a 3/32" [2.4mm]
ball-end hex wrench with a piece of 4-40 pushrod and 1/8"
[3.2mm] brass tubing. Use a file to round the ends of the
wrench so they will fit into the brass tubes, then hold it all
together with silver solder.
❏
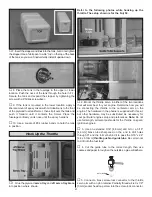
22. Now that the cowl is all fitted-up, use thin CA to
permanently join the elevators to the stabilizer and the
rudder to the fin with the hinges.
❏
Use 30-minute epoxy, 30-minute epoxy thinned with
denatured alcohol, or fuelproof paint to lightly coat the main
landing gear cutout on the bottom of the fuselage and the
exposed balsa areas of the landing gear cover. While
you’re at it, go ahead and coat any other areas on the
bottom of the fuselage that may be exposed to fuel or
exhaust residue such as the area where the wing fits and
both sides of the wing saddle. It’s not necessary to apply
heavy coats of epoxy—one light coat will do. Allow the epoxy
to soak into the wood for a few minutes, then wipe the areas
down with a few paper towel squares. Allow the epoxy to
fully harden, then lightly sand with 400-grit sandpaper.
Note: In the following steps one plywood wheel pant brace
will be glued inside each wheel pant. This significantly
strengthens the mounting area so the pants will withstand
rough fields or bouncy landings (of course, all of your landings
will be perfect!). The braces go on the inside of each pant that
gets mounted to the landing gear. Refer to the sketch at step 1
on page 27 to see how all the parts fit together.
Prepare the Wheel Pants
Fuelproof the Landing Gear Cutout
MOUNT THE LANDING GEAR
23


