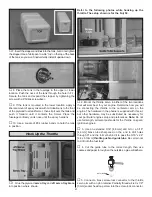
The method for connecting all four aileron servos to the
receiver is to connect the two Y-connectors in the wings to a
longer Y-connector (such as the Hobbico 24" [610mm] Y-
connector, HCAM2751) in the fuselage. The Y-connector in
the fuselage is then connected to the receiver.
❏
1. Carefully cut a small hole in the fuselage sheeting near
one of the rear cabane struts for the Y-connector in the
fuselage. Guide the Y-connector through the hole.
❏
2. Use RTV silicone or a couple drops of medium CA to
glue the plug to the underside of the cabane. Hold the servo
wire to the cabane with a few wraps of white striping tape.
Now it will be easy to connect and disconnect the ailerons in
the top wing from the Y-connector in the fuselage.
❏
1. Determine where the receiver and battery pack will be
mounted. The most convenient location for the receiver is on
the servo tray, cushioned with R/C foam, using the supplied
Velcro strips. Depending upon whether the model was nose-
heavy or tail-heavy during the initial C.G. test, the battery could
be mounted either on the servo tray or on the optional plywood
battery tray in front of or behind the cockpit. Should you
decide to mount the battery pack behind the cockpit, note the
notches in the formers for the tray. Should you decide to mount
the battery tray forward, it could be glued in any convenient
location to the front of the fuselage. Be certain the battery does
not interfere with installation or removal of the fuel tank.
❏
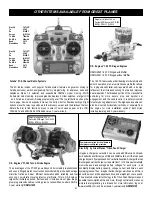
2. Mount the on/off switch and charge jack. For our model
a Great Planes Switch & Charge Jack Mounting Set
(GPMM1000) was used so the battery pack could be easily
charged and monitored from outside the fuselage without
having to remove the wings. Connect all the servos/servo
extensions to the receiver.
Complete the Radio Installation
Install the Aileron Extension Cord
41


