❏
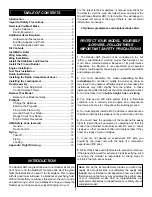
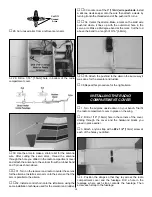
28. Cut unused arms from a leftover servo arm.
❏
29. Drill a 1/16" [1.5mm] hole in bottom of the radio
compartment cover.
❏
30. Use the arms to make a strain relief for the antenna
wire. After cutting the servo arms, thread the antenna
through the hole you drilled in the radio compartment cover
and attach the antenna to the vertical fin with a rubber band
and T-pin as shown above.
❏ ❏
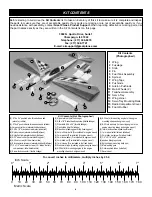
31. Turn on the receiver and radio to center the servos
for the ailerons. Install a servo arm onto the servo so that the
arm is parallel to the aileron.
❏ ❏
32. Install a control horn onto the left aileron using the
same installation technique used for the elevator and rudder.
❏ ❏
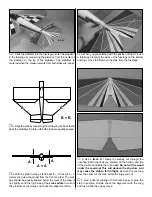
33. Locate one of the 6" [150mm] wire pushrods. Install
a silicone clevis keeper onto the wire then attach a clevis by
turning it onto the threaded end of the pushrod 14 turns.
❏ ❏
34. Center the aileron. Make a mark on the solid wire
pushrod where it lines up with the outermost hole in the
servo arm. Make a 90-degree bend at the mark. Cut the rod
above the bend to a length of 3/16" [4.8mm].
❏ ❏
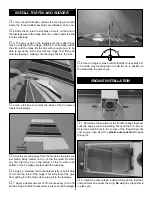
35. Attach the pushrod to the aileron the same way it
was done for the elevator and rudder.
❏
36 Repeat this procedure for the right aileron.
❏
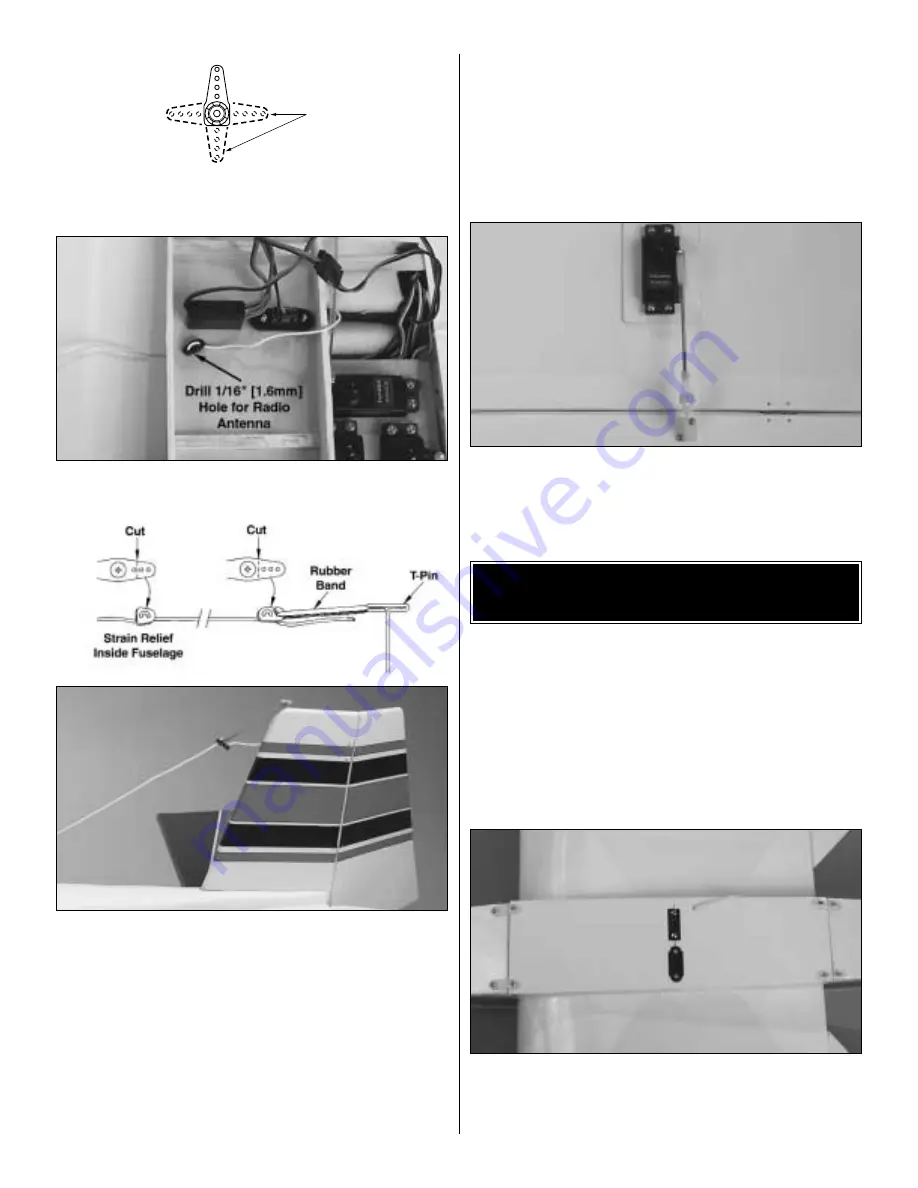
1. Turn the airplane upside down on your bench. Trial fit
the radio compartment cover in place on the wing.
❏
2. Drill a 1/16" [1.6mm] hole in the corners of the cover,
drilling through the cover and the hardwood blocks you
glued in place earlier.
❏
3. Attach a nylon strap with a #2 x 1/2" [13mm] screw at
each of the holes you drilled.
❏
4. Position the straps so that they lay across the radio
compartment cover and the fuselage. Drill a hole in the
fuselage where each strap contacts the fuselage. Then
screw each strap to the fuselage.
INSTALLING THE RADIO
COMPARTMENT COVER
Cut Off
Unused
Arms
13


