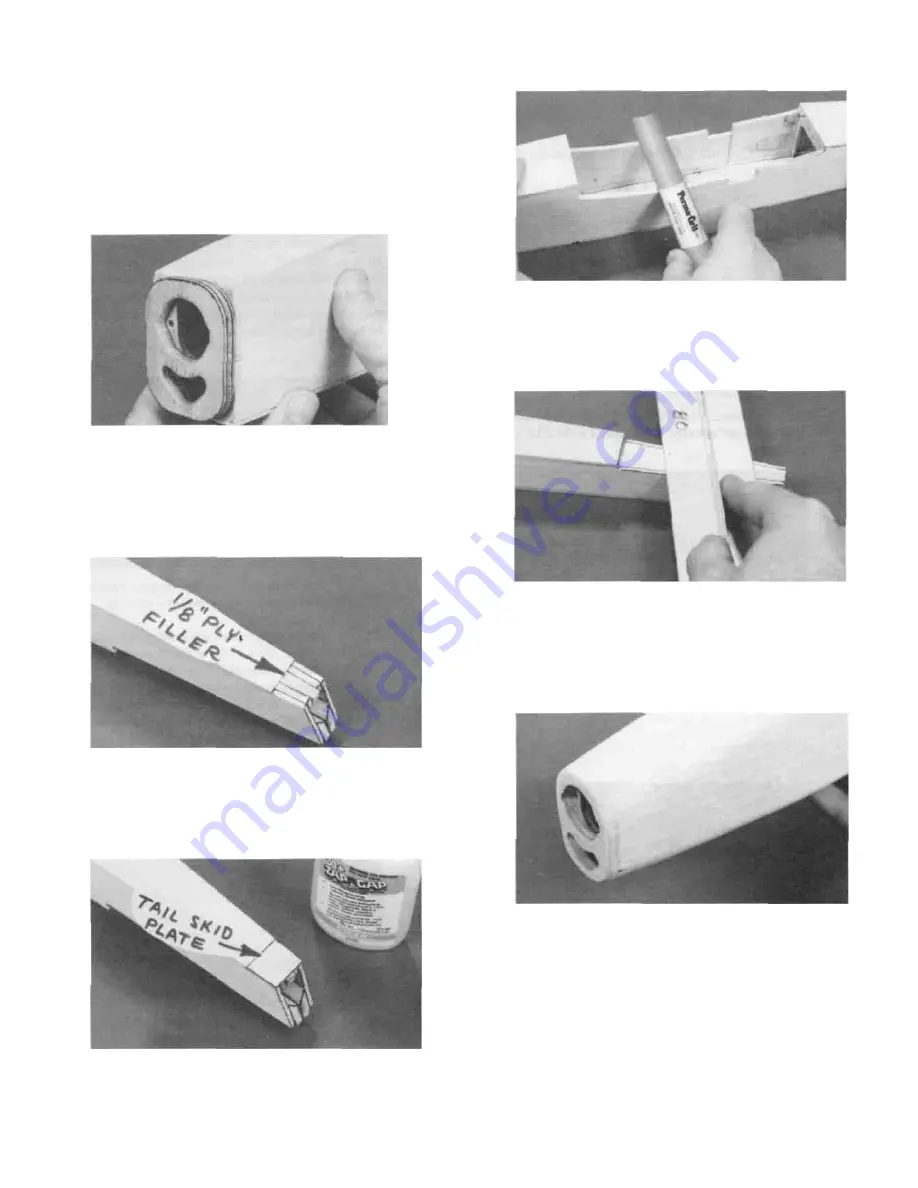
D 24. Sand all balsa parts flat and even with the front of
F-l. Also sand the rear edge of the fuse top front even with
the rear edge of F-3.
SAND THE FUSELAGE
D
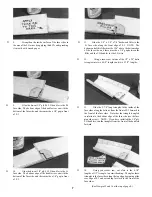
25. Glue the four layers of the balsa nose block
together, alternating the grain direction at each layer (you are
making balsa "plywood"). NOTE: Use thin CA to achieve
good penetration, making a hard and durable nose block.
After the glue has hardened, sand the inside of the openings
with sandpaper wrapped around a dowel.
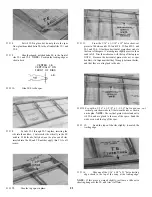
D 1. Carefully sand the vertical grain balsa battery
compartment doublers even with the fuse sides in the wing
saddle area.
D 26. Glue the laminated nose block to the front of the
fuse. NOTE: The layer having vertical grain should be in
the front. NOTE: If you are installing a landing gear (and
tail skid), perform steps 27 and 28 now.
D
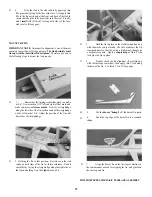
D 27. Cut a scrap of 1/8 " ply (from die-cutting scrap) to
fit snugly between the 1/8" x 1/8" balsa stringers at the aft
end of the fuse. Glue in place.
D
D
D 28. Glue the die-cut 1/16" ply tail skid plate to the
bottom of the fuse at the aft end. Then sand the tail skid parts
even with the fuse sides and fuse tail end.
2. Note that the 1/2" balsa triangle stringers protrude
above the fuse sides in the stab saddle area. Sand these
triangles down even with the fuse sides in the stab saddle
area.
3. Study the cross-section drawings of the formers
and cross-sections "E-E" and "F-F" to get a "feel" for how
much sanding will have to be done on the fuselage to produce
the correct shapes. Now use a sanding block with coarse
(#50 or #80 grit) sandpaper to sand the fuselage to its
approximately final shape.
4. Change to progressively finer grades of sandpaper
to achieve the final shape and smoothness. If you cut a long,
narrow strip (1" x 10") of 400-grit sandpaper and use it like
a "shoe-shine cloth" on the top of the fuse, you will be
surprised at the uniformity and smoothness that can be
achieved.
12


