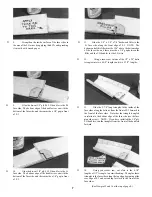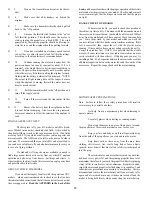
D D 8. Set rib W-8 in place, but do not glue to the spar.
Now glue the notched balsa TE to the aft ends of ribs W-1 and
W-8.
D D 9. Glue the shaped, notched balsa LE to the front of
ribs W-l and W-8. NOTE: Position the leading edge as
shown here:
CENTER L.E.
VERTICALLY ON
FRONT OF RIBS
L.E.
D D 10. Glue W-8 to the spar.
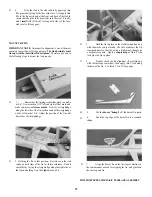
D D 13. From the 1/16" x 1-1/16" x 15" balsa sheet, cut
pieces to fit between ribs W-l and W-2, W-2 and W-3. and
W-3 and W-4. Glue these horizontal grain shear webs to
the front of the spars. (Cut each piece slightly oversize, then
sand to fit). Trim the webs even with the top of the top spar.
NOTE: Because the horizontal grain webs act as spar
doublers, it is important that they fit snugly between the ribs,
and that they are also glued to the nbs.
D D 14. F r o m t h e 1 / 1 6 " x 3 - 5 / 8 " x 1 - 1 / 1 6 " b a l s a p i e c e s , c u t
vertical grain shear webs to fit between the ribs. as shown
on the plan. NOTE: The vertical grain webs extend out to
rib W-6, and are glued to the rear of the spars. Sand the
webs even with the top of the spar.
D D 15. Sand the tops of the ribs slightly, to match the
trailing edge.
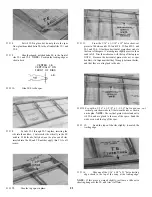
D D 11. Set ribs W-2 through W-7 in place, inserting the
ribs into the notches. Center each rib vertically in the LE
notches. With the nbs fully down on the plan and all ribs
inserted into the LE and TE notches, apply thin CA to all
joints.
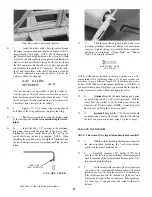
D D 16. Glue one of the 1/16" x 5/8" x 23" balsa trailing
edge sheets to the lop of the wing at the trailing edge.
NOTE: If this piece is warped slightly, just leave a little extra
sheeting hang over the TE, and trim it off later.
D D
12.
Glue the top spar in place.
21

