18
Top
Vent Tube
❏
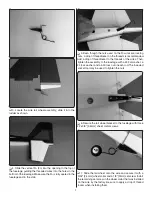
3. Use a fi ne-point felt-tip pen to write “TOP” on the same
side of the fuel tank that has the molded-in label “420cc” (or,
just remember that the surface that has the “420cc” is the top).
Loosen the Phillips screw in the stopper assembly a few turns
and temporarily remove the stopper assembly from the tank.
Be certain the vent tube is toward the top of the tank. Then,
reinsert the stopper assembly and tighten the screw to squish
the rubber stopper and seal the tank.
❏
4. Mount the fuel tank with the straps. The fuel lines will
be connected later.
❏
5. Re-install the balsa block with the screws. This block will
keep the tank from sliding out of position.
Don’t worry about connecting the fuel lines at this time.
We will be installing them later in the assembly process.
HOOK UP THE THROTTLE
❏
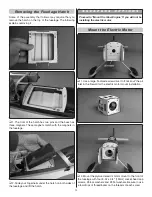
1. Install a servo arm onto the throttle servo. Place the throttle
servo into the fuselage. Slide the 20" [508mm] pushrod wire
through the hole in the fi rewall and into the fuselage. Align
the hole at the end of the arm with the pushrod wire. Using
the hardware that came with your servo, mount the servo to
the tray. Once the throttle is installed remove the pushrod wire.
Two-Stroke Hookup
❏
1. Install the 17-3/4" [450mm] nylon pushrod tube through
the hole in the fi rewall, along the side of the fuel tank and into
the servo bay. Cut the nylon pushrod tube so it extends from
the fi rewall 1/4" [6mm]. Roughen the end of the tubewith 180
grit sandpaper. Apply a couple of drops of CA glue where the
tube passes through the fi rewall and formers.


