24
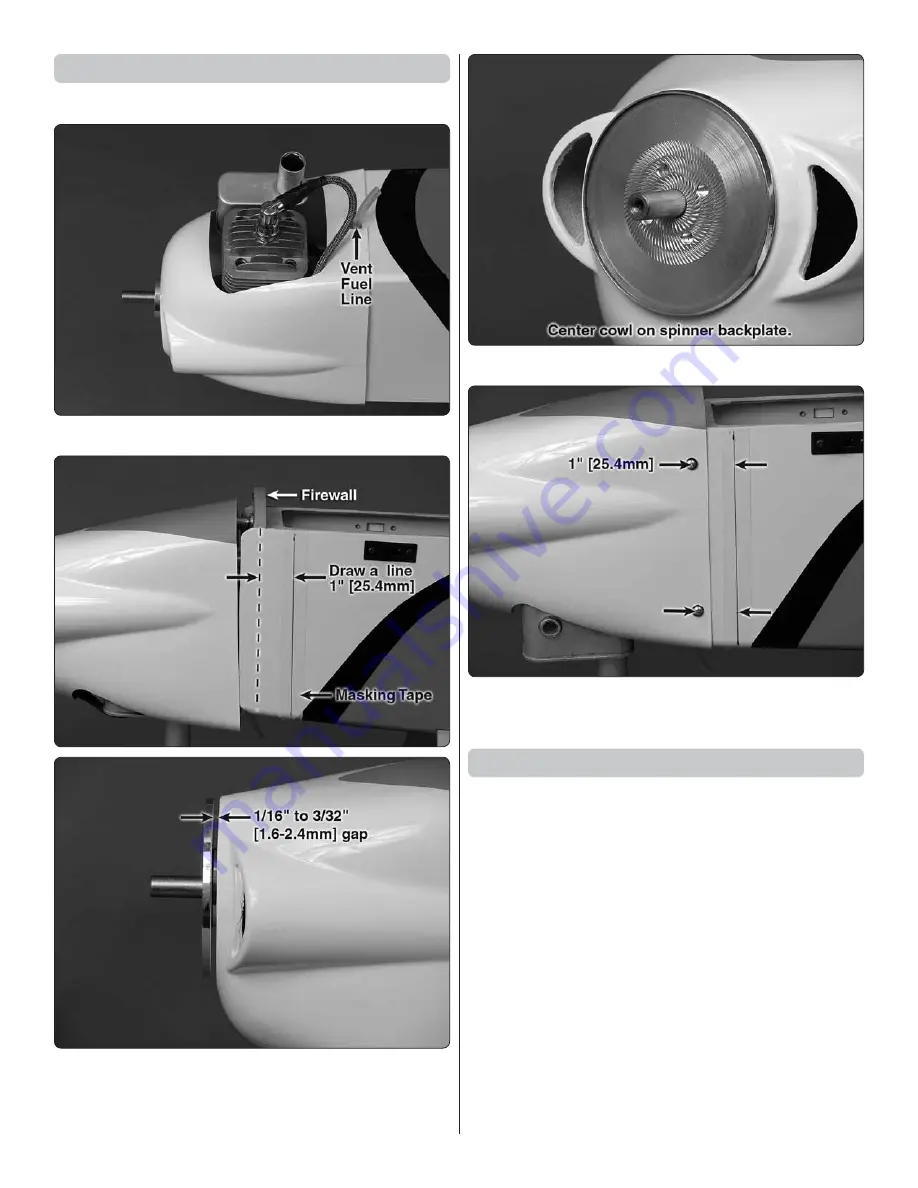
Install the Cowl
For the electric installation, skip to step 2.
❏
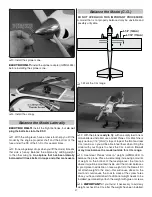
1. Trim the cowl to fi t over the head and muffl er.
❏
2. Position the cowl.
❏
3. Drill 5/64" [1.5mm] pilot holes. Attach the cowl using
#4 x 5/8" [16mm] sheet metal screws and #4 fl at washers.
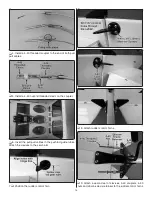
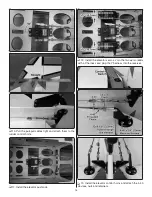
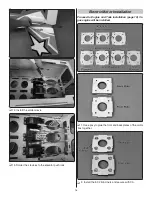
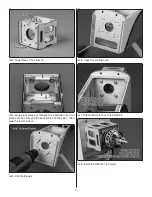
Apply the Decals
1. The decals are die-cut from the factory.
2. Be certain the model is clean and free from oily fi ngerprints
and dust. Prepare a dishpan or small bucket with a mixture
of liquid dish soap and warm water—about 1/2 teaspoon of
soap per gallon of water. Submerse one of the decals in the
solution and peel off the paper backing.
NOTE:
Even though
the decals have a “sticky-back” and are not the water transfer
type, submersing them in soap & water allows accurate
positioning and reduces air bubbles underneath.
3. Position decal on the model where desired. Holding the
decal down, use a paper towel to wipe most of the water away.
4. Use a piece of soft balsa or something similar to squeegee
remaining water from under the decal. Apply the rest of the
decals the same way.
Please use the following pictures and box top as a guide for
the decal placement.
Summary of Contents for ESCAPADE MX 30cc
Page 32: ......

