14
Landing Gear Installation
❏
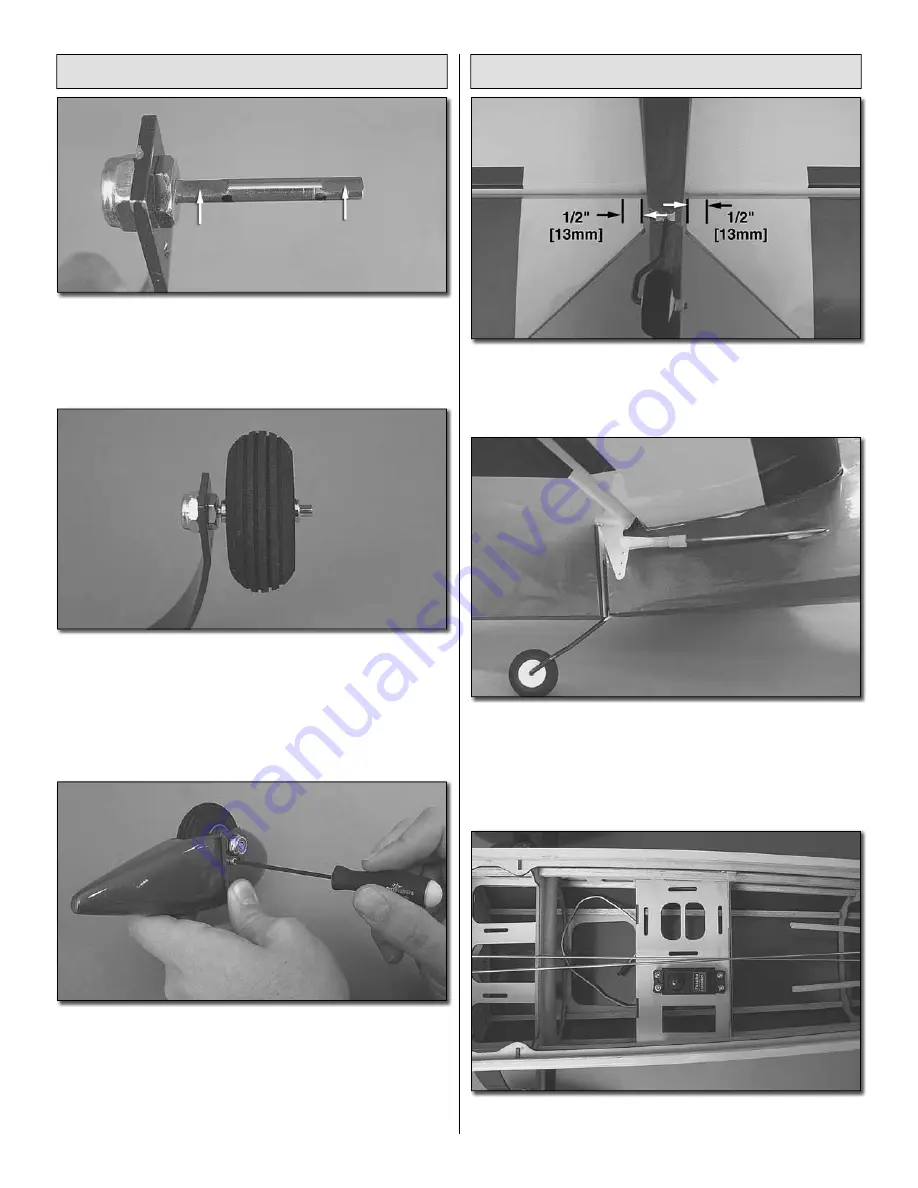
1. Locate the main landing gear, axles, wheels, wheel collars,
set screws, wheel pants, and four 4-40 SHCS. Attach the axles
to the landing gear. Make a mark on the landing gear 5/16"
[8mm] from each end. Using a rotary tool make a fl at spot on
the underside of the axle from the each end to the mark.
❏
❏
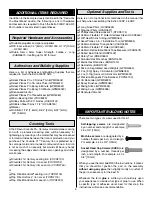
2. Place a wheel collar on the axle and secure it to the
inward fl at spot with the set screw. Be sure to use a drop
of thread locker on the set screw when you put it in. Place
a wheel on the axle and place another wheel collar on the
outward fl at spot. Secure the second wheel collar to the axle
using the set screw and a drop of thread locker. Repeat this
step for the other wheel and axle.
❏
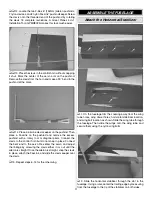
3. Mount the wheel pants using the 4-40 x 1/4" SHCS as
shown. Be sure to place a drop of thread locker on the screw
before inserting it.
❏
4. Trim the covering away from the three landing gear
mounting holes and mount the landing gear to the fuselage
using three 6-32 x 1/2" [13mm] socket head bolts.
Install the Elevator Servo
❏
1. Make a mark on the elevator that is 1/2" [13mm] from
the inboard edge of the aileron. Mount both control horns on
the marks, using the same procedure that was used on the
aileron horn.
❏
2. Locate the two elevator 2-56 x 36" [914mm] pushrods.
Thread a clevis onto the end of each pushrod. Slide a silicone
clevis keeper on each pushrod and down to the clevis. Install
the pushrods by sliding them into the elevator pushrod guides
from the tail, and connecting the clevises to the horns as
shown. Do not snap the clevises shut at this point.
❏
3. Place the elevator servo in the elevator servo mounting
position as shown. Mark the location for the elevator mounting


