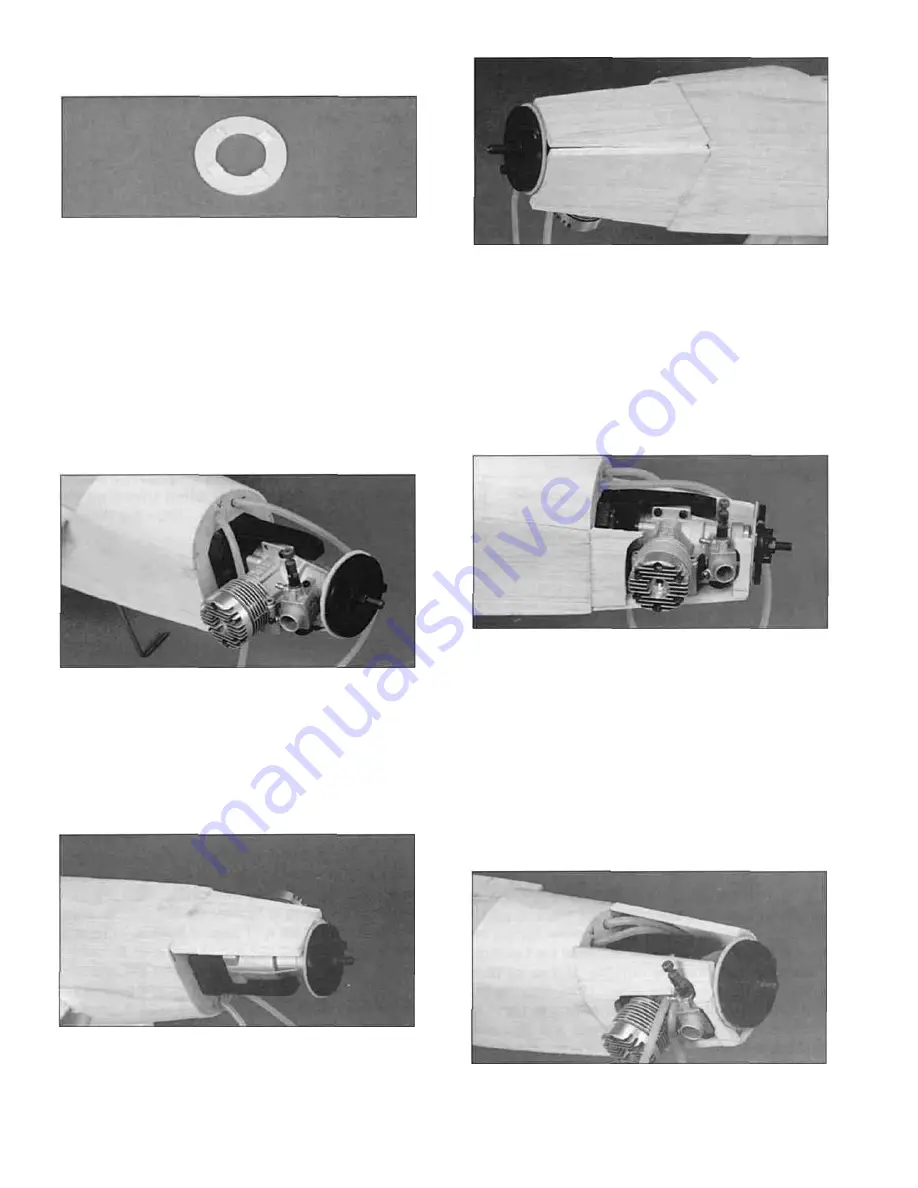
BUILD THE NOSE SECTION
D 1. From a scrap of 1/16" balsa, cut four small
pieces and tack glue them to the die-cut 1/16" ply
spinner ring (F154F19) as shown, using a small
amount of thick CA.
D 2. Center your 2-1/4" diameter spinner
backplate (Hobbico HCAQ3750 "Jet Spinner"
recommended) over the spinner ring and tack glue
it to the 1/16" balsa.
D 5. Sand a 1/4" balsa shaped nose side
(F154F130) to fit on the left side of the nose (the
side opposite the engine head) and glue it in place.
Notice that it is not glued flush with the fuse side or
outside edge of the spinner ring but protrudes
approximately 3/32". This allows the nose side to
be sanded to a curved shape.
D 3. Slide the spinner ring / spinner backplate
assembly onto the crankshaft and temporarily hold
it in place with the prop nut and a couple washers
if necessary.
D 6. Cut the remaining 1/4" balsa shaped nose
side as needed to fit around the engine. Do not
worry about getting a tight fit around the engine
because you still have to be able to get the engine
in and out. Just cut pieces to fit between the
spinner ring and the carb and another to fit
between the head and the firewall. Leave at least
a 3/16" gap all around the engine.
D 4. Sand a 1/4" balsa shaped nose bottom
(F154F23) to fit between the spinner ring and the
firewall. Glue it in place as shown in the photo. Be
careful so you don't warp the spinner ring while
doing this.
D 7. Install two side 1/4" balsa nose tops
(F154F25) by beveling the bottom edge to fit
against the nose sides and gluing them in place.
22
Summary of Contents for F-15 EAGLE
Page 7: ...6 DIE CUT PATTERNS ...
Page 53: ...TWO VIEW DIAGRAM ...


