17
the propeller and the cowl. Make adjustments if necessary.
(The outside edges of the cowl ring may be sanded slightly
to allow the cowl to go on a little farther if necessary.)
❏
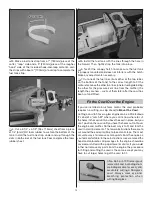
5. Remove the cowl and take the cowl ring off the fuselage.
Use medium-grit sandpaper to roughen the inside of the
cowl where the cowl ring fi ts. Lightly spray the inside of
the cowl and the front of the cowl ring with CA accelerator.
This will prevent excess CA from getting past the cowl ring
inadvertently gluing it to the fuselage. Reinstall the cowl
ring and cowl.
❏
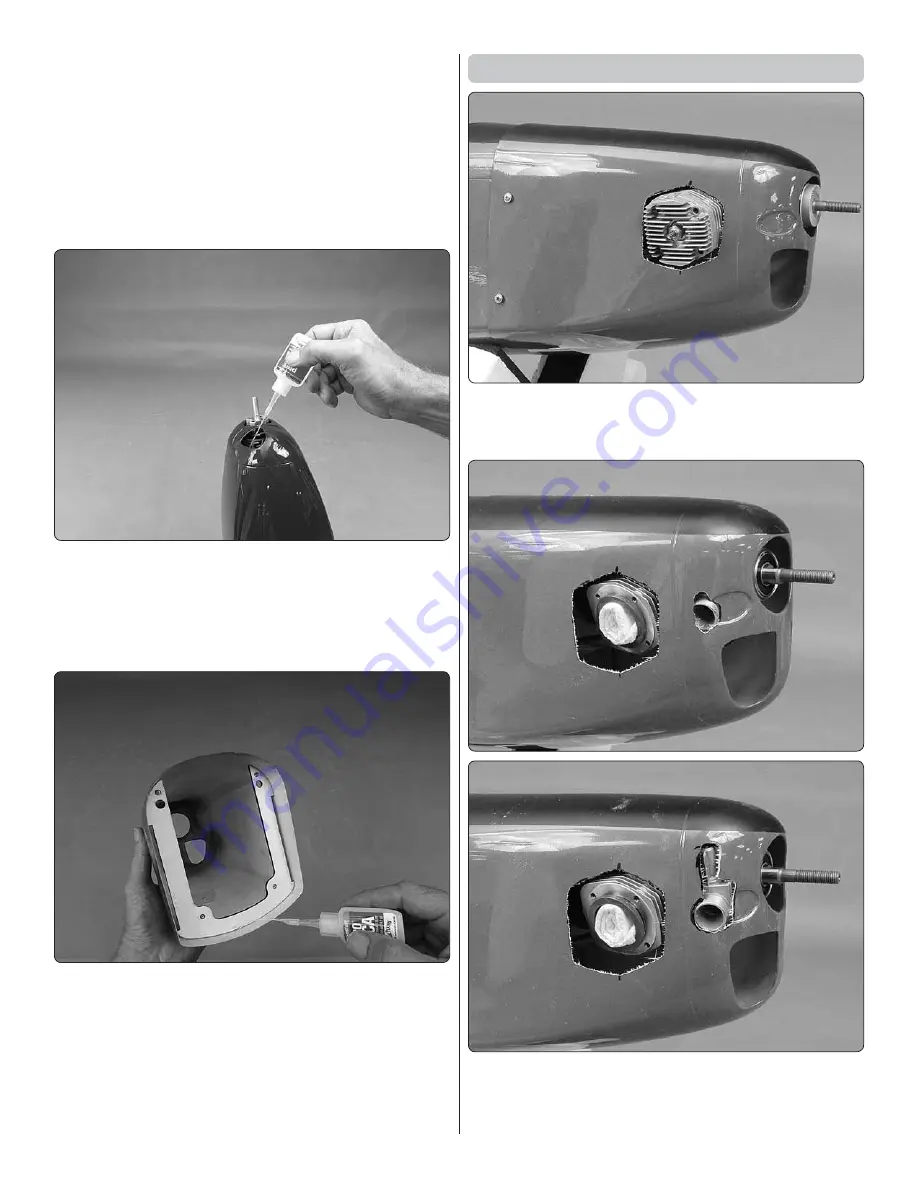
6. Stand the fuselage upright with the nose pointing up.
Drip a few small drops of thick or medium CA down inside
the cowl where it contacts the cowl ring – this won’t be the
fi nal glue job – just enough to tack the cowl to the cowl ring.
You won’t be able to reach the part of the cowl ring in the
upper left-hand corner, but that can be glued in the next step.
❏
7. Remove the cowl/cowl ring assembly. Securely glue
the cowl ring to the inside of the cowl with medium CA. Add
a small amount of thin CA around the back of the cowl ring
– do not build up a fi llet of glue here or it may interfere with
the fi t of the cowl.
❏
8. If you’re using a glow engine, fuelproof the cowl ring
with epoxy thinned with denatured alcohol or any other
fuelproof coating.
Finish Cutting the Cowl
❏
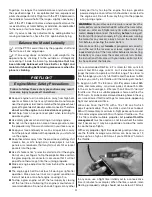
1. Now that the cowl has been mounted and its
exact location has been set, continue to cut the cowl to
accommodate the head of the engine.
❏
2. Now install the carburetor. Mark, cut and fi t the cowl
as necessary.
❏
3. Next, cut a hole for the needle valve.


