20
❏
5. Make a 90-degree bend in the pushrod wire at the
marks – it will be easier to make the bends with the pushrods
out of the fuselage. Connect the pushrods to the servo arms
and snap on a 90-degree pushrod keeper. Then, cut off the
excess wire and install the servo arms back onto the servos.
❏
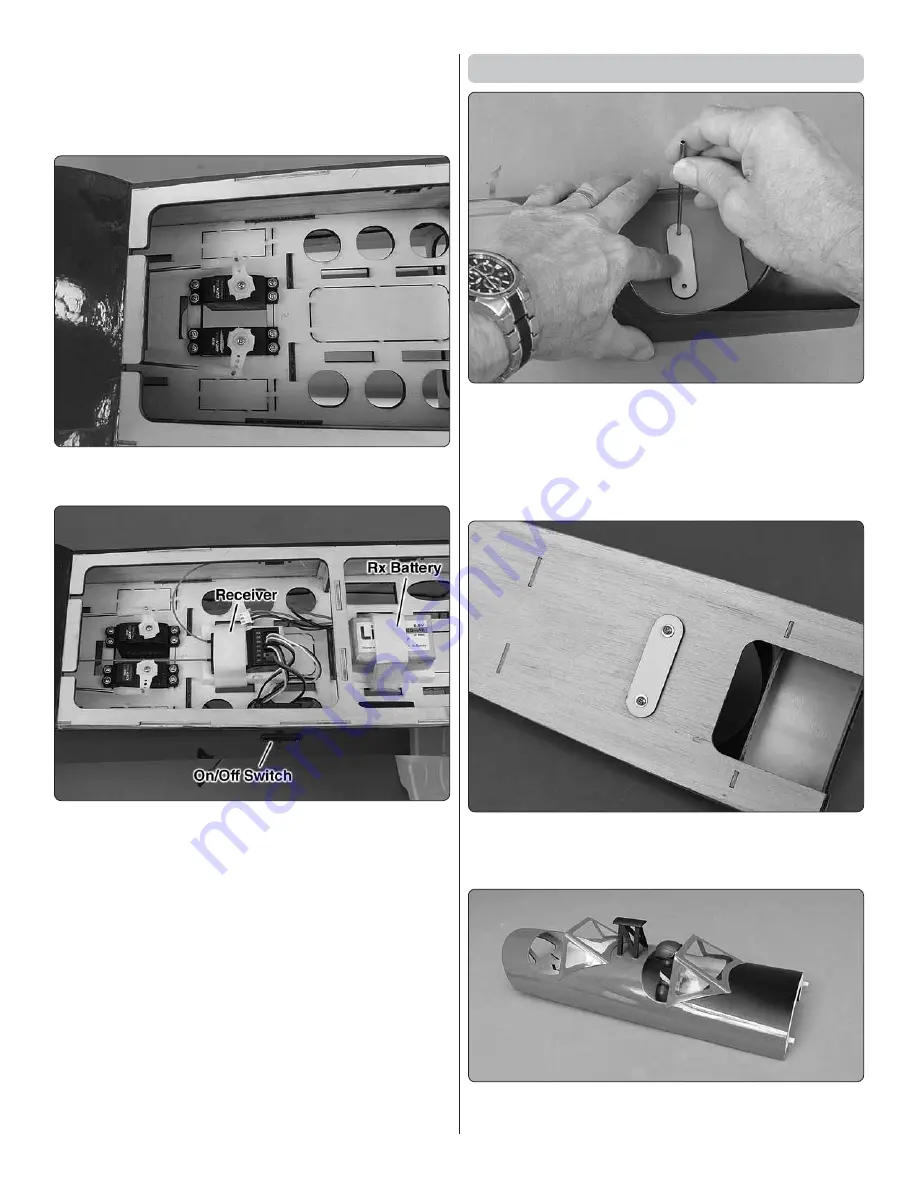
6. Drill 1/16" [1.6mm] holes in the servo tray for the servos.
Then, mount the servos with the screws that came with them.
❏
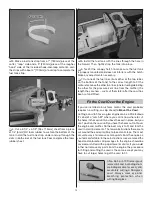
7. Mount the receiver and receiver battery (if used) with
straps made from more hook-and-loop material. Also mount
the receiver switch if used.
Scale Details
❏
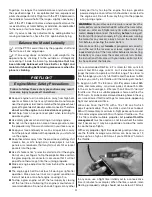
1. Use the lite-ply pilot mount doubler to mark and drill
holes in the cockpit fl oor in the location where you want
to install the pilot (we used a 3/32" [2.4mm] brass tube
sharpened on the end to cut the holes).
❏
2. Use the doubler as a template to drill 1/16" [1.6mm]
holes in the base of the pilot.
❏
3. Glue the doubler to the bottom of the cockpit fl oor. Then,
glue and screw the pilot to the cockpit fl oor with two #4 x
1/2" [13mm] sheet metal screws and #4 washers.
Refer to this image for gluing on the wind screens and
the crash protector.


