❏
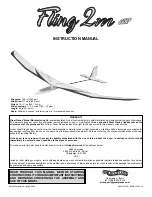
1. Slide the canopy forward till the rear wire is visible.
❏
2. Lift the rear of the canopy till the wire is clear of
the fuselage.
❏
3. Slide the canopy aft until the front wire comes free.
❏
4. To attach the canopy, reverse the previous steps.
❏
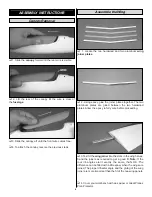
1. Locate the two hardwood and two aluminum wing
joiner plates.
❏
2. Using epoxy, glue the joiner plates together. The two
aluminum plates are glued between the two hardwood
plates. Allow the epoxy to fully cure before proceeding.
❏
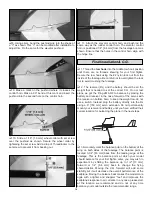
3. Test fit the wing joiner into the slots in the wing halves.
Sand the joiners as required to get a good fit. Note: If the
root rib angles aren’t exactly the same, that’s OK. The
difference can be filled with a little epoxy when the wings are
joined. The proper dihedral angle and the gluing of the wing
joiner are more important than the fit of the two wing panels.
❏
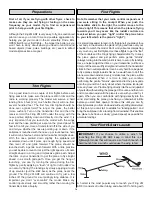
4. Cover your workbench with wax paper or Great Planes
Plan Protector.
Assemble the Wing
Canopy Removal
ASSEMBLY INSTRUCTIONS
6


