❏
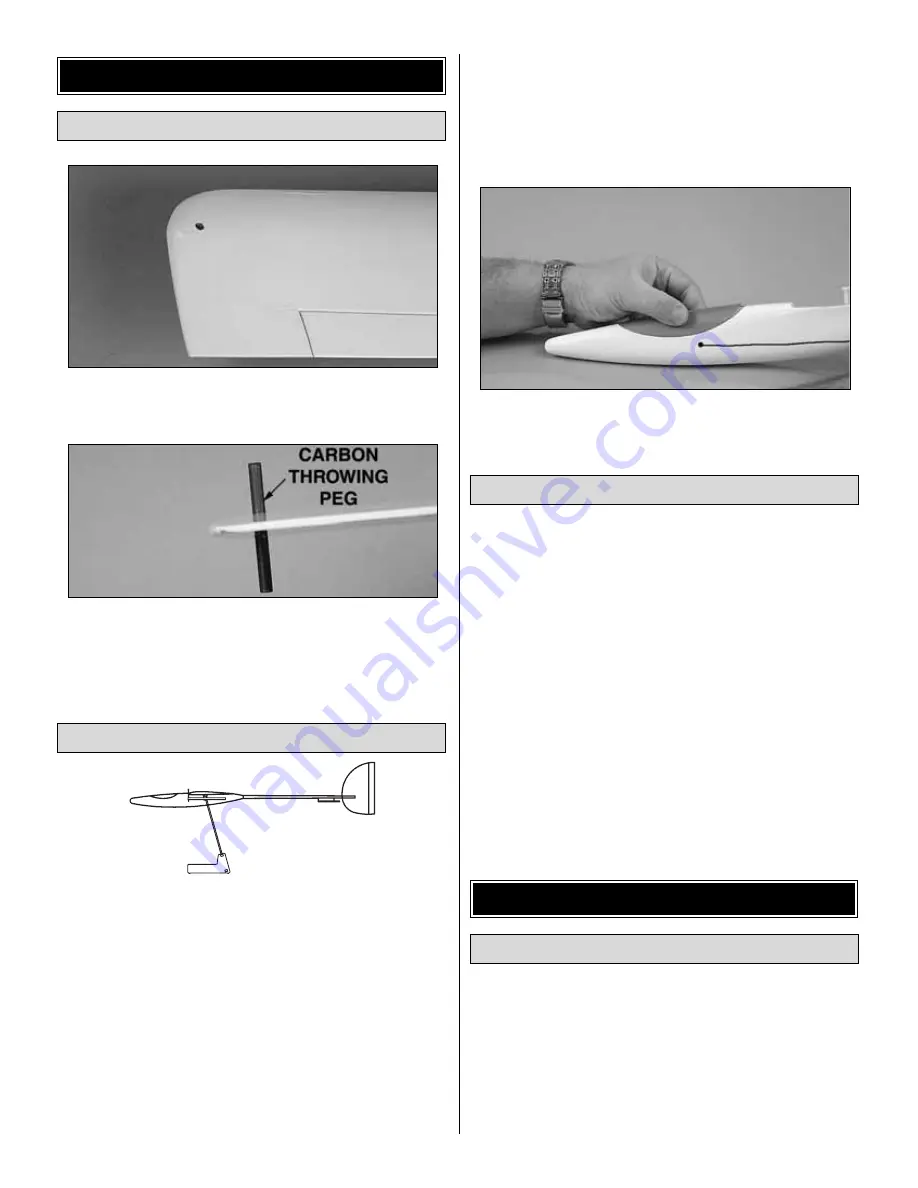
1. If you are right handed, remove the covering from the
hole in the left wing tip. If you are left handed, remove the
covering from the hole in the right wing tip.
❏
2. Push the 3/16" x 2" [5 x 50mm] carbon throwing peg
into the hole in the wing tip. Apply a small amount of epoxy
to the peg and twist the peg so that the epoxy goes into the
wing and the peg is centered vertically in the wing.
❏
1. Accurately mark the balance point on the bottom of the
wing on both sides of the fuselage. The balance point is
located 2-3/8" [60mm] back from the leading edge, at the
fuselage. This is the balance point at which your model
should balance for your first flights. Later, you may wish to
experiment by shifting the balance up to 1/8" [3mm] forward
or 1/8" [3mm] back to change the flying characteristics.
Moving the C.G. forward will add some stability but it will
decrease the overall performance of the sailplane. Moving
the balance back makes the model more agile with a lighter
and snappier “feel” and improves the sailplane’s response to
air currents. In any case, please start at the location we
recommend and do not at any time balance your model
outside the recommended range.
❏
2. Temporarily place the battery and Rx in the fuse, and
mount the wing and canopy. Add the necessary weight to
make the plane balance at 2-3/8" [60mm]. We found the
best way to do this is to mix steel shot with epoxy and then
pour the correct amount into the nose. Work in small
increments of weight, double checking the CG each time.
❏
3. Route the antenna outside the fuselage and tape it to
the carbon fiber rod.
1. Use scissors or a sharp hobby knife to cut the decals
from the sheet.
2. Be certain the model is clean and free from oily fingerprints
and dust. Prepare a dishpan or small bucket with a mixture of
liquid dish soap and warm water—about one teaspoon of soap
per gallon of water. Submerse the decal in the soap and water
and peel off the paper backing.
Note: Even though the decals have a “sticky-back” and are not
the water transfer type, submersing them in soap & water allows
accurate positioning and reduces air bubbles underneath.
3. Position the decal on the model where desired. Holding the
decal down, use a paper towel to wipe most of the water away.
4. Use a piece of soft balsa or something similar to squeegee
remaining water from under the decal. Apply the rest of the
decals the same way.
❏
1. Turn on the transmitter and receiver and center the
trims. If necessary, remove the servo arms from the servos
and reposition them so they are centered. Reinstall the
screws that hold on the servo arms.
❏
2. With the transmitter and receiver still on, check all the
control surfaces to see if they are centered. If necessary, adjust
the clevises on the pushrods to center the control surfaces.
Check the Control Directions
GET THE MODEL READY TO FLY
Apply the Decals
CG 2-3/8" [60mm]
Set the CG
Install the Throwing Peg
FINAL INSTALLATION & CG
11


