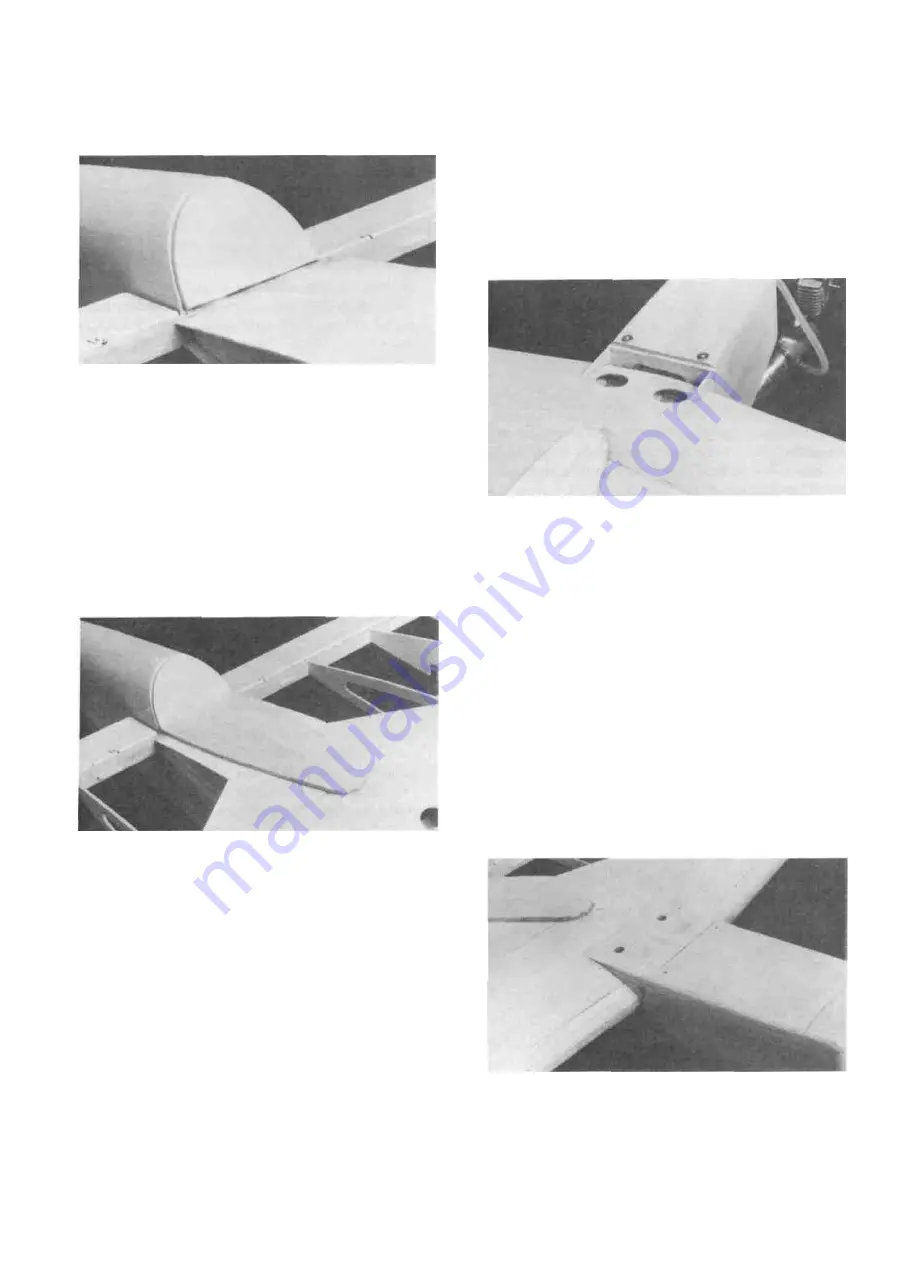
INSTALL CANOPY BUILD THE WING FAIRING
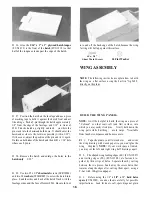
D 1. Mount the wing to the fuselage and test fit the
1/8" plywood canopy back (FUN1F08) in place against
the front of the turtle deck. Notice that the gap between the
top of the canopy back and the top of the turtle deck seems
too large when viewed from above, but it should be equal
all around when viewed from the front of the plane. Tack
glue it to the wing with a drop or two of med/thick CA, but
be very careful not to glue it to the fuselage.
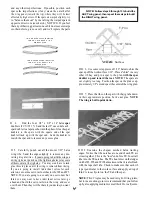
D 1 . Sand the 3/32" die-cut balsa wing fairing front
(FUN 1 F07) to fit down against former F2B. The top edge
of the fairing front should be 1/16" lower than the top of the
hatch. Use two pieces of paper as a shim between former
F2B and the fairing front to allow for the thickness of the
covering material.
D 2. Sand off the "die-cut bumps" on the 3/32" die-
cut balsa fairing sides (FUN 1 F07) and then sand them to
fit between the fairing front and the wing. The tops of
these pieces should be 1/16" below the top of the hatch.
Glue the sides and the front pieces in place but be careful
not to glue them to the fuselage.
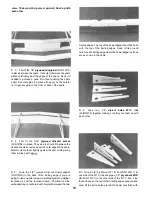
D 3. Remove the wing from the fuselage and remove
the wing bolts from the wing. Add med/thick CA to all of
the fairing joints and canopy back. Test fit the two 3/32"
balsa fairing tops (FUN 1 F07) in place and sand them to
achieve a good fit. Glue these in place and sand the tops
flush with the front.
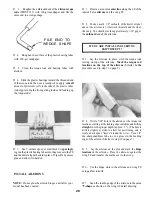
D 2. Glue the two 1/8" balsa canopy bottom halves
(FUN1F03) together and sand them smooth. Glue the
canopy bottom in place in front of the canopy back. Align
the center of the bottom with the center of the canopy back
and the joint between the right and left leading edge sheet-
ing.
D 3. Using scissors, carefully cut the canopy
(CANPY047) along the trim line. Sand the edges smooth
and test fit the canopy in place. Trim or sand it if needed
so the canopy will fit nicely. Do not glue the canopy in
place until after the plane is covered.
D 4. Drill a 1/4" hole through the fairing tops by
inserting the drill through the wing bolt plate holes from
the bottom of the wing. Enlarge these holes so the wing
30
Summary of Contents for FUN-ONE
Page 5: ...5...

