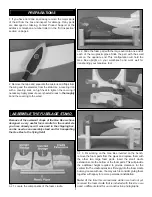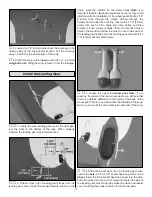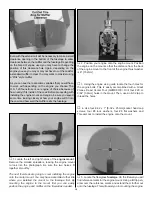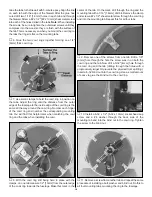
servo. Mark the location for the screw holes. Drill through the
marks you made with a 1/16" [1.6mm] drill bit. (Be sure you
are drilling into the plywood plate mounted in the bottom of
the aileron. Drill through the plate only. Do not drill all the
way through the aileron!) Using a #2 x 1/2" [#2 x 13mm]
sheet metal screw, install and then remove a screw into each
of the holes. Harden the holes with thin CA. Install the control
horn with four #2 x 1/2" [#2 x 13mm] sheet metal screws.
❏ ❏
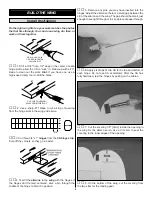
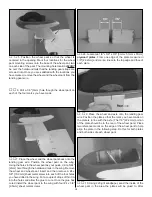
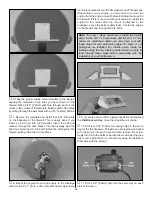
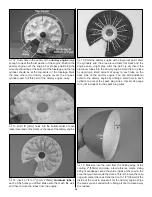
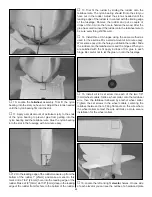
6. Locate a .074" x 6" [.074" x 152mm] pushrod wire
threaded on one end. Screw a nylon clevis onto the threaded
end of the wire 20 turns. Install a silicone clevis keeper onto
the clevis. Then, install the clevis on the aileron control horn.
❏ ❏
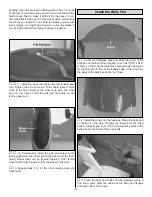
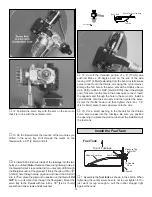
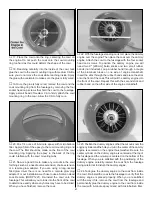
7. Be sure the aileron servo is centered. Enlarge the
first hole in the servo arm with a Hobbico Servo Horn Drill
(or a #48 or 5/64" [2mm] drill bit). Center the aileron and
align the wire pushrod with the hole in the end of the servo
arm. Using a marker, mark the location where the wire aligns
with the hole in the servo arm. On that mark make a 90
degree bend. From the bend measure an additional 3/16"
[4.8mm] and then cut off the excess pushrod wire.
❏ ❏
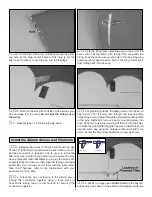
8. Install the wire into the hole in the servo arm using
a nylon FasLink
™
as shown in the sketch.
❏
9. Repeat steps 1-8 for the left wing panel.
❏
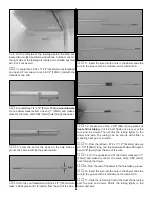
1. Locate the three hardwood wing joiners. Using 5-minute
epoxy, glue them together forming one 1/4" [6mm] wing joiner.
❏
2. Test fit the wing joiner into each wing panel, making
sure that it is not too tight. Sand the joiner as needed to get
a good fit.
❏
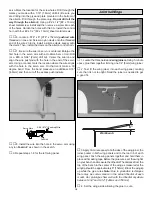
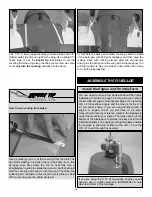
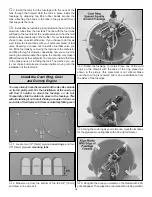
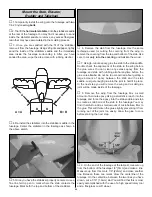
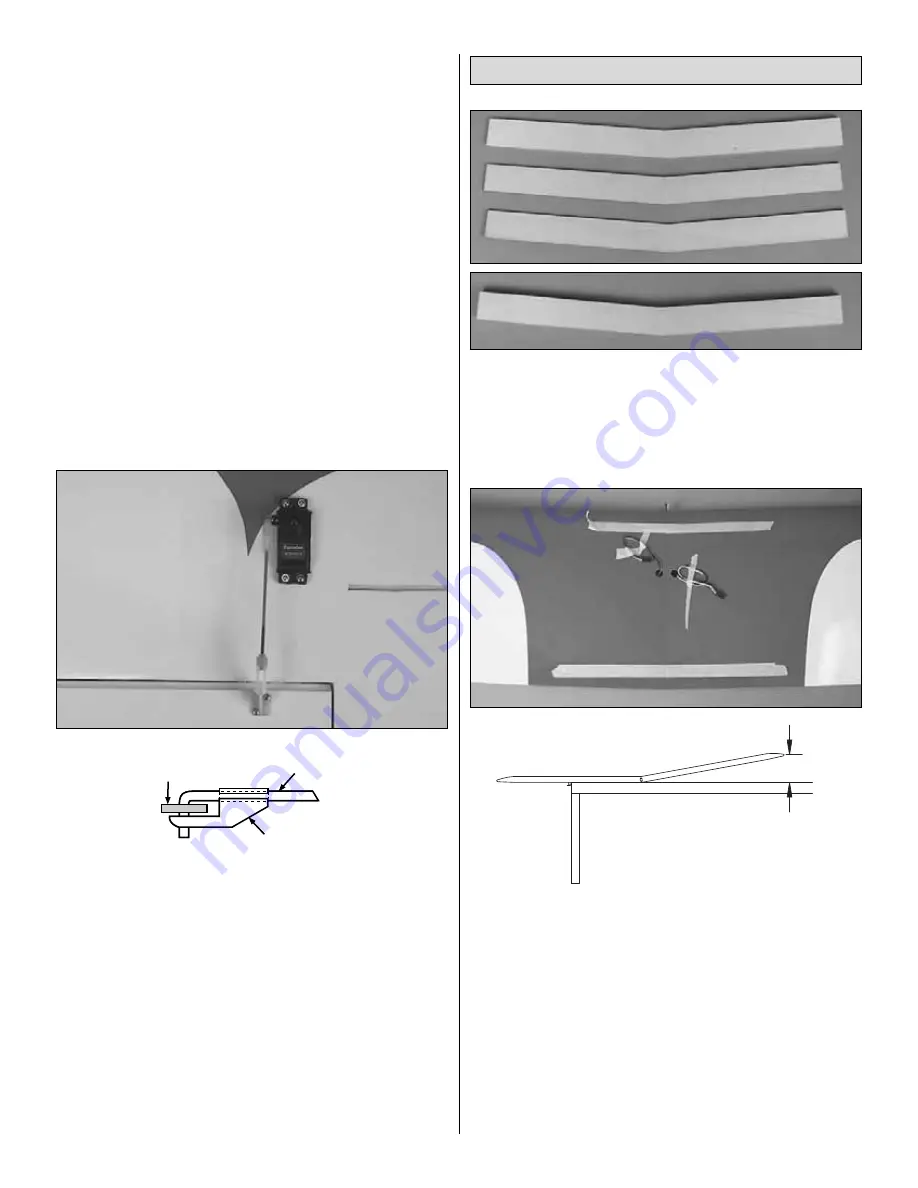
3. Apply 30-minute epoxy to both sides of the wing joiner, the
joiner pocket in both wing panels and to the root rib of each
wing panel. Push the wing panels together and hold them in
place with masking tape. Before the glue cures, set the wing flat
on your bench and measure the dihedral. The distance from the
top of the bench to the center of the wing as measured at the
wingtip should be approximately 6" [152mm]. Block the wingtip
up while the glue cures.
Note: Due to production techniques
there may be some variance in the actual dihedral of each
model. Our prototypes flew well with the dihedral anywhere
between 5-3/4" and 6-1/4" [146mm and 159mm].
❏
4. Set the wing aside allowing the glue to cure.
Workbench
6"
Join the Wings
FasLink
2-56 (.074") Pushrod Wire
Servo Horn
10


