❏
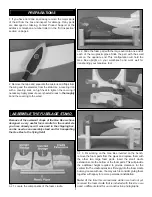
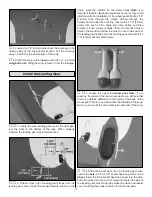
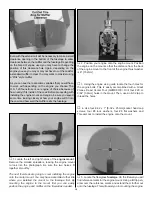
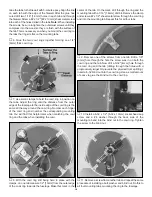
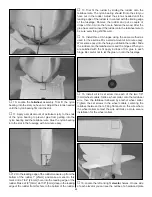
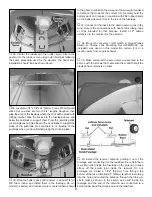
4. 1/16" [1.6mm] inside the lines you have drawn cut a 3/4"
[19mm] wide strip of covering from the wing. Use a sharp #11
hobby knife or use the Expert Tip that follows to cut the
covering from the wing along the lines you marked. Use care
to cut only into the covering and not into the wood.
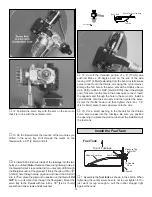
How to cut covering from balsa.
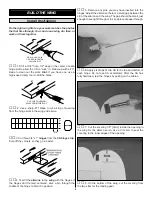
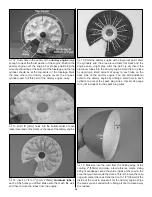
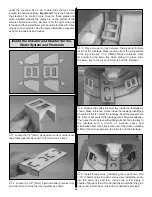
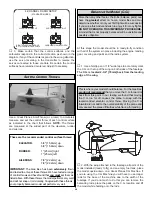
Use a soldering iron to cut the covering from the stab. The
tip of the soldering iron doesn't have to be sharp, but a fine
tip does work best. Allow the iron to heat fully. Use a
straightedge to guide the soldering iron at a rate that will just
melt the covering and not burn into the wood. The hotter the
soldering iron, the faster it must travel to melt a fine cut. Peel
off the covering (see the photo at step 4).
❏
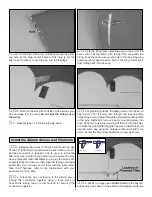
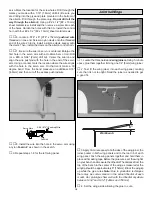
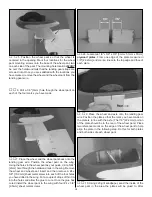
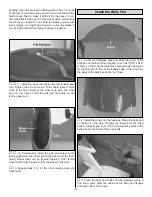
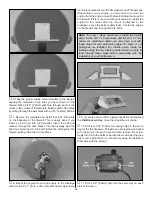
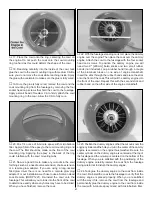
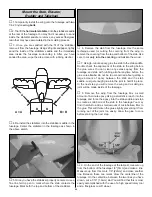
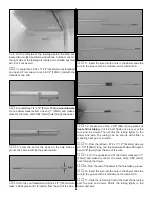
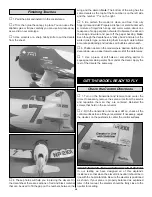
5. Where the belly pan contacts the wing, sand the inside
of the belly pan with 220-grit sandpaper and then wipe the
residue clean with rubbing alcohol. After the alcohol has
dried, glue the belly pan to the wing with 6-minute epoxy.You
will find it easier to glue one side at a time rather than trying
to do both sides together.
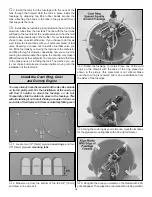
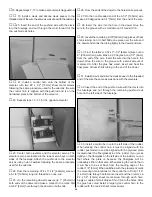
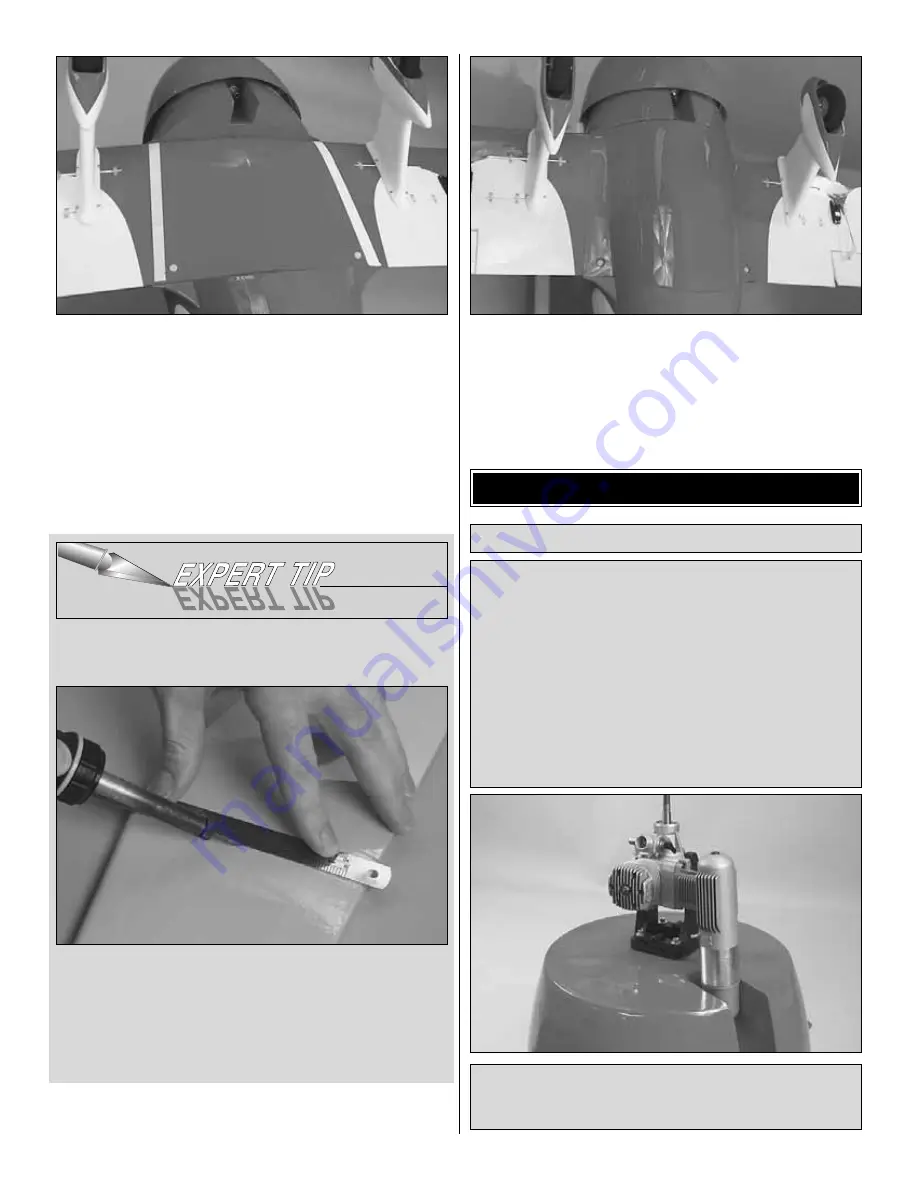
If you are using the O.S. .91 two-stroke engine you will
need to use a muffler extension (OSMG2582) to help
clear the bottom of the fuselage.
You now need to make a few decisions about the engine
installation. Provided on page 35 in this instruction manual
are two different engine mounting templates. One is for the
O.S. 1.20 four-stroke engine and the other is for the O.S.
.91 two-stroke engine. If you are using another brand of
engine or engine mount you will have to do some
measuring and use the reference marks in the fuselage to
center the mount for your engine. The large opening in the
bottom of the fuselage is to provide an easy exit for most
standard mufflers. The engine mounting templates position
the engines to allow the muffler on the O.S. 1.20 or the
O.S. .91 to exit through this opening.
Install the Engine and Throttle Servo
ASSEMBLE THE FUSELAGE
14


