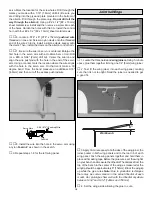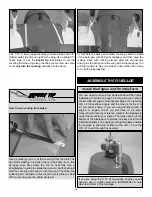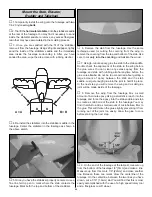
under the covering. Use a pin to determine that you have
located the hardwood plate. Important! This is the bottom of
the elevator. The control horns mount to these plates and
when installed properly the plates are on the bottom of the
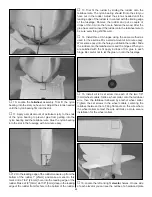
elevator. Determine which elevator is for the right side and
left side and then install them to the horizontal stab with three
hinges on each elevator. Use the same installation procedure
used for the ailerons and rudder.
❏
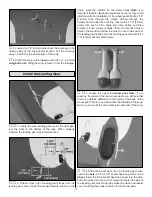
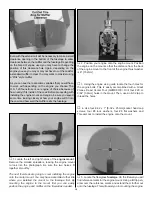
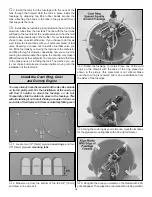
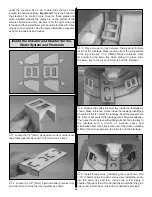
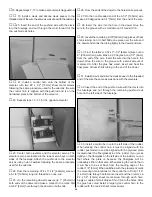
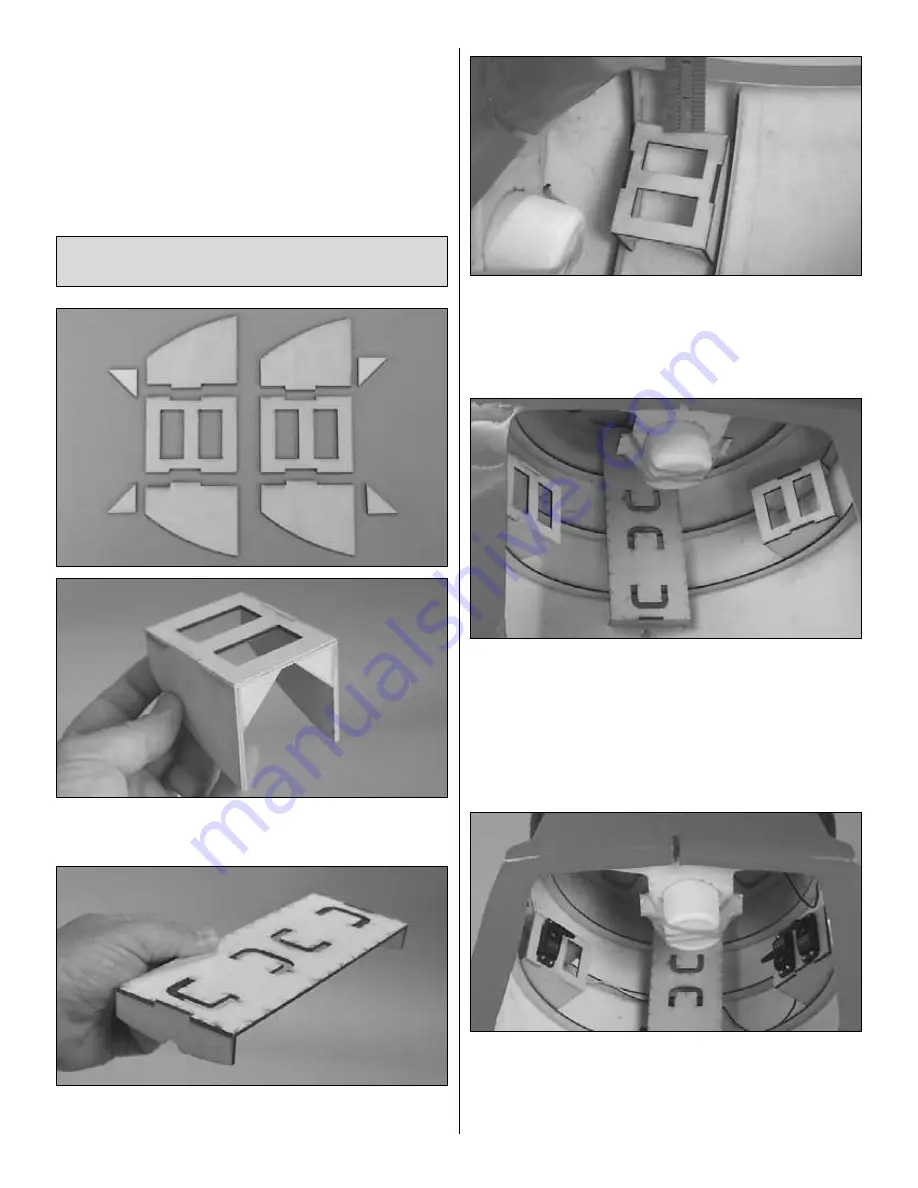
1. Locate the 1/8" [3mm] plywood servo tray components.
Glue them together as shown to form two servo trays.
❏
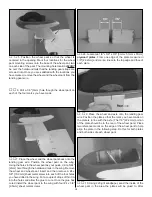
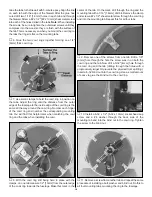
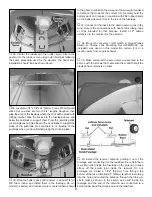
2. Locate the 1/8" [3mm] plywood battery/receiver tray
and two formers. Glue the tray together as shown.
❏
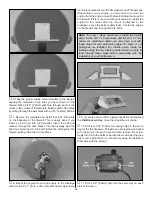
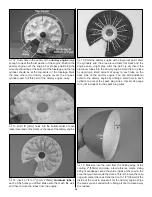
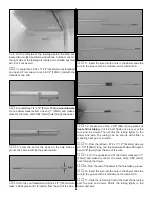
3. Place one servo tray between the plywood formers
inside of the fuselage. Measure down from the wing saddle
to the top of the box 1-1/2" [38mm]. Make a reference mark
for positioning the servo tray when gluing it in place. Glue
the servo tray to the plywood formers and the fuselage.
❏
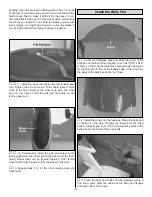
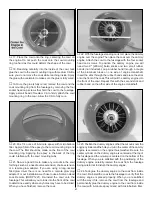
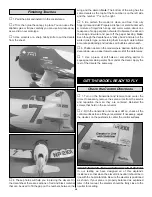
4. Position the battery/receiver tray inside the fuselage as
shown. Make reference marks inside the fuselage identifying
where the formers contact the fuselage. Sand the areas where
the formers will contact the fuselage with 220-grit sandpaper.
Then wipe the area clean with rubbing alcohol. Glue the tray to
the fuselage with a mixture of 6-minute epoxy and
microballoon filler. Use a liberal amount of the mixture creating
a fillet of the mixture between the formers and the fuselage.
❏
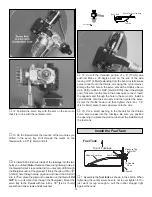
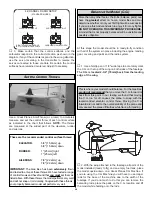
5. Install three servos, positioning them as shown. Drill
1/16" [1.6mm] holes for each servo screw. Install the screw
into the servo tray and then remove the screw. Apply a
couple of drops of thin CA to harden the wood. After the glue
has cured, install the servos with the hardware provided.
Install the Elevator and Rudder Servos,
Radio System and Pushrods
24

