❏ ❏
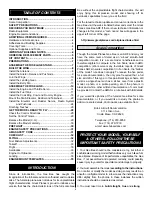
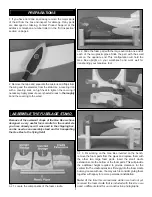
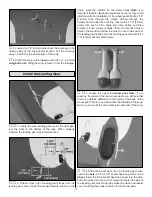
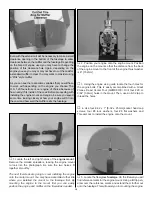
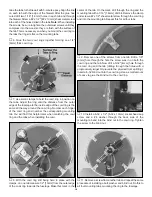
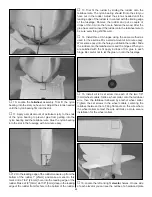
9. On the top of the wing, cut the covering away from
the hole at the wing center section. This hole is for the
aileron servo wire to come through, into the fuselage.
❏ ❏
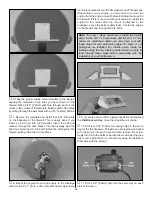
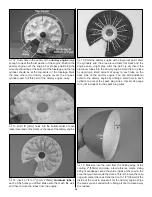
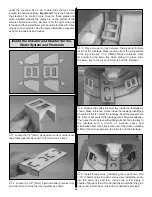
10. Remove the string from inside of the aileron servo
bay and tape it to the wing. Do not pull the string out of
the wing!
❏
11. Repeat steps 1-10 for the left wing panel.
❏ ❏
1. Installing the servos in the wing will require the use
of one 12" [305mm] servo extension for each aileron. One Y-
harness connector is required and is used to allow the
aileron servos to plug into one slot in your receiver. You may
have a computer radio that allows you to plug the servos into
separate slots and then mix them together through the radio
transmitter. If you choose to mix them with the radio rather
than the Y-harness, refer to the instructions with your
particular brand of radio.
❏ ❏
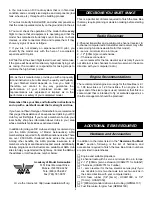
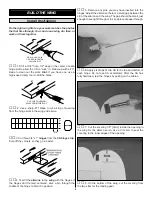
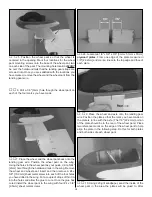
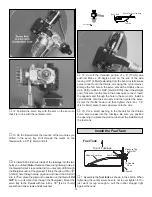
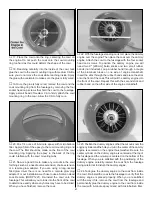
2. Attach the servo extension to the aileron servo.
Secure the connectors together using a large piece of
heat shrink tubing, tape or other method for securing the
connectors together.
❏ ❏
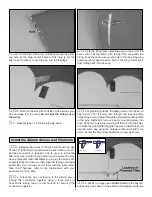
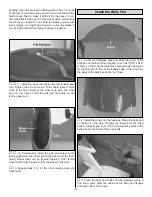
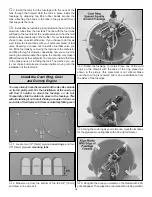
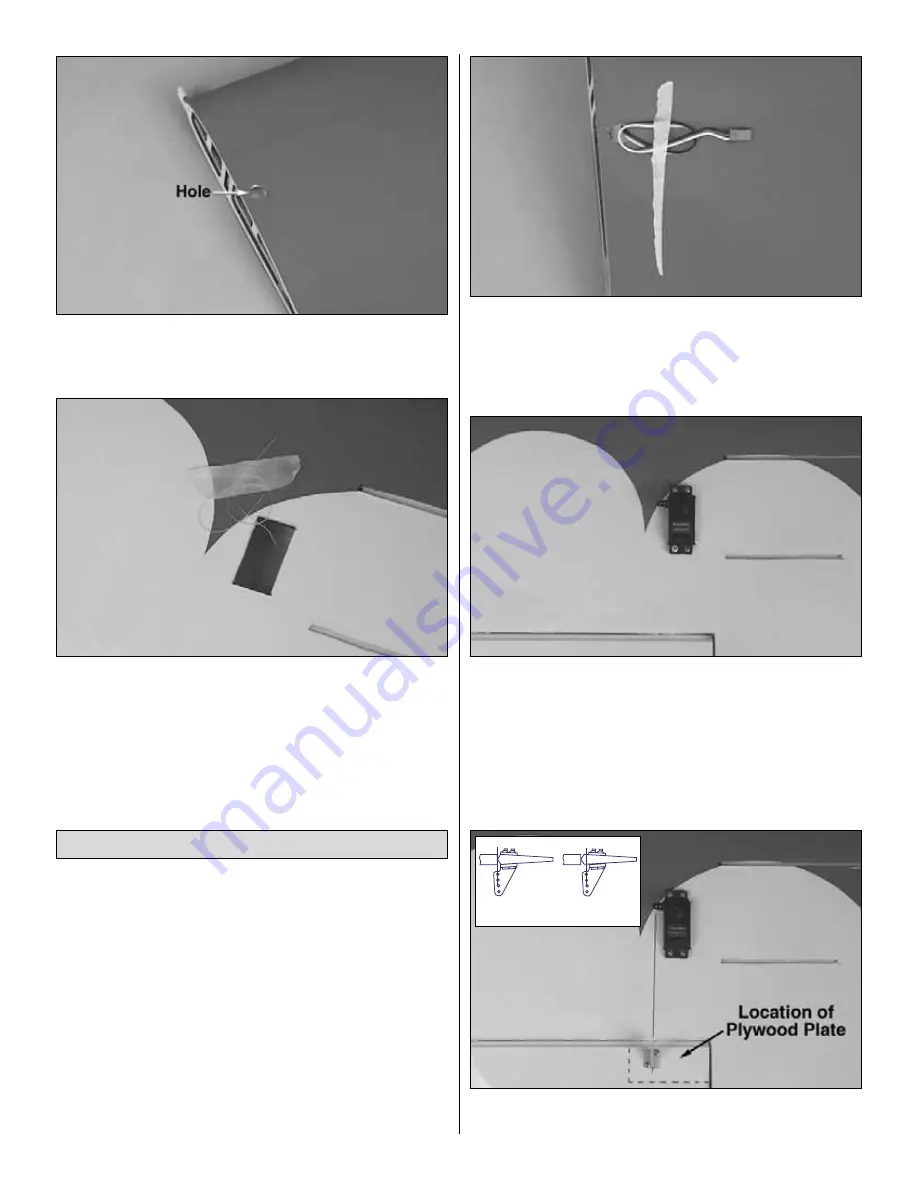
3. Tie the string from inside the wing to the end of the
servo wire. Pull the servo wire through the wing with the
string. Feed the servo wire out the hole in the top of the wing
center section. Tape the servo wire to the wing to prevent it
from falling back into the wing.
❏ ❏
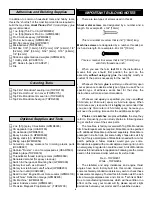
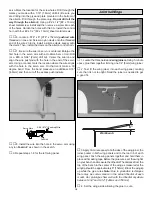
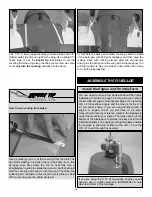
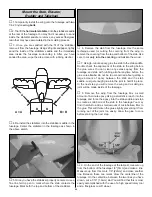
4. Temporarily position the aileron servo into the servo
bay. Drill a 1/16" [1.6mm] hole through the four mounting
holes of the servo, drilling through the plywood mounting plate
in the wing. Install and remove a servo mounting screw into
each of the four holes. Insert a drop of thin CA into the holes
to harden the wood. After the glue has cured, install the servo
into the servo bay using the hardware that came with your
servo. Center the servo and install a servo arm as shown.
❏ ❏
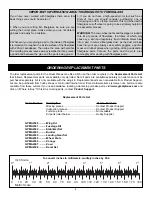
5. Position a large nylon control horn on the aileron,
positioning it as shown in the sketch and aligning it with the
Install the Aileron Servos and Pushrods
9
Correct
Incorrect


