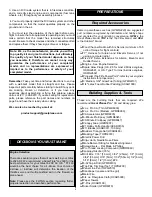
❏ ❏
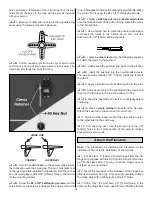
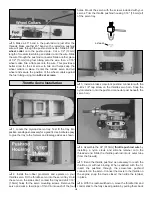
6. Glue two pieces of 1/8" x 3/8" x 3/8" [3mm x 9.5mm
x 9.5mm] plywood behind the two 1/8" [3mm] holes using
6-minute epoxy. Make sure the plywood does not extend
into the larger hole.
❏ ❏
7. Use a 1/8" [3mm] drill bit to re-drill the small holes
through the plywood backing plates. Press two 4-40 blind
nuts into the holes in the plywood plates.
❏ ❏
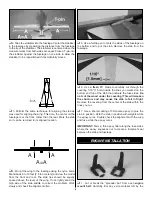
8. Attach a 5/32"
axle
to the landing gear using a
5/16" x 24 locking nut.
Trim the length of the axle to 1-3/4"
[44mm] as shown.
❏ ❏
9. File a flat spot along the bottom of the axle. This
provides a better area for the set screw to bite and helps
keep the wheel in place. Slide a
5/32" wheel collar
onto the
axle. Thread a
6-32 set screw
into the wheel collar base,
and secure the collar in position 5/16" [8mm] from the hex
on the axle as shown.
❏ ❏
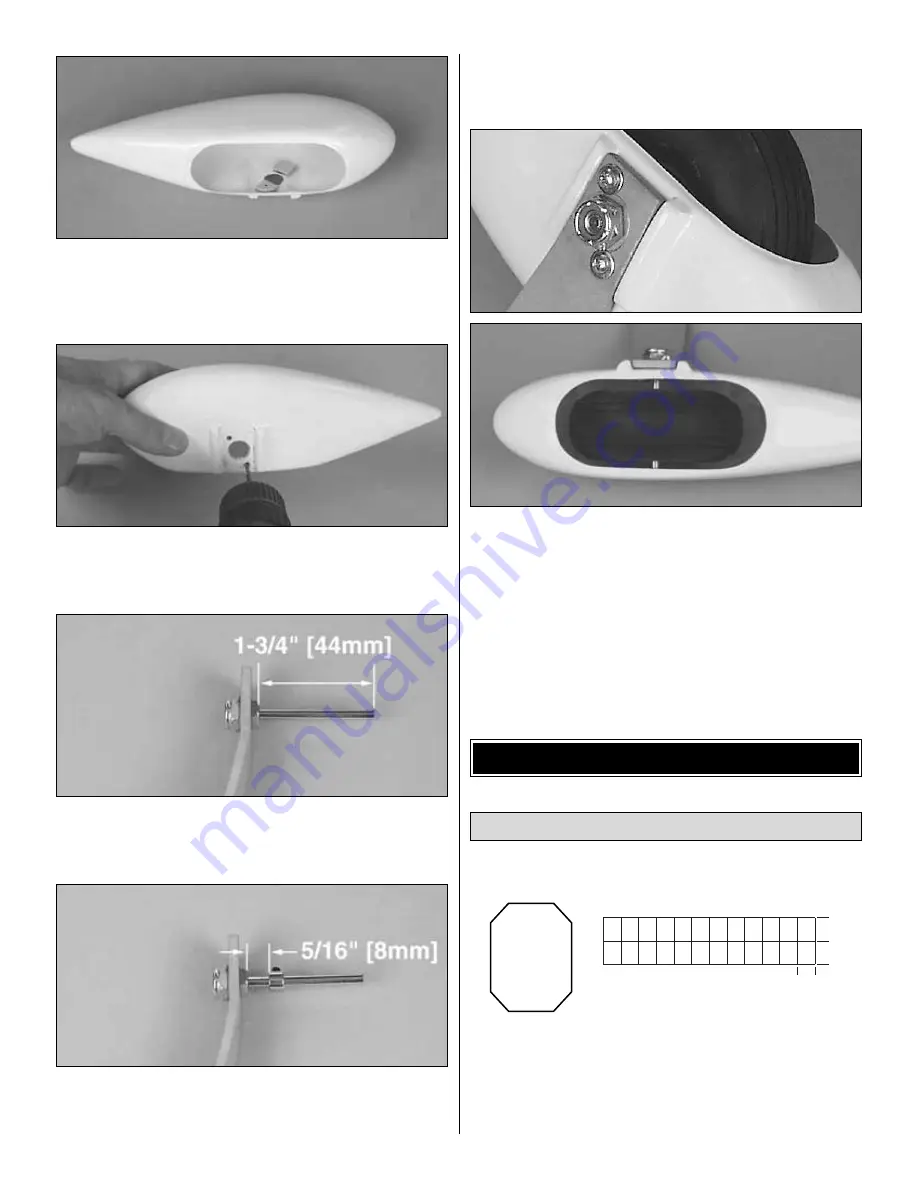
10. Slide the wheel pant,
wheel
and a 5/32" wheel
collar onto the axle. Use two
4-40 x 3/8" machine screws
to secure the wheel pant to the landing gear. Use a 6-32 set
screw to secure the wheel collar to the axle. Check to make
sure the wheel rotates without binding on the wheel pant. If
not, loosen the set screws on the wheel collars and adjust
the position of the wheel.
❏
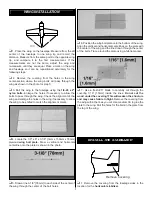
1. Cut eight 3/4" x 1" [19mm x 25mm] hinges from the
CA
hinge strip
supplied with this kit. Snip the corners off so
they go into the slots easier. You may cut all the hinges now,
or cut them as you need them.
1"
[25mm]
1"
[25mm]
3/4"
[19mm]
Attach the Ailerons
RADIO INSTALLATION
12


