37
Install the Cowl
❏
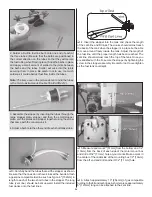
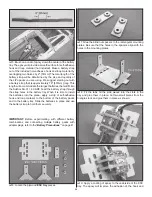
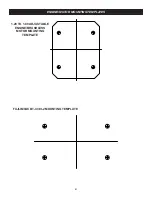
1. In order to fi t the cowl in place, the muffl er will need
to be removed from the engine. Before you unbolt it, make
a paper template for the location of the exhaust outlets,
glow plugs, needle valve, and any other engine accessories
needed and tape them to the fuse.
❏
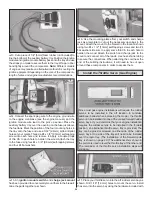
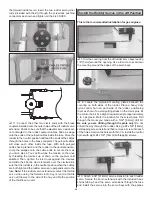
2. Locate the seven cowl alignment disks. Carefully glue
them together so that the perimeter of the large disks are
fl ush and the circular cutouts in the small disks are fl ush with
the circular cutouts in the large disks. The large disk with the
small hole in the center should be at the bottom of the stack,
followed by the three large disks with the circular cutouts in
the center. Then glue the three small disks on top as shown.
The small hole in the large disk at the bottom of the stack may
need to be enlarged with a drill bit or reamer to match the
crankshaft or prop bolt of the engine that you are using.
Note: The next few steps can be completed by taping the
cowl into position while marking the locations for the cowl
mounting blocks. However, having a helper on hand will
make the job go quicker and much easier.
❏
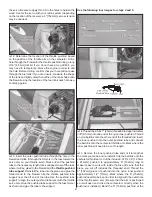
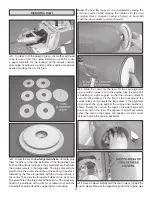
3. Slide the cowl onto the fuse. Fit the cowl alignment
jig you made in step 2 onto the engine (use the prop bolt
if installing on a gas engine), so that the circular cutouts fi t
over the drive washer. Fit the front of the cowl around the
smaller disks so it contacts the large disks in the alignment
jig and push the jig up against the engine drive washer as
shown. Rotate the cowl on the fuse so the paint aligns with
the covering on the fuse. The alignment jig will accurately
center the cowl on the engine and position it to the correct
distance behind the spinner backplate.
❏
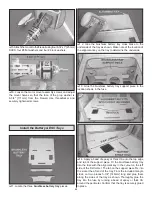
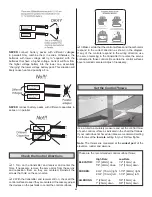
4. Have a helper carefully hold the cowl in place (or tape the
cowl in place). Remove the alignment jig from the engine. Use
Summary of Contents for GPMA1412
Page 52: ......


