40
❏
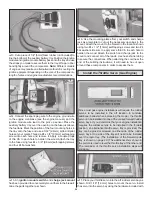
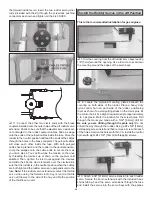
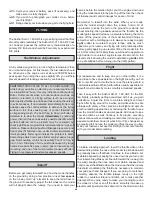
4. If you plan to install a pilot and the instrument panel
decal, do so before gluing the canopy in place. The picture
shows the pilot GPMQ9006 (not included). The shoulders of
the pilot will need to be cut slightly narrower to fi t onto the
canopy hatch bottom and the height of the pilot will need to
be shortened by approximately 1/4" [6mm]. We cut a piece
of plywood (not included) to replace the base of the pilot that
was cut off. The plywood base can be glued inside the pilot
fi gure with medium or thick CA. Securely glue the pilot into
place or use double-sided foam servo tape (not included)
with a couple of screws through the underside.
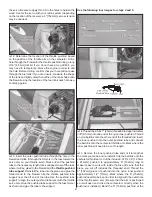
❏
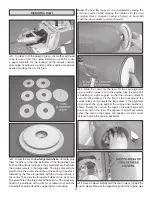
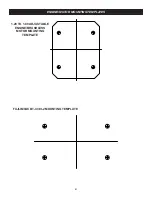
5. Align the canopy onto the canopy hatch. Drill 1/16"
[1.6mm] holes at each of the four plywood canopy mounting
plates. (The plates can be seen on the inside of the cockpit
compartment.) Thread a #2 x 3/8" [9.5mm] self-tapping
screw into each hole and back it out. Apply a couple drops
of thin CA to each hole to harden the wood. Use canopy
glue such as Pacer Formula 560 to glue the canopy to the
canopy hatch. Finish the canopy installation by securing it to
the hatch using four #2 x 3/8" [9.5mm] self-tapping screws
and four #2 fl at washers.
Install the Belly Pan, Prop & Spinner
Spinner Instructions for O.S. Max 1.60 FX
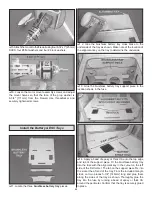
❏
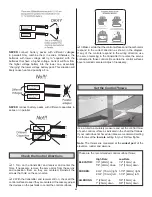
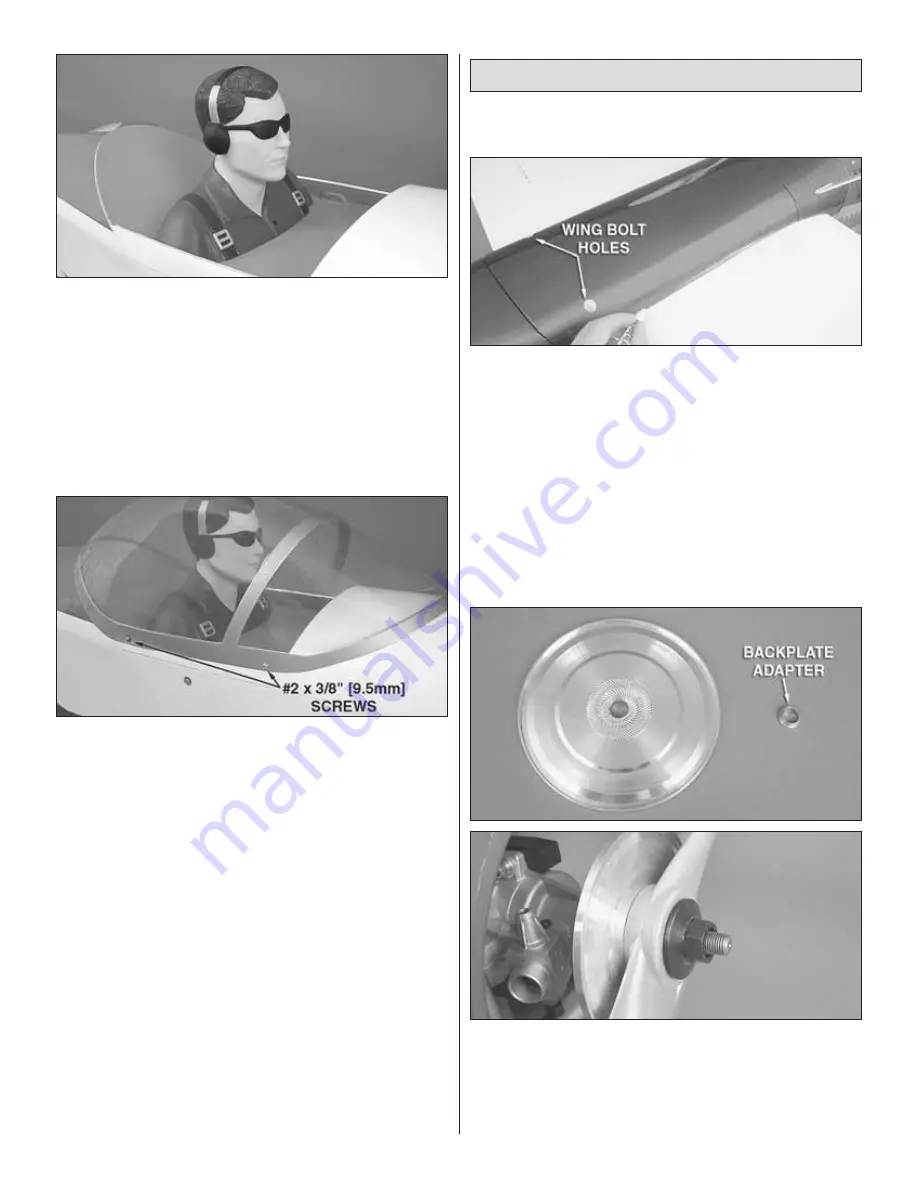
1. Attach the wing to the fuse using the two 1/4-20 nylon
wing bolts. Trim the covering from the wing bolt holes in the
belly pan. Put the belly pan into position on the underside of
the wing, aligning it with the bottom of the fuse. Use a felt-tip
pen to trace around the belly pan onto the wing. Remove a
1/2" [13mm] strip of covering from just inside the lines you
drew. Use epoxy to glue the belly pan to the wing. Wipe
away any excess epoxy with alcohol. The wing can now be
removed from the fuse.
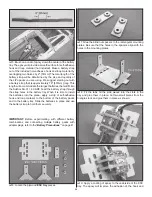
❏
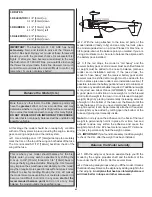
2. Slide the spinner backplate onto the crankshaft. Ream
the propeller as necessary to fi t the engine and push it onto the
crankshaft (don’t forget to balance your prop!). Install the prop
washer and mating prop nut onto the crankshaft and properly
tighten the nut. If you are installing a Fuji-Imvac BT-43 EI-2
engine, use the included brass spinner backplate adapter.
Summary of Contents for GPMA1412
Page 52: ......

