49
runway and has lost fl ying speed, hold up elevator to place the
tail on the ground, regaining tail wheel control.
One fi nal note about fl ying your model. Have a goal or fl ight
plan in mind for every fl ight. This can be learning a new
maneuver(s), improving a maneuver(s) you already know,
or learning how the model behaves in certain conditions
(such as on high or low rates). This is not necessarily to
improve your skills (though it is never a bad idea!), but more
importantly so you do not surprise yourself by impulsively
attempting a maneuver and suddenly fi nding that you’ve run
out of time, altitude or airspeed. Every maneuver should be
deliberate, not impulsive. For example, if you’re going to do a
loop, check your altitude, mind the wind direction (anticipating
rudder corrections that will be required to maintain heading),
remember to throttle back at the top and make certain you
are on the desired rates (high/low rates). A fl ight plan greatly
reduces the chances of crashing your model just because of
poor planning and impulsive moves. Remember to think.
Have a ball!
But always stay in control and fl y in a safe manner.
GOOD LUCK AND GREAT FLYING!
Make a copy of this identifi cation tag and put it on or
inside your model.
3D FLYING
Because of the power-to-weight ratio on 3D planes, straight
and level fl ight should be at reduced throttle and full power
should only be used when the airplane is "loaded" during
a maneuver. Learn to manage the throttle and experiment
while in the maneuver. The power needed will depend on the
maneuver being performed. C.G. also plays a large role in
the 3D capability of models as well. Experiment, but keep in
mind that being tail heavy is not always the best way to go.
Another thing to remember is maximum control throw is not
necessary for all 3D maneuvers. Occasionally, too much
throw can place the model too far into a stall, causing it to
become uncontrollable. Practice your maneuvers at a higher
altitude while you become accustomed to your particular
plane’s stall characteristics.
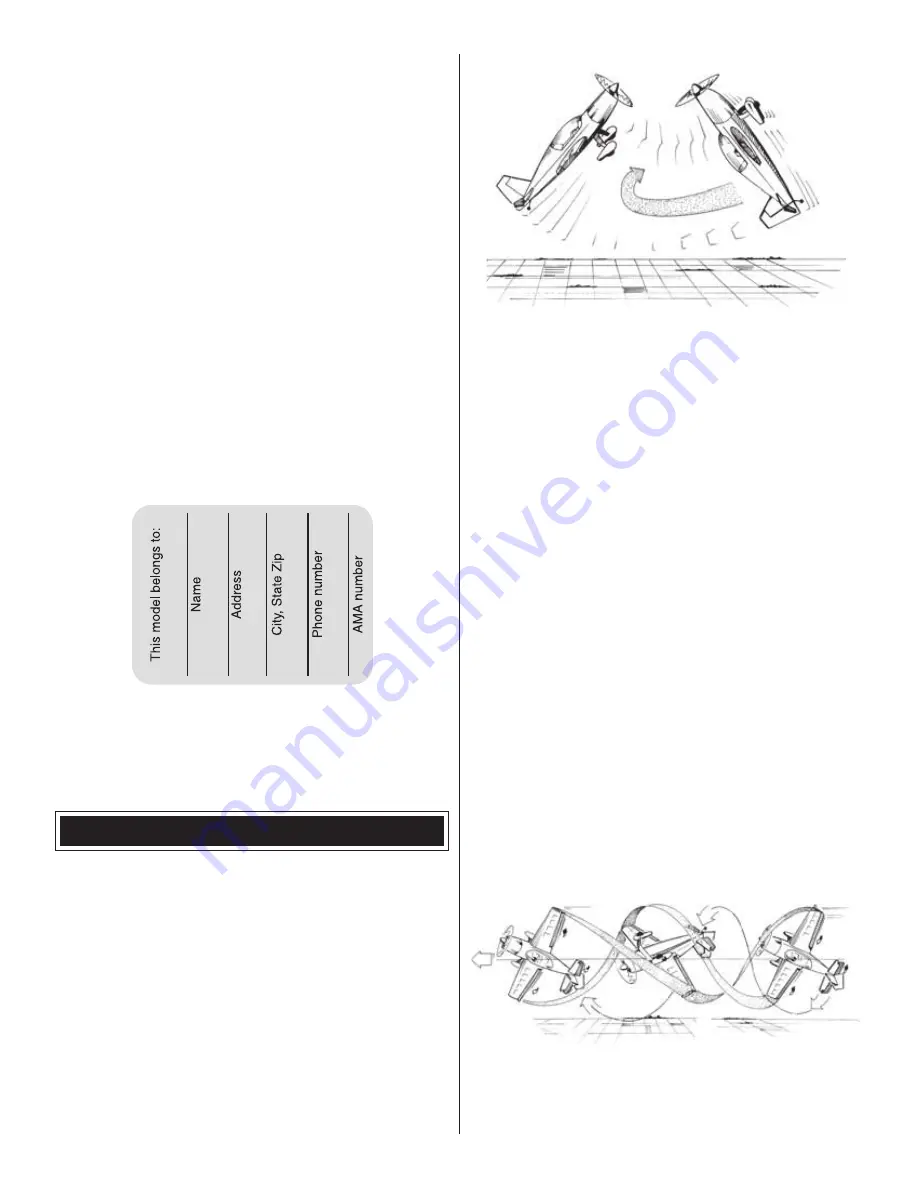
WATERFALLS
With the model pointing straight up (almost in a hover), push
full down elevator and full throttle. As the model rotates and
begins to point downwards, reduce the throttle (to keep the
model from being pulled downwards). As the model fl attens
out, add power back in to pull the model around. Most models
will require rudder correction (usually right rudder) during
this maneuver. Some planes will require aileron correction to
keep the wings level.
UPRIGHT FLAT SPINS
Pull the nose up slightly and slowly decrease power. As the
model slows down to a few mph, slowly add in full left rudder
and power. Next, start adding in up elevator as needed to
keep the model fl at in the spin. Most airplanes will require
some aileron as well to keep the wings level. This is one of the
maneuvers to experiment on; try different C.G. positions and
different amounts of throw and power to see how fl at the spin
will go. It is possible to maintain altitude in the fl at spin and in
some cases it is also possible to climb during the spin.
INVERTED FLAT SPINS
This is the same as the up-right fl at spin except most planes
like to spin in the opposite direction, for example: right rudder
and down elevator.
THE WALL
Fly straight across the fi eld at a moderate speed and simply
pull full up until vertical. Adjust the power as necessary to
maintain a hover.
KNIFE EDGE TUMBLE
This is an impressive looking maneuver that really isn’t as
diffi cult as it looks. (Before learning this maneuver you must
be able to confi dently Snap and Tumble your plane and stop
the aircraft exactly, without over rotating.) Fly the model
Summary of Contents for GPMA1412
Page 52: ......


