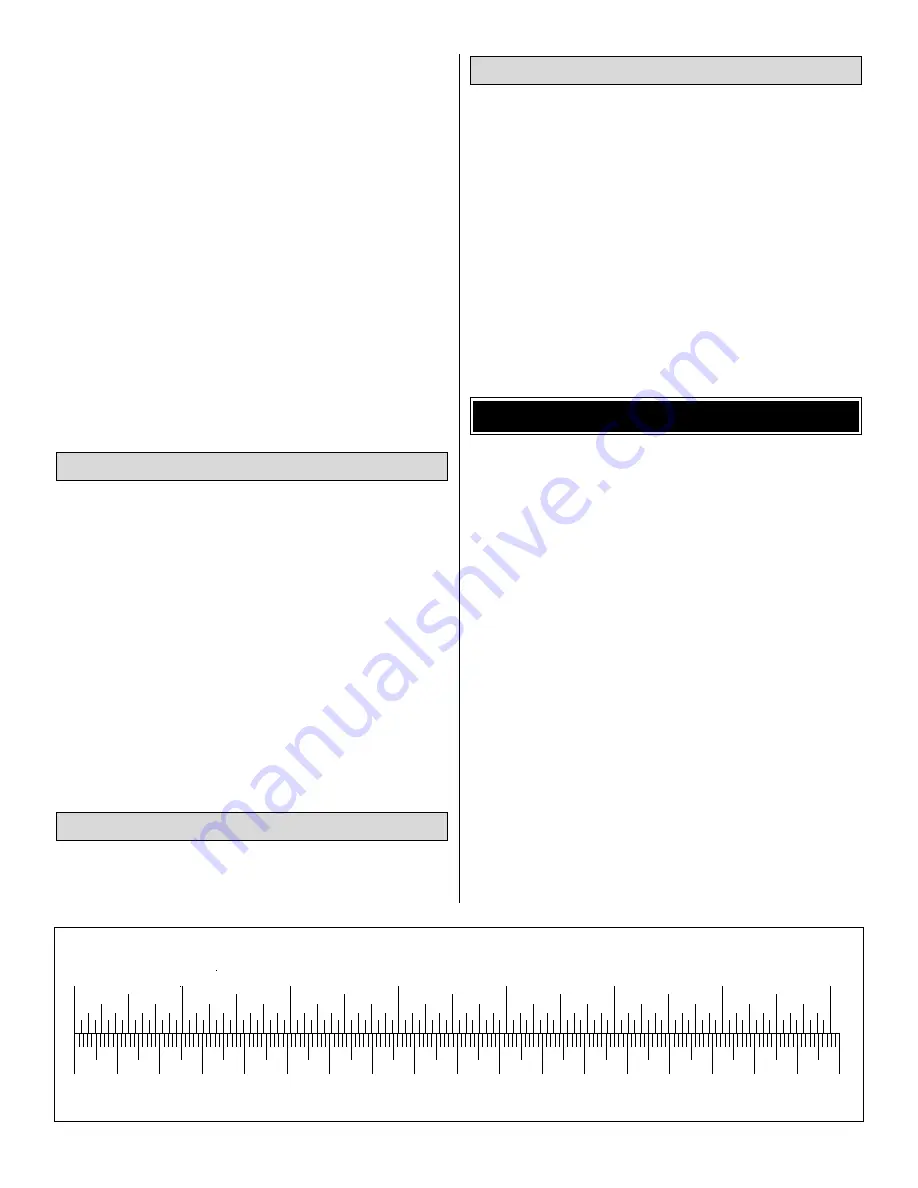
0"
1"
2"
3"
4"
5"
6"
7"
0
10
20
30
40
50
60
70
80
90
100 110 120 130 140 150 160 170 180
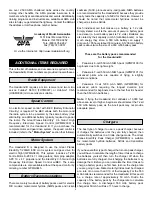
Inch Scale
Metric Scale
To convert inches to millimeters, multiply inches by 25.4
Charge Rate/Time Recommendations:
•
Charge the 6-cell 550 mAh battery pack at 50 mAh for
11 hours.
•
Charge the 7-cell 550 mAh battery pack at 50 mAh for
11 hours.
•
Charge the 7-cell 1200 mAh battery pack at 100 mAh for
12 hours.
IMPORTANT: Monitor the temperature of the battery frequently.
If the battery becomes warm, disconnect it from the charger.
A Hobbico R/C Multi-Charger (HCAP0100) is suitable for
charging the battery packs used in the Park Flyers.
Note: The period required to charge the batteries in the
examples above is for discharged batteries. If the battery
you are going to charge is not discharged (and you are not
using a peak-charger), connect it to the motor on your
model. Run the motor until the propeller is turning slowly,
thus discharging the battery.
In addition to common household tools and hobby tools, this
is the “short list” of the most important items required to build
the Headwind B. Great Planes Pro™ CA and Epoxy glue are
recommended.
❏
Hook & Loop Velcro
®
(GPMQ4480)
❏
Hobby knife (HCAR0105)
❏
#11 blades (HCAR0211)
❏
Small T-pins (HCAR5100)
❏
Top Flite
®
Panel Line Pen (TOPQ2510)
❏
Electric drill and 1/16" [1.6mm] drill bit
❏
Small Phillips and flat blade screwdrivers
❏
Pliers with wire cutter (HCAR0630)
❏
1/2 oz. Thin Pro
™
CA (GPMR6001)
❏
1/2 oz. Medium Pro CA+ (GPMR6007)
❏
6-Minute Epoxy (GPMR6045)
❏
Top Flite MonoKote
®
sealing iron (TOPR2100)
❏
Top Flite MonoKote trim seal iron (TOPR2200)
Here is a list of optional tools mentioned in the manual that
will help you build the Headwind B.
❏
Great Planes CG Machine
™
(GPMR2400)
❏
Straightedge with scale (HCAR0475)
❏
Masking Tape (TOPR8018)
❏
CA accelerator (GPMR6034)
❏
R/C-56 Canopy Glue (JOZR5007)
❏
Epoxy Brushes (GPMR8060)
❏
Mixing Sticks (GPMR8055)
❏
Denatured Alcohol (for epoxy clean up)
❏
Non-elastic monofilament or Kevlar fishing line (for
stab alignment)
❏
Builders Triangle Set (HCAR0480) (for fin alignment)
•
When you see the term
test fit in the instructions, it
means that you should first position the part on the
assembly without using any glue, then slightly modify or
custom fit the part as necessary for the best fit.
•
Whenever the term
glue is written you should rely upon
your experience to decide what type of glue to use. When a
specific type of adhesive works best for that step, the
instructions will make a recommendation.
•
Photos and sketches are placed before the step they
refer to. Frequently you can study photos in following steps
to get another view of the same parts.
•
The Headwind B is factory-covered with Top Flite
MonoKote film. Should repairs ever be required, MonoKote
can be patched with additional MonoKote purchased
separately. MonoKote is packaged in six-foot rolls, but some
hobby shops also sell it by the foot. If only a small piece of
MonoKote is needed for a minor patch, perhaps a fellow
modeler would give you some. MonoKote is applied with a
model airplane covering iron, but in an emergency a regular
iron could be used. A roll of MonoKote includes full
instructions for application. The Headwind B is covered in
Transparent Green Monokote (TOPQ0306).
IMPORTANT BUILDING NOTES
Optional Supplies and Tools
Covering Accessories
Adhesives and Building Supplies
4


