❏ ❏
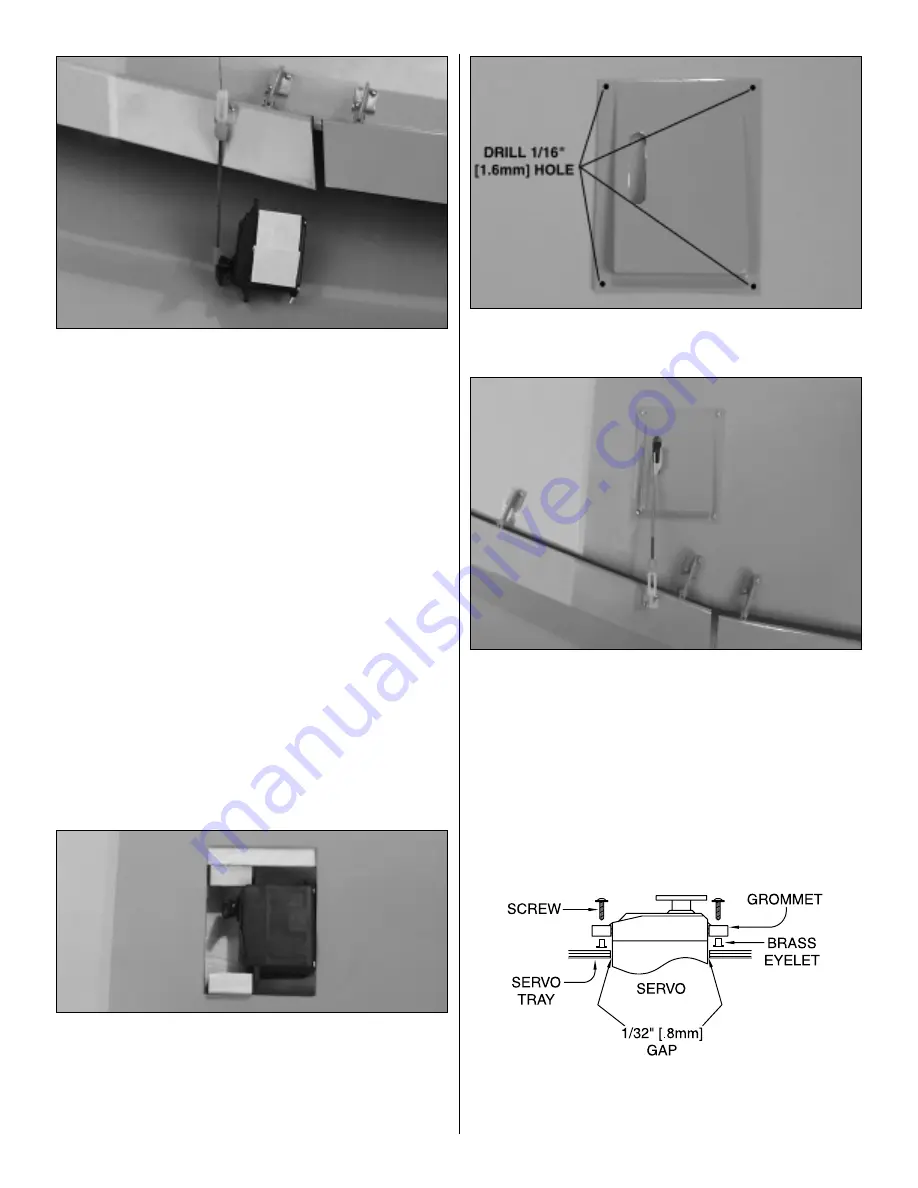
11. (Important: Before starting step 11, be sure the
servo is properly centered. If you have any doubt,
re-center the Servo.) Leave the pushrod wire attached to
the servo horn and the control horn. Remove the servo from
the servo bay. Apply two 1" [25mm] squares of double faced
servo tape (included in kit) to the servo. Then place the
servo back into the servo bay, making sure the bottom of the
servo is resting against the side of the servo bay as shown
in step 12. (Be sure to pull the string that is attached to the
servo lead, pulling the lead through the wing as you mount
the servo.) Apply pressure to the servo so that the servo
tape gets good adhesion to the servo bay.
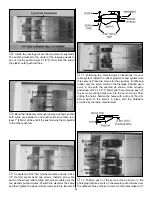
❏ ❏
12. Remove the nylon FasLink and the pushrod wire
from the servo horn. Locate two 3/8" x 3/4" x 3/4" [9.5 x 19
x 19mm] hardwood blocks. Place them against the servo
mounting tabs so that they act as a wedge forcing the servo
against the side of the servo bay. Using 6-minute epoxy, glue
them in the servo bay but do not glue them to the servo.
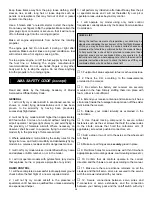
❏ ❏
13. Cut out the ABS servo cover as shown. Drill a 1/16"
[1.5mm] hole in each corner of the cover.
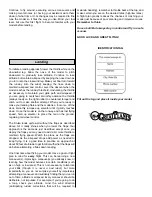
❏ ❏
14. Place the cover in position over the servo bay. Drill
a 1/16" [1.5mm] hole into the wing through each of the holes
in the corner of the servo cover. Put a drop of thin CA into
the holes in the wing. This will strengthen the holes. Allow
the glue to cure and then screw the cover to the wing with
four #2 x 3/8" [9.5mm] machine screws. After the cover is
installed, re-attach the pushrod clevis retainer and nylon
FasLink.
❏
15. Repeat steps 2 to 14 for installing the servo in the
left wing.
❏ ❏
16. Following the manufacturer’s instructions for your
radio system, install the rubber grommets and eyelets onto
a flap servo.
23


