❏
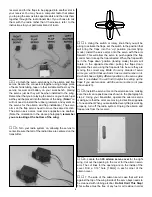
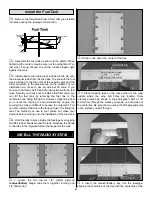
17. Turn the fairings over, placing them on a piece of
waxed paper. Allow the glue to cure.
❏
18. Once the glue cures, remove the fairings from the
waxed paper. The glue will have formed a nice edge all
around the fairings. This is going to provide a surface for
gluing the two halves together.
❏
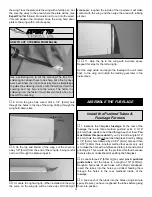
19. Use a coarse 100-grit sandpaper to roughen up the
plating on the landing gear wire where the fairings are to fit.
Wipe the wire with alcohol.
❏
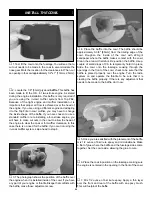
20. Position the nose gear wire as if you are taxiing the
airplane straight on the runway. Position one of the fairings
onto the wire so that it is also aligned straight ahead. Tack
glue the fairing to the wire with a small amount of CA.
❏
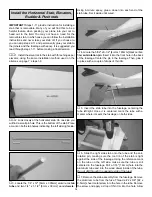
21. Mix another small amount of 6-minute epoxy and
microballoon filler. Coat the area around the fairing that is in
close contact with the wire so that the fairing is securely
glued to the wire. Allow the glue to cure. Before the glue
dries you can clean any excess glue from the outside of the
fairings with rubbing alcohol.
❏
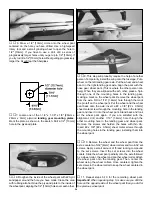
22. Glue the two halves of the fairing together. This can
be done with either CA or 6-minute epoxy.
❏
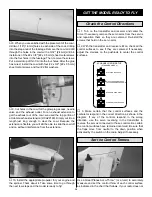
23. Locate the nose wheel pant (the nose wheel pant has
a small groove molded into one side) and two 1/8" x 3/8" x
3/4" [3mm x 9.5mm x 19mm] plywood plates.
❏
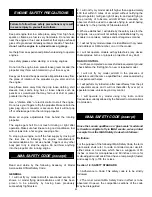
24. Drill a 5/32" [4mm] hole at the bottom of the molded
groove in the wheel pant for the axle to pass through.
22
Summary of Contents for Lancair ES
Page 40: ......


