❏
1. If you haven’t done so already, sand all parts of the
model smooth with 320, then 400-grit sandpaper.
❏
2. Handling the model with care, use compressed air, a dust
brush or a tack cloth to remove balsa dust from the model.
❏
3. If using a covering that requires adhesive, apply the
adhesive according to the instructions that came with it.
❏
4. Follow the suggested sequence to cover the model.
Important:
When covering the wing and tail surfaces, do
not tighten the covering until both sides of each part are
covered. This will reduce the tendency for the surfaces to
twist. If the surfaces do twist, they can be straightened by
re-tightening the covering while twisting the structure in the
opposite direction.
Tail surfaces:
1. The bottom, then the top of the stabilizer
2. Fin
3. Bottom, then top of elevators
4. Rudder
Fuselage:
1. The bottom of the fuse
2. Sides
3. Top
Wing:
1. The bottom of the center panel
2. The bottom of both outer panels and bottom of
wing tips
3. Top of the center panel
4. Top of wing tips
5. Top of outer panels
6. Ailerons
❏
1. Before proceeding, charge the motor battery (and your
transmitter if needed). When it’s time to set up the radio,
there will be no waiting for the batteries to charge.
❏
2. Install and permanently glue in the aft wing dowel and
the forward landing gear dowel.
❏
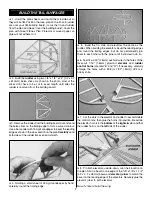
3. Make the
tail skid
as shown on the plan from leftover
1/8" x 1/4" [3.2 x 6.4mm] balsa. Remove the covering from
the bottom of the fuse where the tail skid is to be glued into
position. Glue the tail skid to the bottom of the fuse with CA.
❏
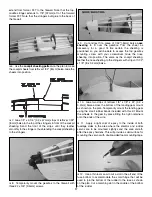
4. Hold the elevator to the stab and move it up and down
to make sure there is no interference with the fuse. If
necessary, trim the bottom of the fin trailing edge or the top
of the aft end of the fuse to allow the elevator to move up
and down.
❏
5. Cut the covering from the elevator and rudder pushrod
exit slots near the aft end of the fuse.
Note:
Refer to elevator and rudder pushrods on the fuse
plan. Note that the pushrods are made from aluminum tubes
connected to wire rods at both ends. The following steps
describe how to make the pushrods.
❏
6. Cut the two 1/16" [1.6mm] aluminum pushrod tubes
to the length shown on the plan for the
elevator
and
rudder pushrods
.
❏
7. Thoroughly clean the remaining .030" x 20-1/2" [.76 x
520mm] wire with alcohol or other solvent, then scuff with
320-grit sandpaper so glue will adhere.
❏
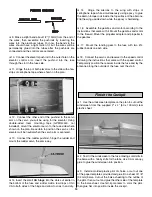
8. Make all four
pushrod ends
as shown on the plan
from the wire. The ends should be cut to a length so that
they can be inserted 1-1/4" [32mm] into the aluminum
pushrod tubes.
Hook Up the Controls
FINAL ASSEMBLY
Suggested Covering Sequence
Final Preparations
COVER THE MODEL
18


