❏
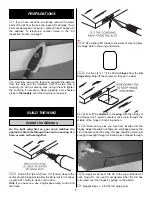
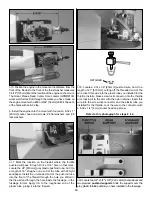
5. Locate the five 1/8" [3mm] balsa disks shown. Glue the
three smaller disks to each other forming a 3/8" [9mm] thick
disk. The inside diameter of these disks is designed to fit
over the thrust washer of the O. S. .91 two-stroke engine
and the O.S. .91 four-stroke engine. Depending on the
engine you are installing, you may have to slightly enlarge
the inside diameter of the rings. If necessary, enlarge the
disks just enough to fit snugly over the engine thrust
washer. Once the disk fits, glue the 3/8" [9mm] disk onto the
large disk inside the location marks on the disk.
❏
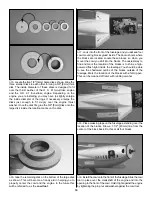
6. Glue the remaining disk on the bottom of the large disk
as shown. This will become a handy aid in helping you to
properly center the cowl and the engine. In the future this
will be referred to as the cowl tool.
❏
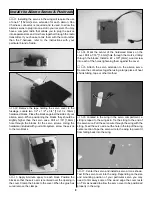
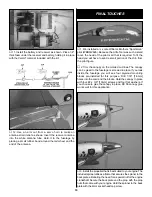
7. Look into the front of the fuselage and you will see four
cowl mounting blocks glued inside. The photo shows where
the blocks are located. Locate these blocks, so when you
mount the cowl you drill into the blocks. The easiest way to
find and mark the location of the blocks is to shine a high-
powered flash light inside the fuselage. You should be able
to see the shadowed outline of the blocks outside of the
fuselage. Mark the location of the blocks with a felt-tip pen.
This can be cleaned off later with rubbing alcohol.
❏
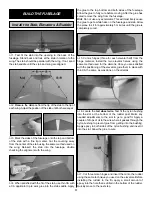
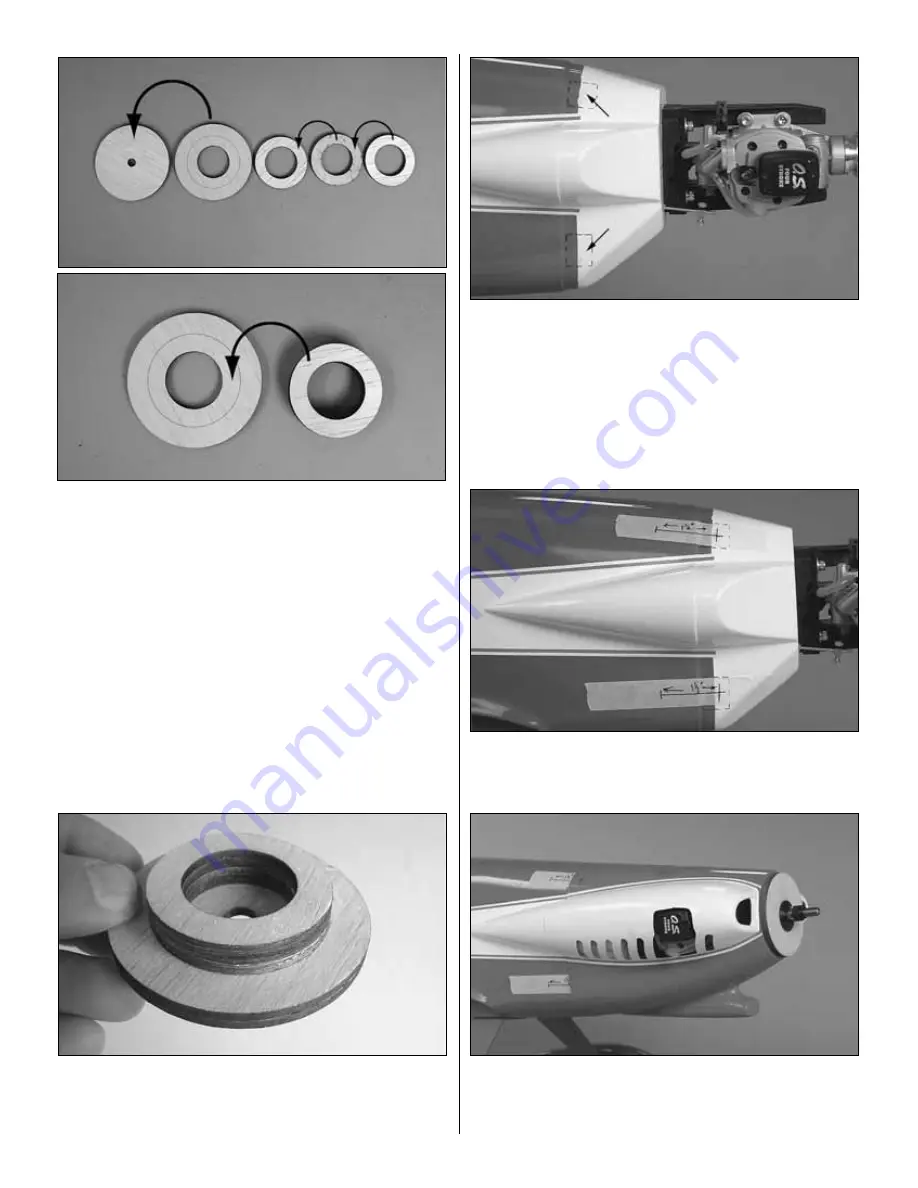
8. Place masking tape on the fuselage extending over the
location of the blocks. Draw a 1-1/2" [40mm] line from the
center of the block back. Do this at all four blocks.
❏
9. Install the cowl onto the front of the fuselage. Slide the cowl
tool in place over the crankshaft of the engine and into the
opening in the front of the cowl. Hold it tight against the engine
by tightening the prop nut and washer against the cowl tool.
16
Summary of Contents for Little Toni ARF
Page 28: ...28 ...

