7
❏ ❏
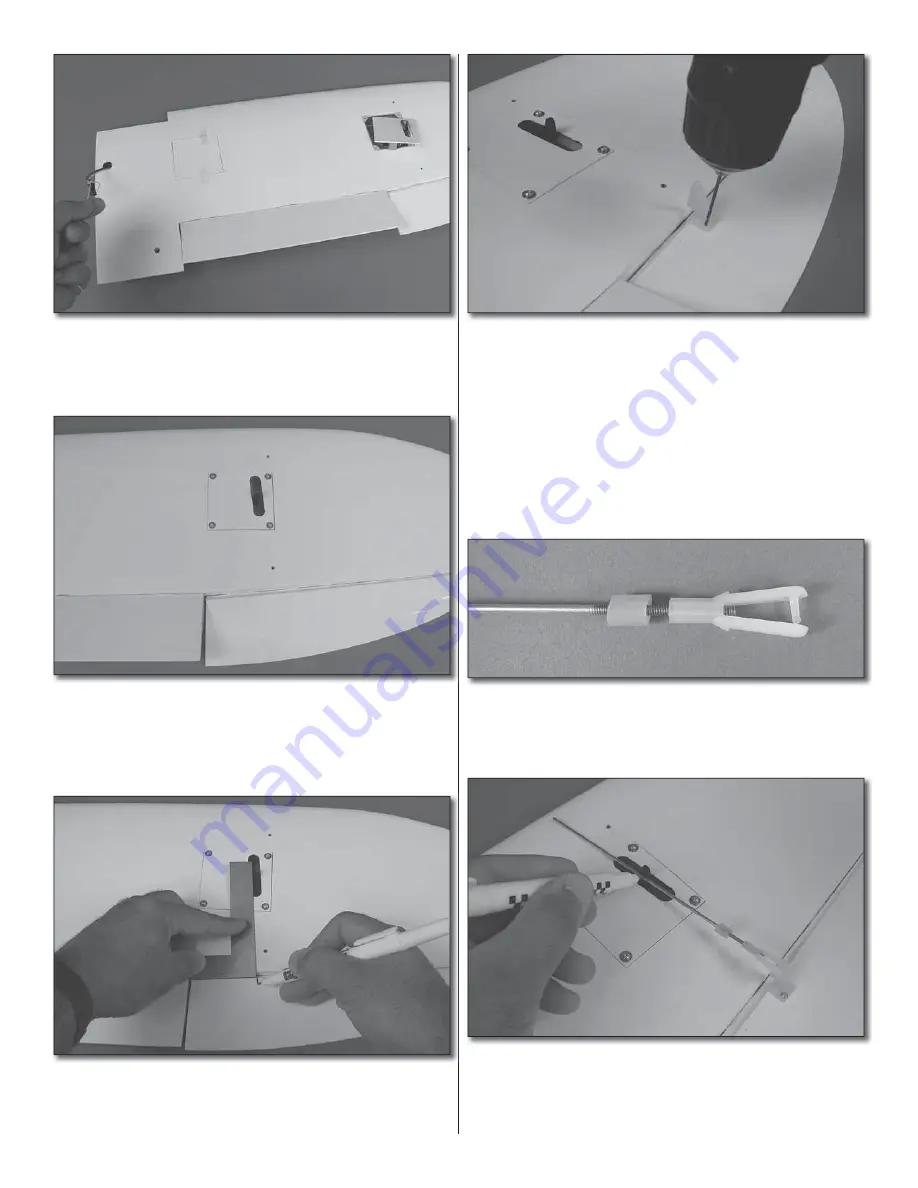
5. Tie the guide string to the end of the servo lead and
carefully route the servo lead through the wing and out of the
hole in the sheeting near the root rib of the wing.
❏ ❏
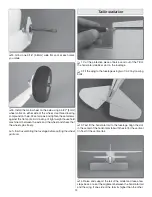
6. Orient the servo bay cover as shown and install it
using four #2 x 3/8" [9.5mm] sheetmetal screws with four
#2 flat washers. Remove the screws, washers and the cover
and harden the screw holes in the wing with thin CA. Then,
re-install the cover and screws.
❏ ❏
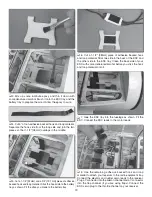
7. Using a 90° builder’s square or a builder’s triangle,
make a mark on the aileron directly behind the aileron servo
arm. Align the flat base of the square with the aileron hinge
line. Then slide the square into position and make your mark.
❏ ❏
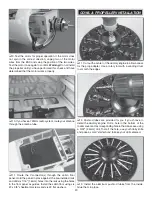
8. Clip off and discard the backing plate from a small
control horn. Align the horn over the mark you made and
slide it forward until the pushrod holes in the horn are directly
over the hinge line. Drill two 3/8" [9.5mm] deep holes using a
1/16" [1.6mm] drill. Be careful not to drill completely through
the aileron.
❏ ❏
9. Install the control horn using two #2 x 3/8" [9.5mm]
sheetmetal screws. Remove the screws and the horn and
wick about 4-5 drops of thin CA into the screw holes you
tapped. Allow the CA to dry and reinstall the control horn.
❏ ❏
10. Screw a clevis onto a 6" [152mm] threaded pushrod
so that at least 1/8" [3.2mm] of thread protrudes past the
barrel of the clevis. Loosely fit a silicone clevis retainer to the
pushrod.
❏ ❏
11. Fit the clevis to the outermost hole in the aileron
control horn. Extend the pushrod forward and align it with
the hole you drilled in the servo arm. With the servo arm
centered and the aileron at neutral, make a mark at the hole
in the servo arm.


