7
❏
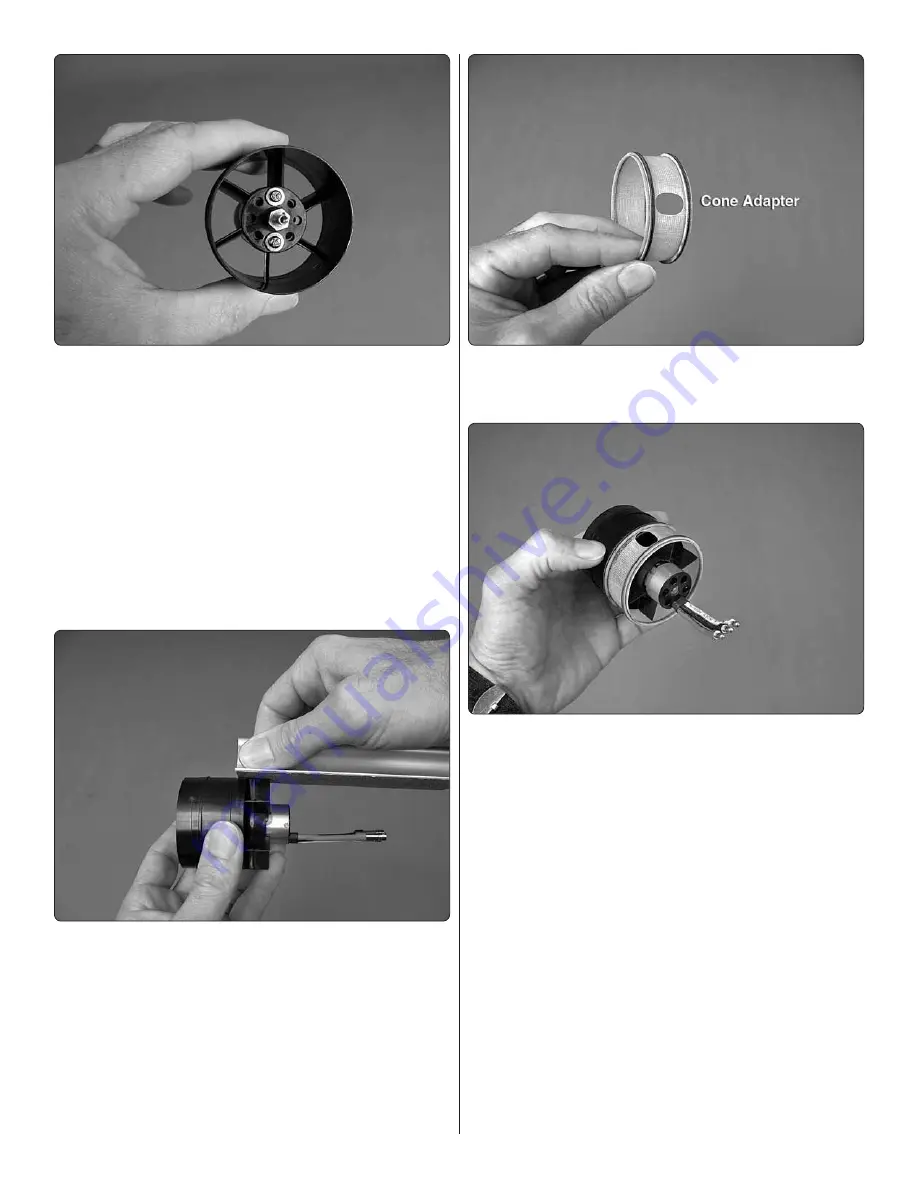
11. Mount the motor to the fan housing with two of the 3
x 5mm screws packaged with the Ammo motor; one or two
washers for each screw; and a drop of threadlocker on the
threads. The washers will make sure the screws don’t bottom
out on the fi berglass insulator ring inside the motor.
❏
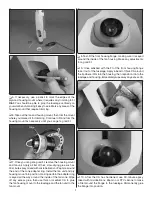
12. As shown in step 6 in the HyperFlow manual, test-fi t
the
stator extension
to the fan housing—make sure the little
notch in each stator blade allows the blade to fi t all the way to
the blades in the housing. If necessary, slightly enlarge any
notches that interfere for a proper fi t.
❏
13. Once satisfi ed with the fi t of the stator extension, carefully
glue it to the fan housing with CA—use CA
sparingly
so as
not to let excess run down inside the housing.
❏
14. Lightly sand the edge of each blade on the stator
extension to remove any fl ashing and to make sure they are
even with the housing.
❏
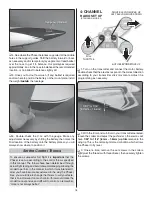
15. Use medium-grit sandpaper to smooth the rough edges
around the motor wire hole in the fi berglass
cone adapter
so
it won’t damage the motor wires.
❏
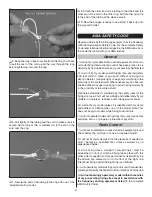
16. Test-fi t,
but do not glue
the cone adapter to the rear of
the fan housing. Note that the hole in the housing should be
180 degrees from the side of the motor where the wires exit—
this will be the
top
of the unit. Once you have the housing and
adapter mated correctly, permanently glue the two together by
adding a few drops of thin CA to the seam around the outside.
Also apply a few drops of medium CA to each stator blade
where it contacts the inside of the adapter—again, use CA
sparingly so as not to cause excess to run down inside the fan.
❏
17. Fit the cone to the fan and the fan onto the adapter
with all the dimples aligned. Secure the cone and fan to the
adapter with a 3mm screw and washer, but don’t use any
threadlocker yet.


