9
of the wings, lightly sand the slot using 150-grit sandpaper
until the stab is aligned.
❏
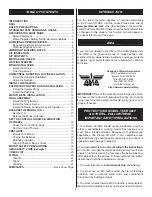
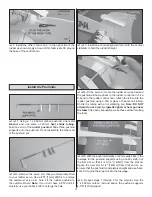
3. When you’re satisfi ed with the fi t of the horizontal stab,
run a generous bead of thin foam-safe CA down the left and
right stab to the fuselage joints. Turn the model over and glue
the bottom of each joint as well.
❏
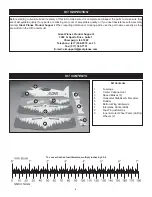
4. Make sure that the upper and lower fuselage is aligned.
Apply a few drops of foam-safe CA to the aft fuselage seam
and glue the seam together.
❏
5. Defl ect the elevator up and down, checking for free travel.
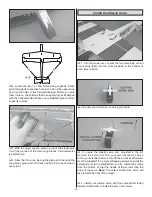
Hinge the Rudder
❏
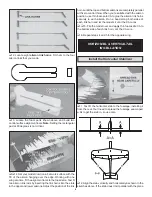
1. Locate the 7-1/2" [190mm] strip of hinge tape. Cut the
tape so that you have one 4" [100mm] piece, one 2-3/4"
[70mm] piece, and one 3/4" [20mm] piece.
❏
2. Position the rudder so that the LE of the rudder gently
touches the vertical fi n and that the top of the rudder is even
with the top of the fi n. Remove the backing paper and apply
the 100mm strip of tape to the top of the rudder on the right
side. Apply the 20mm piece to the bottom of the rudder.
Note: Pushing the rudder too hard against the fi n can fold
the beveled edge over and cause limited rudder throw.
❏
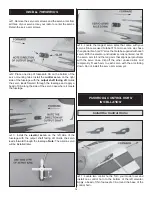
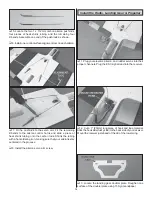
3. Apply the 70mm piece to the center section of the
rudder, making sure that you press the tape tightly into the
crease. A straightedge is helpful here.
❏
4. Defl ect the rudder left and right and check for free travel.
Summary of Contents for Pluma
Page 23: ...23...
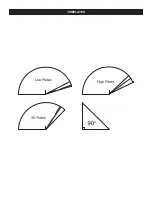
Page 24: ...TEMPLATES TEMPLATES...


