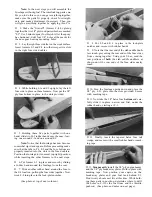
D 12. If the nylon bearing fits snugly into the groove,
you may use a few drops of thin CA to glue it in place.
If you have a loose fit, use thick CA or epoxy. DO
NOT GET GLUE INTO THE ENDS OF THE
NYLON BEARING TUBE!
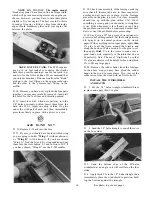
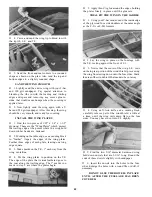
D 13. Turn the wing upside down, with the trailing
edge facing you, and temporarily position the inboard
T.E. pieces against the back edge of the wing. You
will notice the gap between the pieces, caused by the
dihedral angle. Sand the ends of the inboard T.E.
pieces so they come together without a gap.
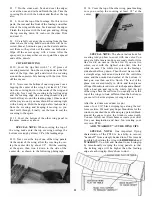
D 14. With the T.E. pieces taped in their proper pos-
ition mark the location of the slots (where the
threaded portion comes out) on the back edge of the
wing as shown. Then remove the T.E. pieces and cut
slots in the back edge of the wing.
D 15. Glue the inboard T.E. pieces to the back of the
wing by carefully holding or taping the pieces in
place and applying thin CA in small drops along the
joints. Use care to avoid getting glue inside the nylon
bearings.
D 16. Mark a centerline all the way down the leading
edge of each aileron.
D 17. Hold the ailerons in place against the back
edge of the wing and mark the location where the
torque rods will enter the ailerons.
D 18. Drill a 3/32" hole in each aileron to accept the
torque rods.
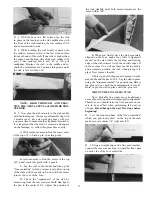
D 19. Sand the leading edge of the ailerons to a "V"
shape as shown on the plan.
D 20. Groove the leading edge of each aileron to
accept the torque rods.
D 21. Trial fit the ailerons onto the torque rods.
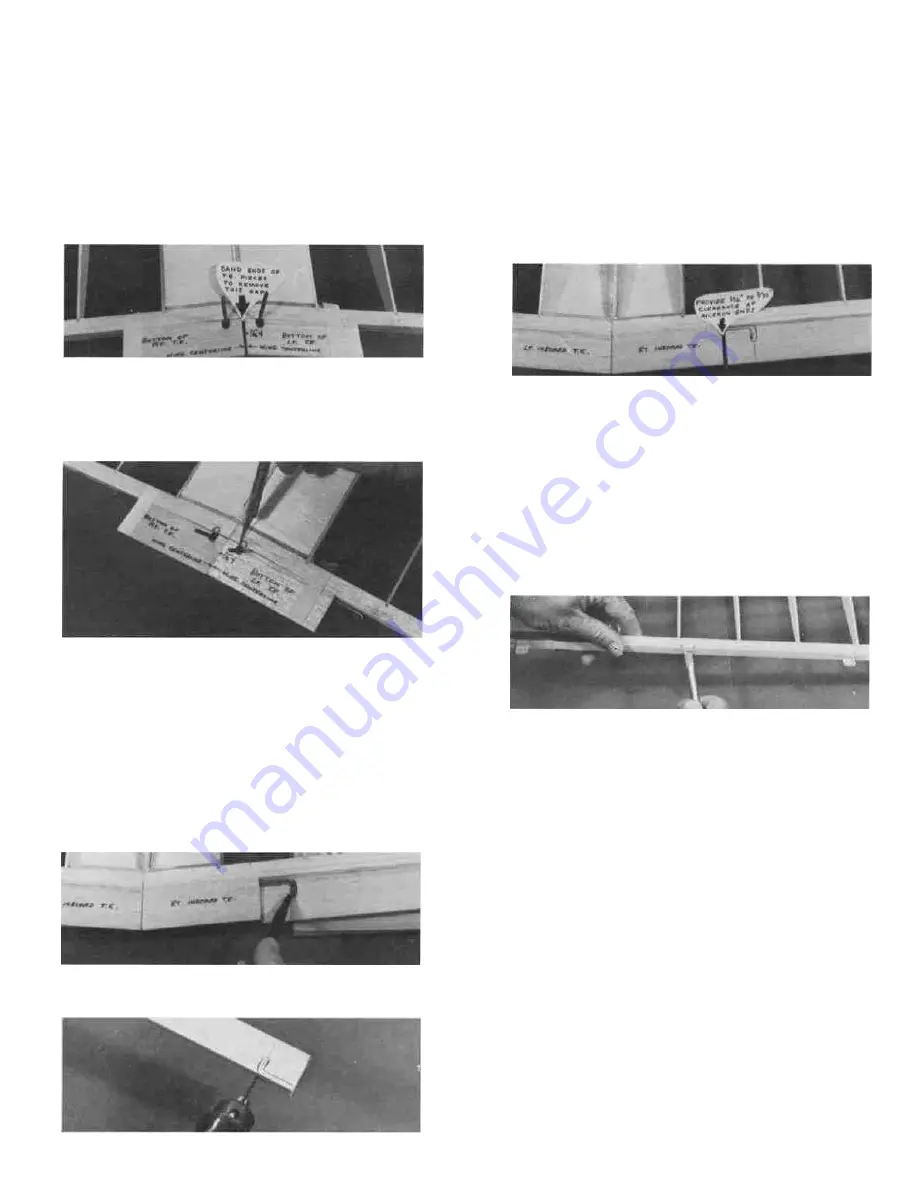
D 22. Cut or sand a small amount off both ends of
the ailerons to provide about 1/16" to 3/32" of clear-
ance at each end. (Remember....the ailerons will be
covered with Super Monokote or other covering mat-
erial; therefore you must make some space at the
aileron ends so they don't tighten up after covering.)
D 23. Remove the ailerons and draw a centerline
down the back edge of the wing, in the aileron open-
ing.
D 24. Place the ailerons on the wing plan and mark
the locations of the hinges on the leading edge of the
ailerons. Now put the ailerons back in place on the
wing and transfer the hinge location marks to the
back edge of the wing.
D 25. Cut the hinge slots for the ailerons in the
same way that you did for the elevator and rudder.
D 26. Using 100 grit sandpaper, roughen the ends
of the torque rods that will go into the ailerons.
D 27. Trial fit the ailerons on the wing with the
hinges in place. DO NOT GLUE THE HINGES IN
UNTIL AFTER COVERING.
THE FOLLOWING INSTRUCTION
PHOTOS SHOW THE "B" WING (WITH
AILERONS), BUT THE PRINCIPLES APPLY
TO BOTH "A" AND "B" WINGS.
INSTALL THE WING TIPS
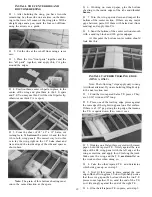
D 1. Sand the wing tips smooth and flat with your
T-bar and 100 grit sandpaper.
D 2. Find the two tapered balsa pieces that are
11-3/8" long. These are the wing tips.
D 3. Holding the wing and wing tip on a flat surface
covered with waxed paper (the narrow edge of the
tapered piece goes down), apply thin CA glue to the
joint.
(See photo, top of next page.)
21


