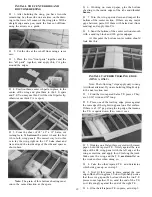
D 7. Do the sides next. Tack and seal the edges,
vent at the nose and tail and finish the job. Trim the
covering flush with the bottom and flush at the top
also.
D 8. Cover the top of the fuselage. Do this in two
parts, the rear and the front of the fuselage on either
side of the wing saddle area. Tack and seal the edges.
Finish the top area with the heat gun and rag. Bring
the top covering down 1/4 inch over the sides. Trim
and seal it.
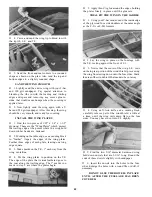
D 9. Carefully cut away the covering from the fuse
sides where the wing hold down dowels will be in-
serted. Smear 5-minute epoxy on the dowels and in-
sert them so they stick out the same on both sides.
Wipe off the excess epoxy with a tissue. After the
epoxy sets you may either cover or paint the exposed
ends of the dowels.
COVER THE WING
D 10. Cover the tips first with 3" x 12" pieces of
covering material. Iron the covering down to the flat
ends of the tips, then pull and stretch the covering
around the comers while heating with the iron. Trim
off the excess.
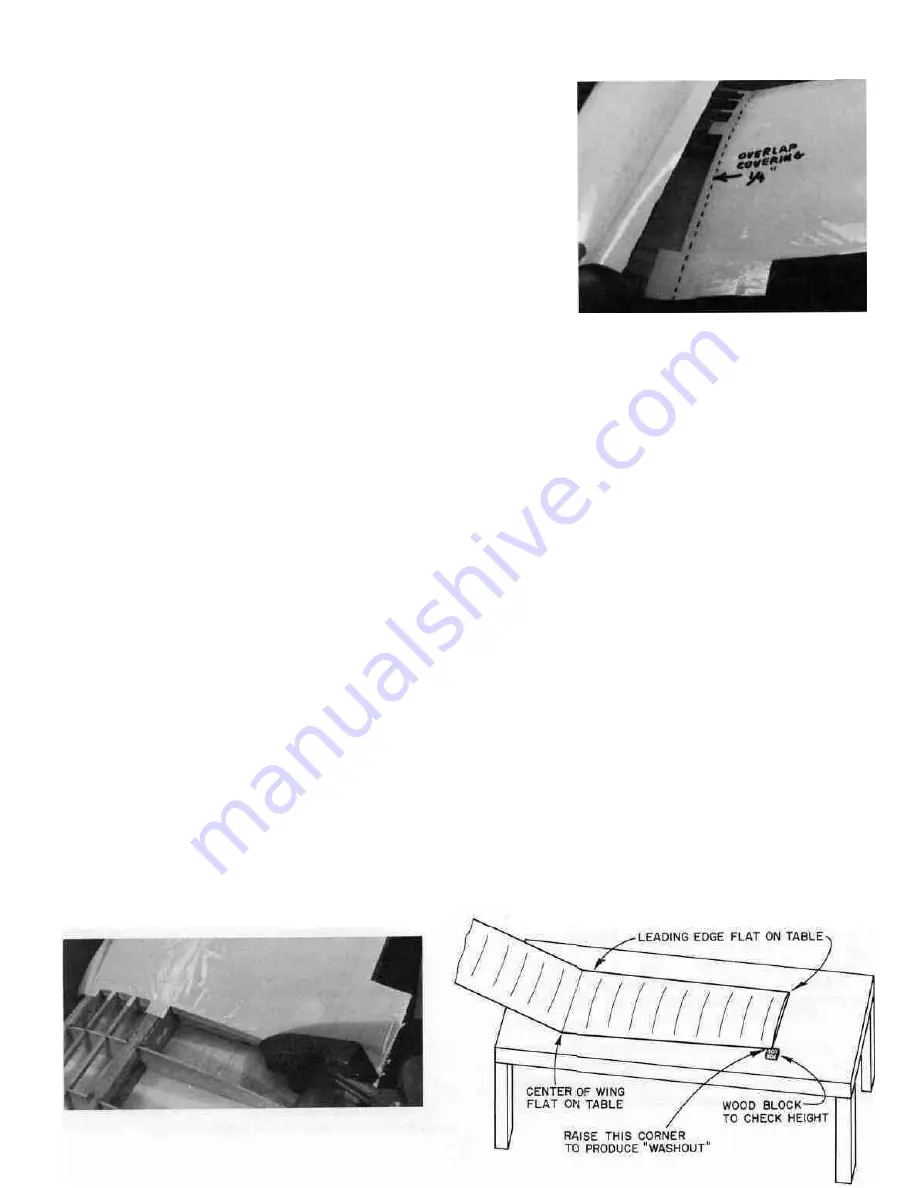
D 11. Now cover the bottom of one wing panel, over-
lapping the center of the wing by at least 1/4". First
iron the covering down to the center of the wing and
at the tip. Next, seal the covering to the trailing edge
and the leading edge (the covering should wrap at
least halfway around the leading edge). Once sealed
all the way around, you may shrink the covering tight
with a heat gun. Hold the heat gun a few inches away
from the covering, and keeping it moving, so you
don't melt through. Finally, use the iron to seal the
covering to the spars.
D 12. Cover the bottom of the other wing panel in
the same manner as above.
SPECIAL NOTE: When covering the top of
the wing, make sure the top covering overlaps the
bottom covering by at least 1/4" at the leading edge.
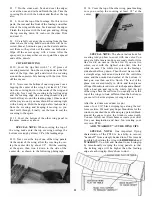
D 13. Next, cover the top of one of the wing panels.
At the center of the wing, allow the covering to over-
lap the center ribs by about 1/2" . Slit the covering
at the spars, then iron it down to the side of the
center rib, as shown in the following photograph.
D 14. Cover the top of the other wing panel making
sure you overlap the covering at least 1/2" at the
center.
SPECIAL NOTE: The above instructions for
covering told you how to cover with one color. You
can get a little fancier and use a second color for trim
like we did on ours on the box lid. If you use two
colors, cover with the lightest color first, like the
white on ours. The white was put on the fuselage
side about halfway down. Then the red was cut with
a straight edge, tacked and sealed at the red/white
seam and then tacked and sealed at the bottom. A
heat gun was then used to finish. The rest of the
plane was covered totally in white and then pieces
of Super MonoKote red were cut to shape and adhered
with a heat gun and rag to the white. Just the top
of the wings have the red trim. You usually want the
top of the wings to look different than the bottom so
you can tell what the airplane is doing in the air.
After the red trim was added, we put
some of our 1/16" black striping tape along the red
for more trim. We used gray Super MonoKote for the
windows, masked them off and spray painted black
around the edges to give the windows some depth.
You can follow our trim scheme or create your own!
Use your imagination and have fun creating your
very own PT40.
ADD "WASHOUT" AT THE WING TIPS
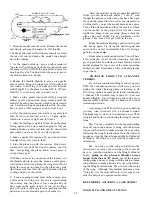
SPECIAL NOTE: One important flying
characteristic of the PT40 is its ability to recover
"hands-off" from a steeply banked turn. This is made
possible by building the wing with DIHEDRAL and
WASHOUT. You will add washout to each wingtip
by intentionally warping the wing panels, so that
the trailing edge will be higher than the leading
edge at each wingtip. Here's how to do it...
31


