16
Hinge the Ruddervators
❏
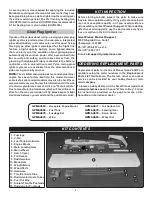
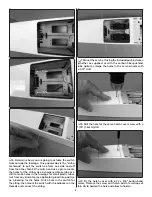
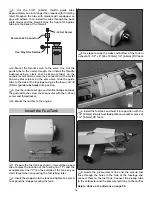
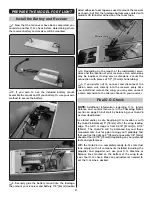
1. Install the ruddervator pushrods if they aren’t already
installed. Connect the balls on the ruddervator torque rods
to the ball links on the pushrods, then fi t the ruddervators
to the V-tail with the hinges—be certain the hinges remain
centered as they go in.
❏
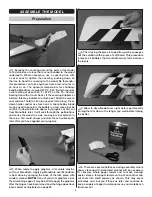
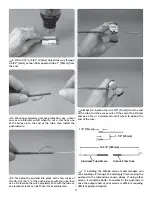
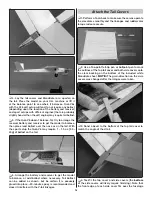
2. Connect the ruddervator servos to your receiver and a
battery so you can operate the servos and ruddervators with
your transmitter. Make sure everything moves smoothly and
operates correctly and that the pushrods are the correct
length so the ruddervators will be centered when the servos
are centered. Make any adjustments necessary.
❏
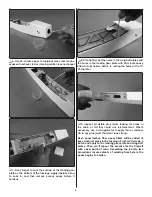
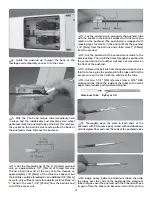
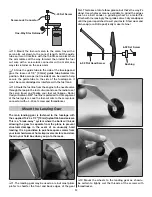
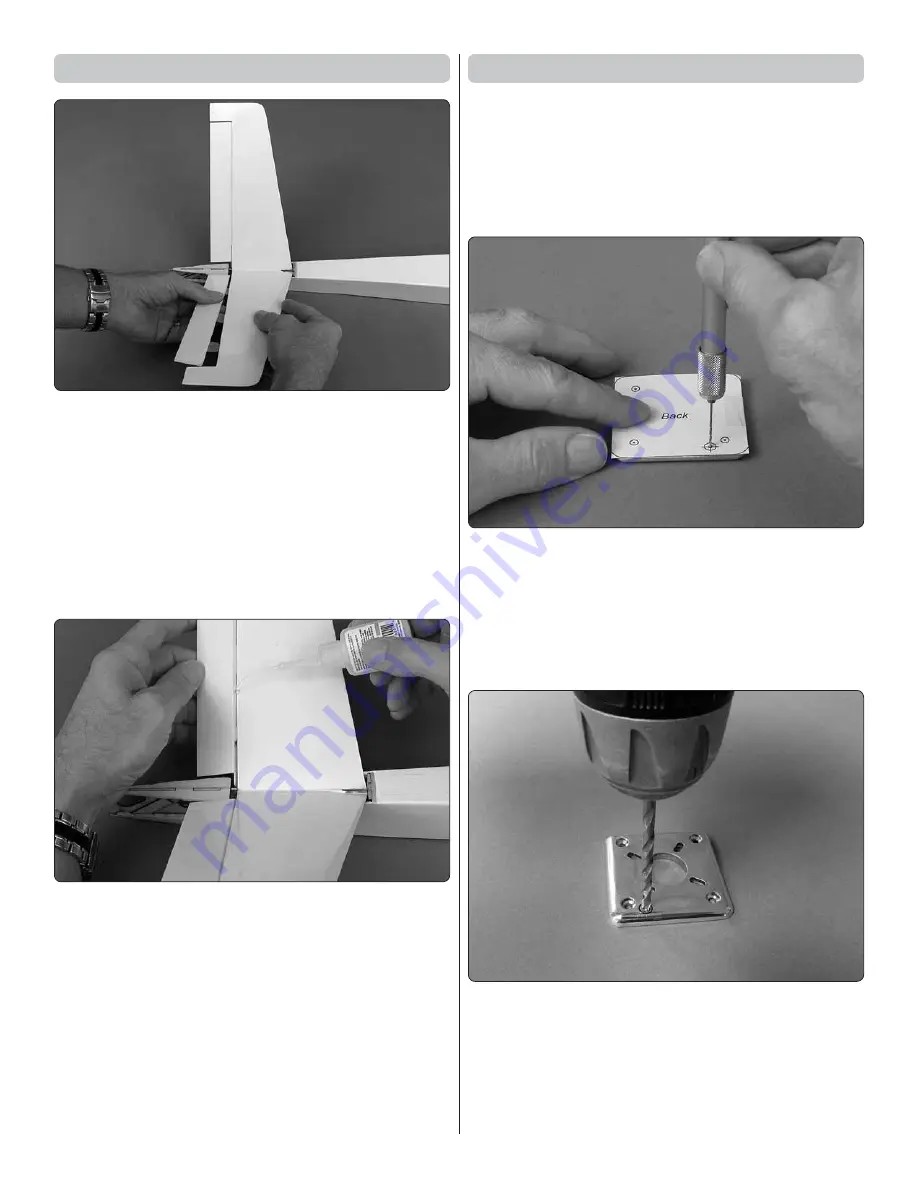
3. Permanently join the ruddervators with the torque
rods to the V-tail by securely gluing in the hinges with 6
– 8 drops of thin CA on both sides of each hinge. Allow
time between drops so the CA soaks into the hinge slots
instead of running down the hinge gap.
❏
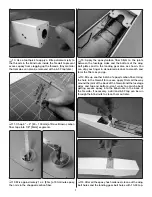
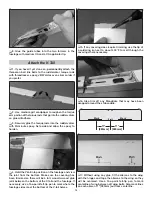
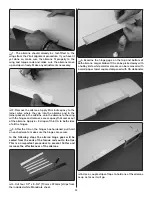
4. Any excess CA or CA “fog” can be removed with a
small paper towel square and debonder.
❏
5. Pull hard on each ruddervator to make sure the
hinges are secure.
The wood tail covers will be added after it has been
determined whether or not any ballast is required in
the tail to achieve the correct C.G.
Mount the Engine
Installation of both a sport setup with an O.S. Max .55AX
with the included back plate mount and the Jett QJ-1
engine for AMA 426 with the Jett back plate mount are
illustrated. Follow the instructions for the setup you will
be using.
SPORT ENGINE WITH INCLUDED BACKPLATE MOUNT:
❏
1. If using the O.S. .46 or .55AX (or most other engines
that will have the carburetor arm on the bottom with the
engine mounted on its side), cut the back plate template
labeled “
Back
” from the back of the manual. Tape the
template to the
back
of the back plate mount, then mark
the throttle pushrod hole using a small drill. (This hole also
aligns with the hole for the throttle cut wire in the Jett
Engineering back plate mount.)
❏
2. Drill a 1/16" [1.6mm] hole at the mark, then enlarge
the hole with a 3/16" [4.8mm] drill.
❏
3. Run a 6-32 tap down through the blind nuts in the
fi rewall to clean up any epoxy leftover from the fi llet inside.
If the tap won’t go through, drill out the obstruction with a
#36 (or 7/64" [2.8mm]) drill, then run the tap.


