15
PREPARE THE MODEL TO FLY
Do not
overlook the following two important procedures.
The C.G. and control throws have been determined by
thorough testing and record keeping. Later, you may wish
to change the C.G. and throws to suit your taste, but the
C.G. and throws specifi ed in the manual are a safe starting
point and will give you the greatest chances for success.
Check the C.G.
❏
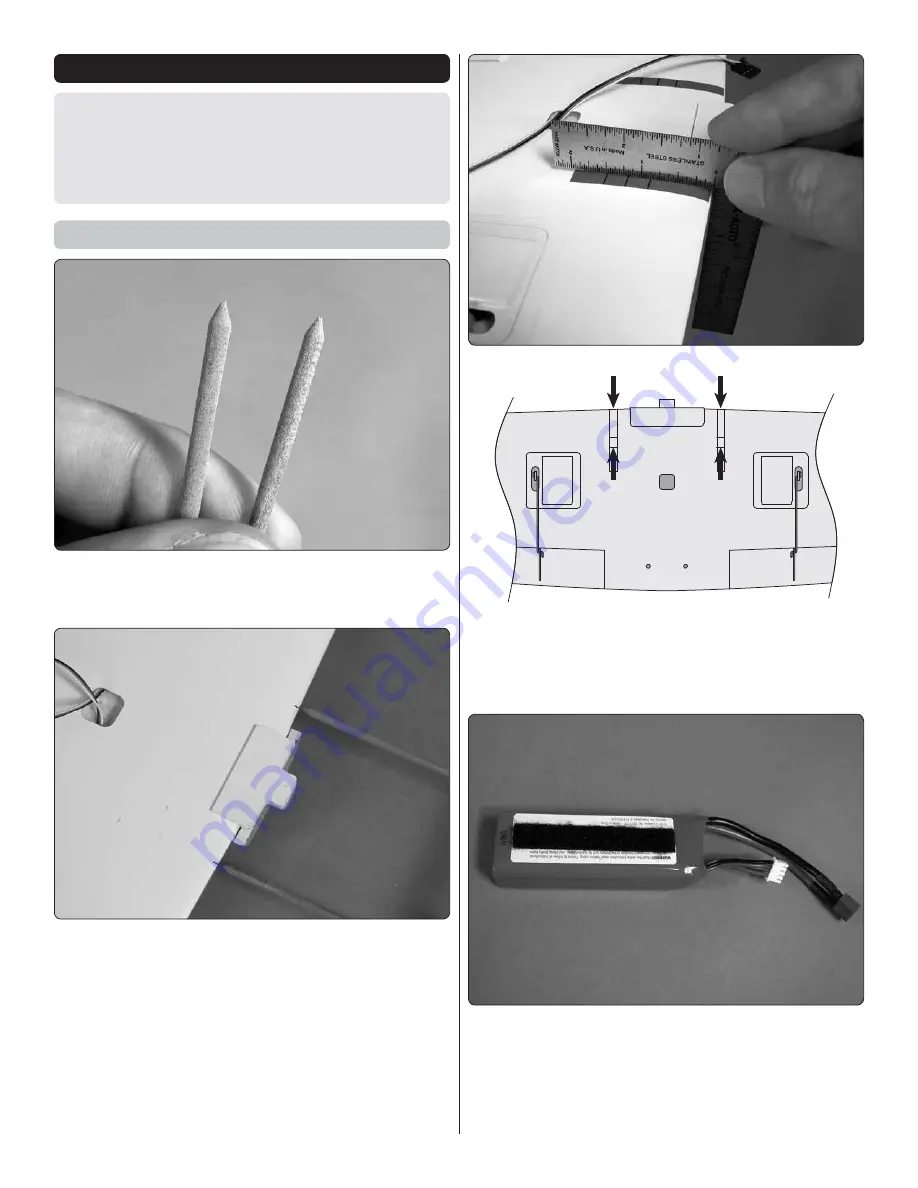
1. Sharpen one end of the dowels for the included
balance stand. Assemble and glue together the stand. (The
completed stand is pictured on page 16.)
❏
2. Mark the leading edge of the bottom of the wing in
alignment with the tips of the dowels.
1-3/16" [30mm]
Recommended starting balance point
❏
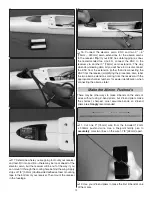
3. Lay 2" [50mm] strips of vinyl tape (or similar) on the
bottom of the wing aligned with the marks. Use a fi ne-point
felt-tip pen to draw lines across the strips 7/8", 1-3/16" and
1-1/2" [22mm, 30mm and 38mm] back from the leading edge.
❏
4. Attach a strip of the softer, “loop” side of the included
Velcro strip to your battery—note that only a narrow strip is
required. This is enough to securely hold the battery in position
during fl ight and will make it easier to remove the battery.
❏
5. Temporarily mount the prop and spinner and the wing.
At this time all components must be installed in the model.
Summary of Contents for Rifle 1M
Page 24: ......


