❏
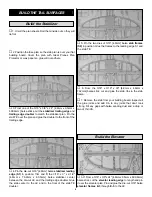
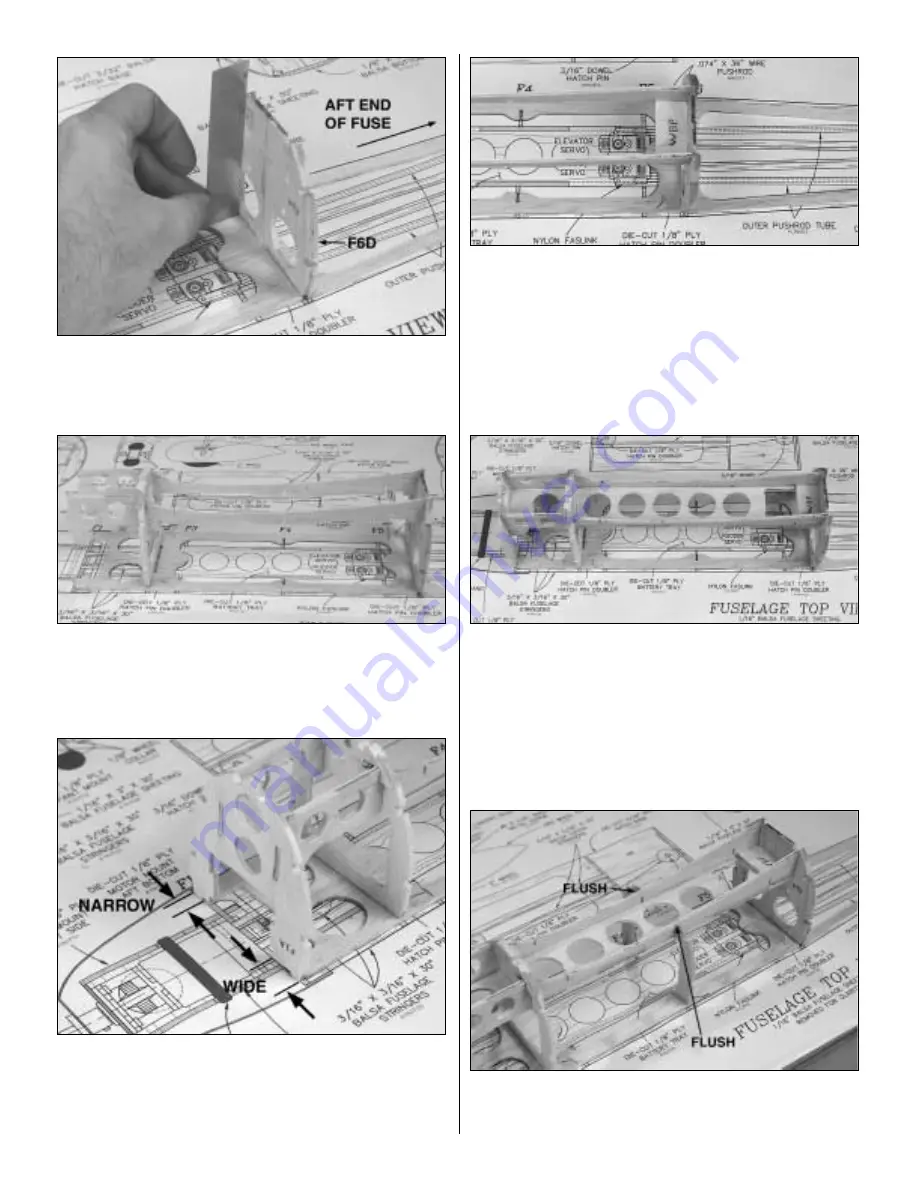
7. Glue former F6A perpendicular to the fuselage base
with formers F6D towards the aft end of the fuselage.
❏
8. Glue the two die-cut 3-ply wing saddles between
formers F2A and F6A. Make sure the wing saddles are fully
seated in the slots.
❏
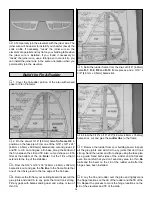
9. Glue the die-cut 3-ply former F1A to the front of the
wing saddle and the fuselage base. Make sure the
embossed
F1A faces forward. Note: The front of the wing
saddle will provide approximately 2 degrees of down thrust
when the motor is installed.
❏
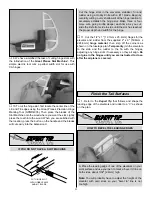
10. Glue the die-cut 3-ply wing bolt plate (WBP) to the
wing saddle and former F6A.
❏ ❏
11. Glue the die-cut 3-ply battery tray to the top of the
wing saddle and formers F1A, F2A and F3A.
❏
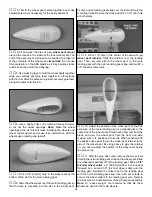
12. Glue the die-cut 3/32" [2.4mm] balsa formers F4A to
the wing saddle and the fuselage base. The former should
be flush with the bottom of the wing saddle.
21
Summary of Contents for Ryan STA EP
Page 7: ...7 DIE CUT PATTERNS...
Page 48: ...TWO VIEW DRAWING Use copies of this page to plan your trim scheme...
Page 49: ...B C...
Page 50: ...D A...


