❏
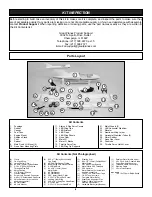
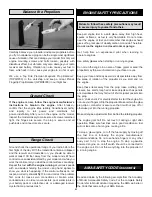
4. Install the receiver on/off switch on the left side of the
radio tray. Wrap the receiver and receiver battery in foam and
place them on the radio tray. If flying from the water, we
recommend placing the receiver and battery in a plastic bag.
❏
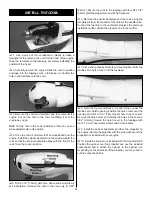
5. At this point you should have a lot of wires loose in the
fuselage. If you are like most modelers, you probably have a few
#64 rubber bands that are not fuel soaked. Using these rubber
bands, we are going to show you how to make harnesses to
hold the servo wires, receiver antenna and air lines. This will
protect them from any water that might get inside the fuselage.
❏
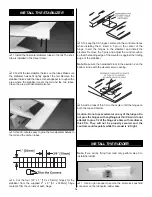
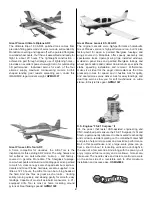
6. Cut a piece of rubber band 3/4" to 1" [19 to 25.4mm]
long. Position the rubber band where needed. If you have long
servo wires you may need several harnesses. The harnesses
can easily be glued to the side of the fuselage with CA. For
best adhesion, roughen the area with sandpaper before
applying CA.
❏
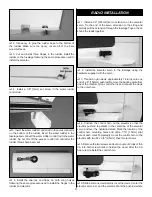
1. Glue the rubber bushing in the end of the aluminum
bailing tube, opposite the end for the machine screw. Insert
the ball in the aluminum bailing tube and thread the 3-56 x
3/8" [9.5mm] machine screw into the aluminum bailing tube.
❏
2. Use epoxy to glue the aluminum bailing tube in the hole
in the bottom of the fuselage. The rubber bushing goes to the
inside of the fuselage. The aluminum bailing tube should be
flush with the outside of the fuselage. Do not get epoxy in the
tube. The ball must be able to move freely. The ball will float in
the water and seal against the rubber bushing. In flight, the
ball will roll back and allow water to escape from the fuselage.
❏
3. Round one end of the 5/32" x 1-3/16" [4 x 30mm] wood
dowel rod. Glue the dowel in the aft end of the cabin top. The
end of the dowel should be flush with the edge of the cabin.
FINISH THE FUSELAGE
20

