❏
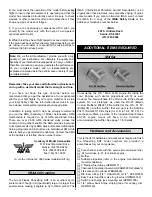
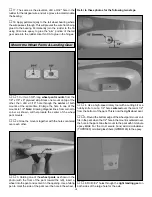
3. Use curved-tip scissors to cut out the canopy. Be
certain to leave approximately a 1/4" rim all the way around
the canopy for a gluing surface to the cockpit. True the edges
by sanding with medium-grit sandpaper.
❏
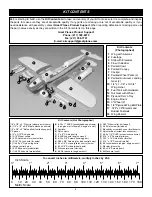
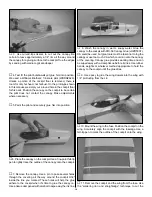
4. Test fit the pilot but do not yet glue him into position.
We used a Williams Brothers' 1/4-scale pilot (WBRQ2626).
Unless a portion of the cockpit floor is removed, there is
room for only his head, not his bust. On the prototype shown
in this manual, we simply cut a round hole in the cockpit floor
for his neck. Position the canopy on the cockpit to be certain
the pilot does not contact the canopy. Make adjustments
where necessary.
❏
5. Paint the pilot and securely glue him into position.
❏
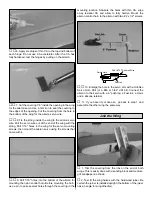
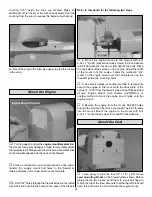
6. Place the canopy on the cockpit. Use a fine-point felt-tip
pen to lightly trace the outline of the canopy onto the cockpit.
❏
7. Remove the canopy. Use a pin to poke several holes
through the covering all the way around the cockpit 3/32"
inside the line you marked. These holes will help the glue
adhere to the cockpit when it's time to glue the canopy on.
Use a tissue dampened with alcohol to wipe away the ink line.
❏
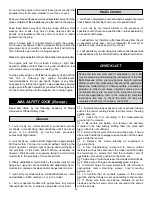
8. Wash the canopy in warm, soapy water. Glue the
canopy to the cockpit with R/C-56 Canopy Glue (JOZR5007).
CA could be used, but great care must be taken not to fog the
canopy or use too much CA which could run onto the canopy
or the covering. Canopy glue provides working time and can
be wiped away with a damp tissue before it dries. Use rubber
bands, weights or whatever method appropriate to hold the
canopy to the cockpit until the glue dries.
❏
9. Use epoxy to glue the wing dowels into the wing with
1/4" protruding from the LE.
❏
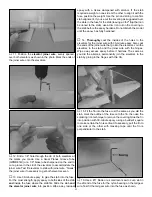
10. Mount the wing to the fuse. Position the cockpit on the
wing. Accurately align the cockpit with the fuselage. Use a
felt-tip pen to mark the outline of the cockpit onto the wing.
❏
11. Remove the cockpit and the wing from the fuse. Use
the “soldering iron and straightedge” technique to cut the
14


