background image

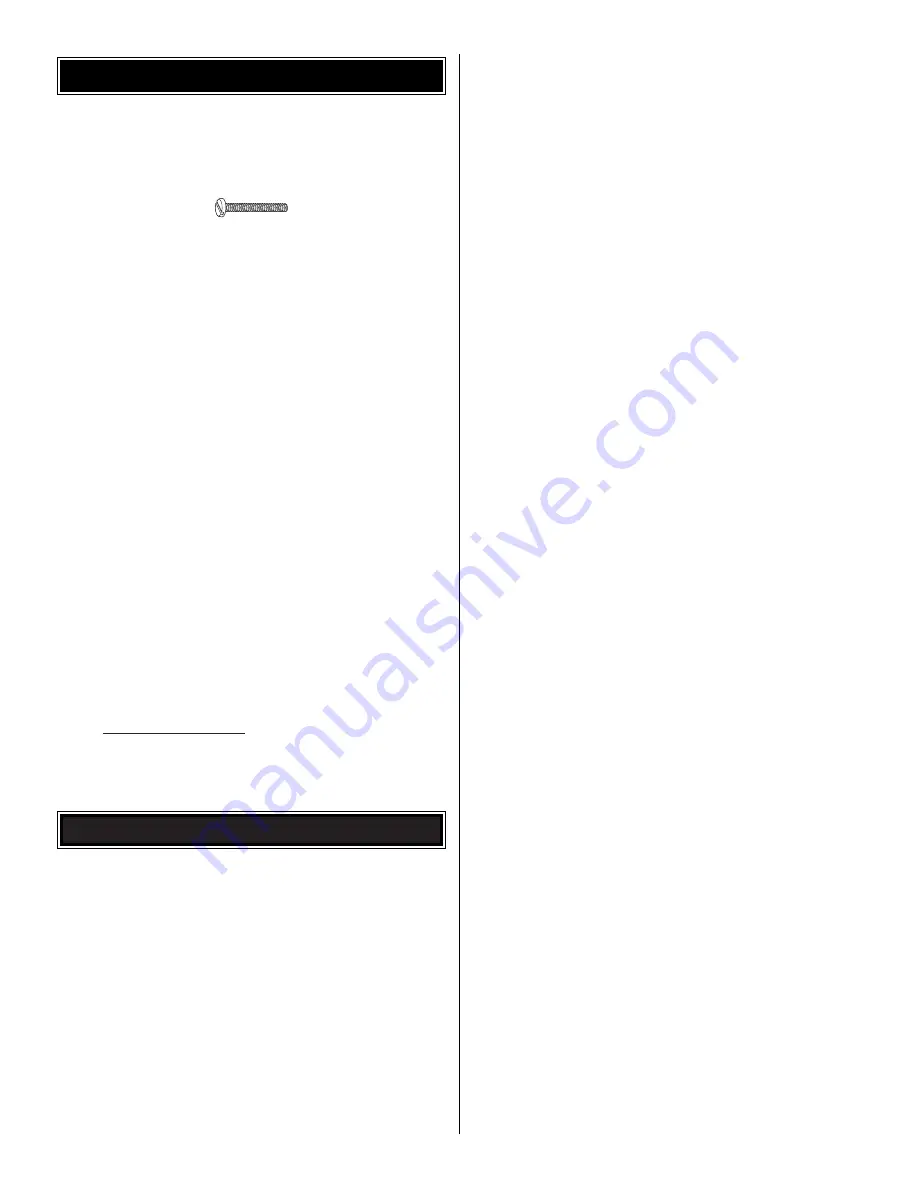
Machine screws are designated by a number, threads per
inch
, and a length – for example, 4-40 x 3/4" [19mm].

This is a number four screw that is 3/4" long with forty

threads per inch.

When you see the term 

test fit in the instructions, it

means that you should first position the part on the
assembly without using any glue, then slightly modify or
custom fit the part as necessary for the best fit.

Whenever the term 

glue is written you should rely upon

your experience to decide what type of glue to use. When a
specific type of adhesive works best for that step, the
instructions will make a recommendation.

Whenever just 

epoxy is specified you may use either

30-minute (or 45-minute) epoxy 

or 6-minute epoxy. When

30-minute epoxy is specified it is highly recommended that
you use only 30-minute (or 45-minute) epoxy, because you
will need the working time and/or the additional strength.

Photos and sketches are placed before the step they

refer to. Frequently you can study photos in following steps
to get another view of the same parts.

The stabilizer and wing incidences and engine thrust

angles have been factory-built into this model. However, some
technically-minded modelers may wish to check these
measurements anyway. To view this information, visit the web
site at 

www.greatplanes.com and click on “Technical Data.”

Due to manufacturing tolerances which will have little or no
effect on the way your model will fly, please expect slight
deviations between your model and the published values.

Fuse = Fuselage

Stab = Horizontal Stabilizer

Fin = Vertical Fin

LE = Leading Edge

TE = Trailing Edge

LG = Landing Gear

" = Inches

mm = millimeters 

COMMON ABBREVIATIONS

IMPORTANT BUILDING NOTES

5

Summary of Contents for Siren ARF

Page 1: ...t immediately in new and unused condition to the place of purchase To make a warranty claim send the defective part or item to Hobby Services at the address below Hobby Services 3002 N Apollo Dr Suite...

Page 2: ...the Siren ARF If there is new technical information or changes to this model a tech notice box will appear in the upper left corner of the page We urge you to join the AMA Academy of Model Aeronautic...

Page 3: ...ronik Brushless 480 motor with gearbox and a 10 cell NiMH battery turning a 13x7 APC folding propeller With this setup the Siren ARF is capable of three to four vertical climb outs at high speed The S...

Page 4: ...The servos recommended for this airplane are good quality servos with at least 16 oz in 1 2kg cm of torque such as the Futaba S3107 Nano servo or the Hobbico CS 5 Micro servo Should you choose a diffe...

Page 5: ...d it is highly recommended that you use only 30 minute or 45 minute epoxy because you will need the working time and or the additional strength Photos and sketches are placed before the step they refe...

Page 6: ...nois and Nevada residents will also be charged sales tax If ordering via fax include a Visa or MasterCard number and expiration date for payment Mail parts orders and payments by personal check to Hob...

Page 7: ...10 32 x 2 Nylon Bolt 1 Velcro Strip Before starting to build take an inventory of this kit to make sure it is complete and inspect the parts to make sure they are of acceptable quality If any parts ar...

Page 8: ...enter section 3 Cut away the covering from the servo bay Using 30 minute epoxy coat the wing joiner wing center section rib and wing outer panel Attach the wing outer panel Route the servo extension f...

Page 9: ...eping the pushrod aligned with the servo arm Mount the control horn using two 2 56 x 5 8 16mm machine screws Use the backing nylon plate on the other side of the aileron 6 Mark the pushrod where it cr...

Page 10: ...vo with Trinity single cell heat shrink as you did before on the aileron servos 4 Connect a 24 610mm servo extension to the elevator servo Secure the connection with 3 8 10mm heat shrink tubing Route...

Page 11: ...install is very high power and it needs to be handled carefully to avoid serious injury Both the Brushless motor installation and the Brushed motor installations are capable of producing injury at an...

Page 12: ...ESC following the manufacturer s instructions 2 Guide the motor into the nose of the airframe from the inside of the fuselage Mount the motor to the firewall using the screws that came with the motor...

Page 13: ...a dishpan or small bucket with a mixture of liquid dish soap and warm water about one teaspoon of soap per gallon of water Submerse the decal in the soap and water and peel off the paper backing Note...

Page 14: ...ent by shifting the C G up to 3 8 9mm forward or 3 8 10mm back to change the flying characteristics Moving the C G forward may improve the smoothness and stability but the model may be more difficult...

Page 15: ...s as recommended by the radio manufacturer Ground check the operational range of your radio before the first flight of the day With the transmitter antenna collapsed and the receiver and transmitter o...

Page 16: ...r should any part of the model other than the landing gear intentionally touch the ground except while landing 1 Check the C G according to the measurements provided in the manual 2 Be certain the bat...

Page 17: ...re ready to make your landing flare and the model is a foot or so off the deck smoothly increase up elevator until it gently touches down The Siren ARF is a very efficient electric glider and as such...

Page 18: ...nt power transfer without slop GPMA1055 Great Planes Sukhoi SU 31 EP Park Flyer ARF Now the nearest field for 3D aerobatics may be as close as your own back yard Built of ultra light materials the Suk...

Page 19: ...de three times the voltage of NiCd and NiMH cells at less than half the weight Exclusive SafeCharge circuitry protects ElectriFly Li Po packs by preventing any cell from overcharging This 11 1V 3 seri...

Page 20: ...____________ Where Purchased _________________________ Date Construction Started __________________ Date Construction Finished _________________ Finished Weight __________________________ Date of Firs...

Reviews: